
Ben Gribbin
July 16, 2014
Share post:


-

12K Subscribers
Subscribe
Search
Popular Articles
8 Almost Useless Land Rover Mods
11th June 2014
Updated: What Makes a Defender Iconic?
29th November 2011

Here's a strong, simple & cheap (around £20 or $40) way of securing your waffle boards / sand ladders. You'll need a roof rack, though you could adjust this to mount directly to the roof or side panels of a Defender. All you need is the above parts and around 30 minutes.

Parts Needed
- 3 x M12 Bolts
- 9 x M12 Flat or Penny Washers
- 3 x M12 Small washer
- 3 x M12 Nuts
- 3 x M12 Wing Nuts
- 1 x 12mm Drill Bit
When a genuine style roof rack is fitted, or a brown church rack, you may need to purchase U bolts instead of the above
Here's the set-up we're using:

Assembly is easy. Add a washer to your bolt, then an M12 nut, then 2 washers and the wing nut. 3 of these supports are extremely strong, together holding 2 of our boards without any movement or wobble what so ever.
Step 1: Measure the board

First up, you'll need to measure your board / ladder for convenient places to mount it. You might just hold it up to your rood rack and eyeball it, but you'll need for the bolts to be:
- Level
- In-line with holes in the board
- Through solid surface on the roof rack
As every roof rack and bridging ladder set-up is different, we'll leave you to figure out the best place to position your ladders. Our Trek Overland aluminium rack has 3 solid leg supports, which just so happened to line up with equal & symmetrical holes in the GRP grating we use.
Step 2: Centre punch and drill holes
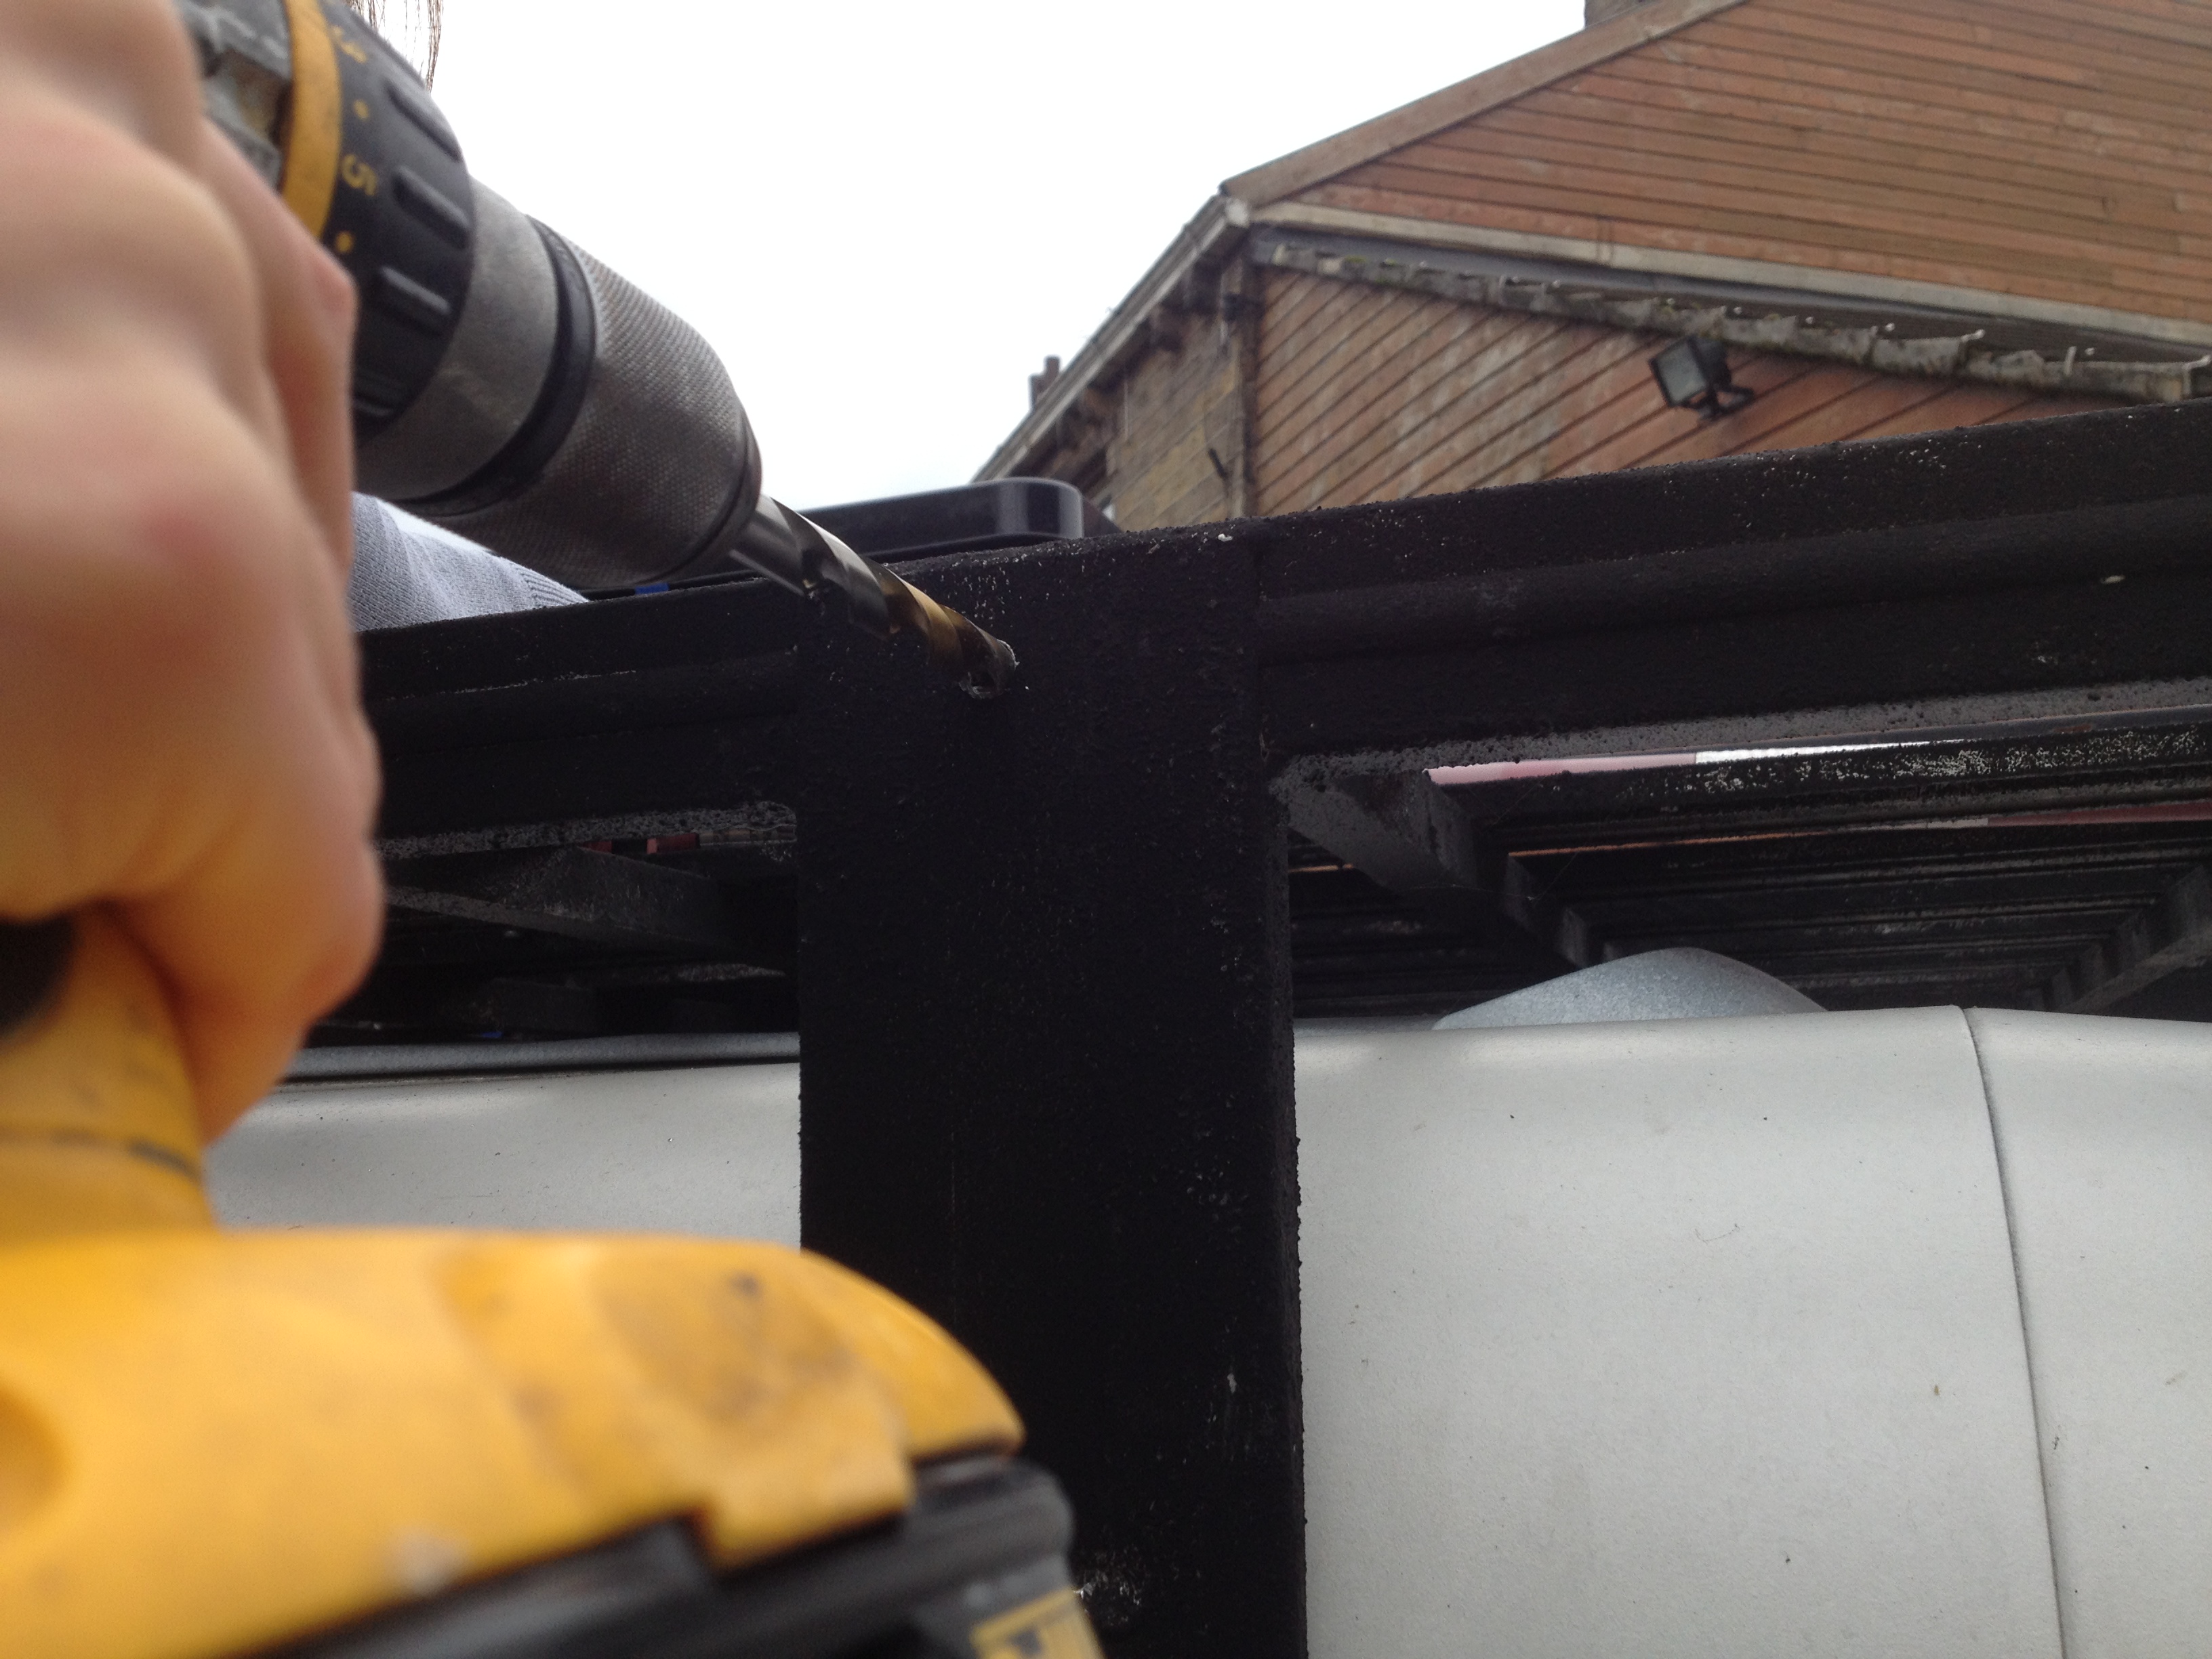
Next, measure, mark, centre punch and drill your holes.
Step 3: Insert bolts
Slide the bolt and first washer through, repeat in all 3 holes.
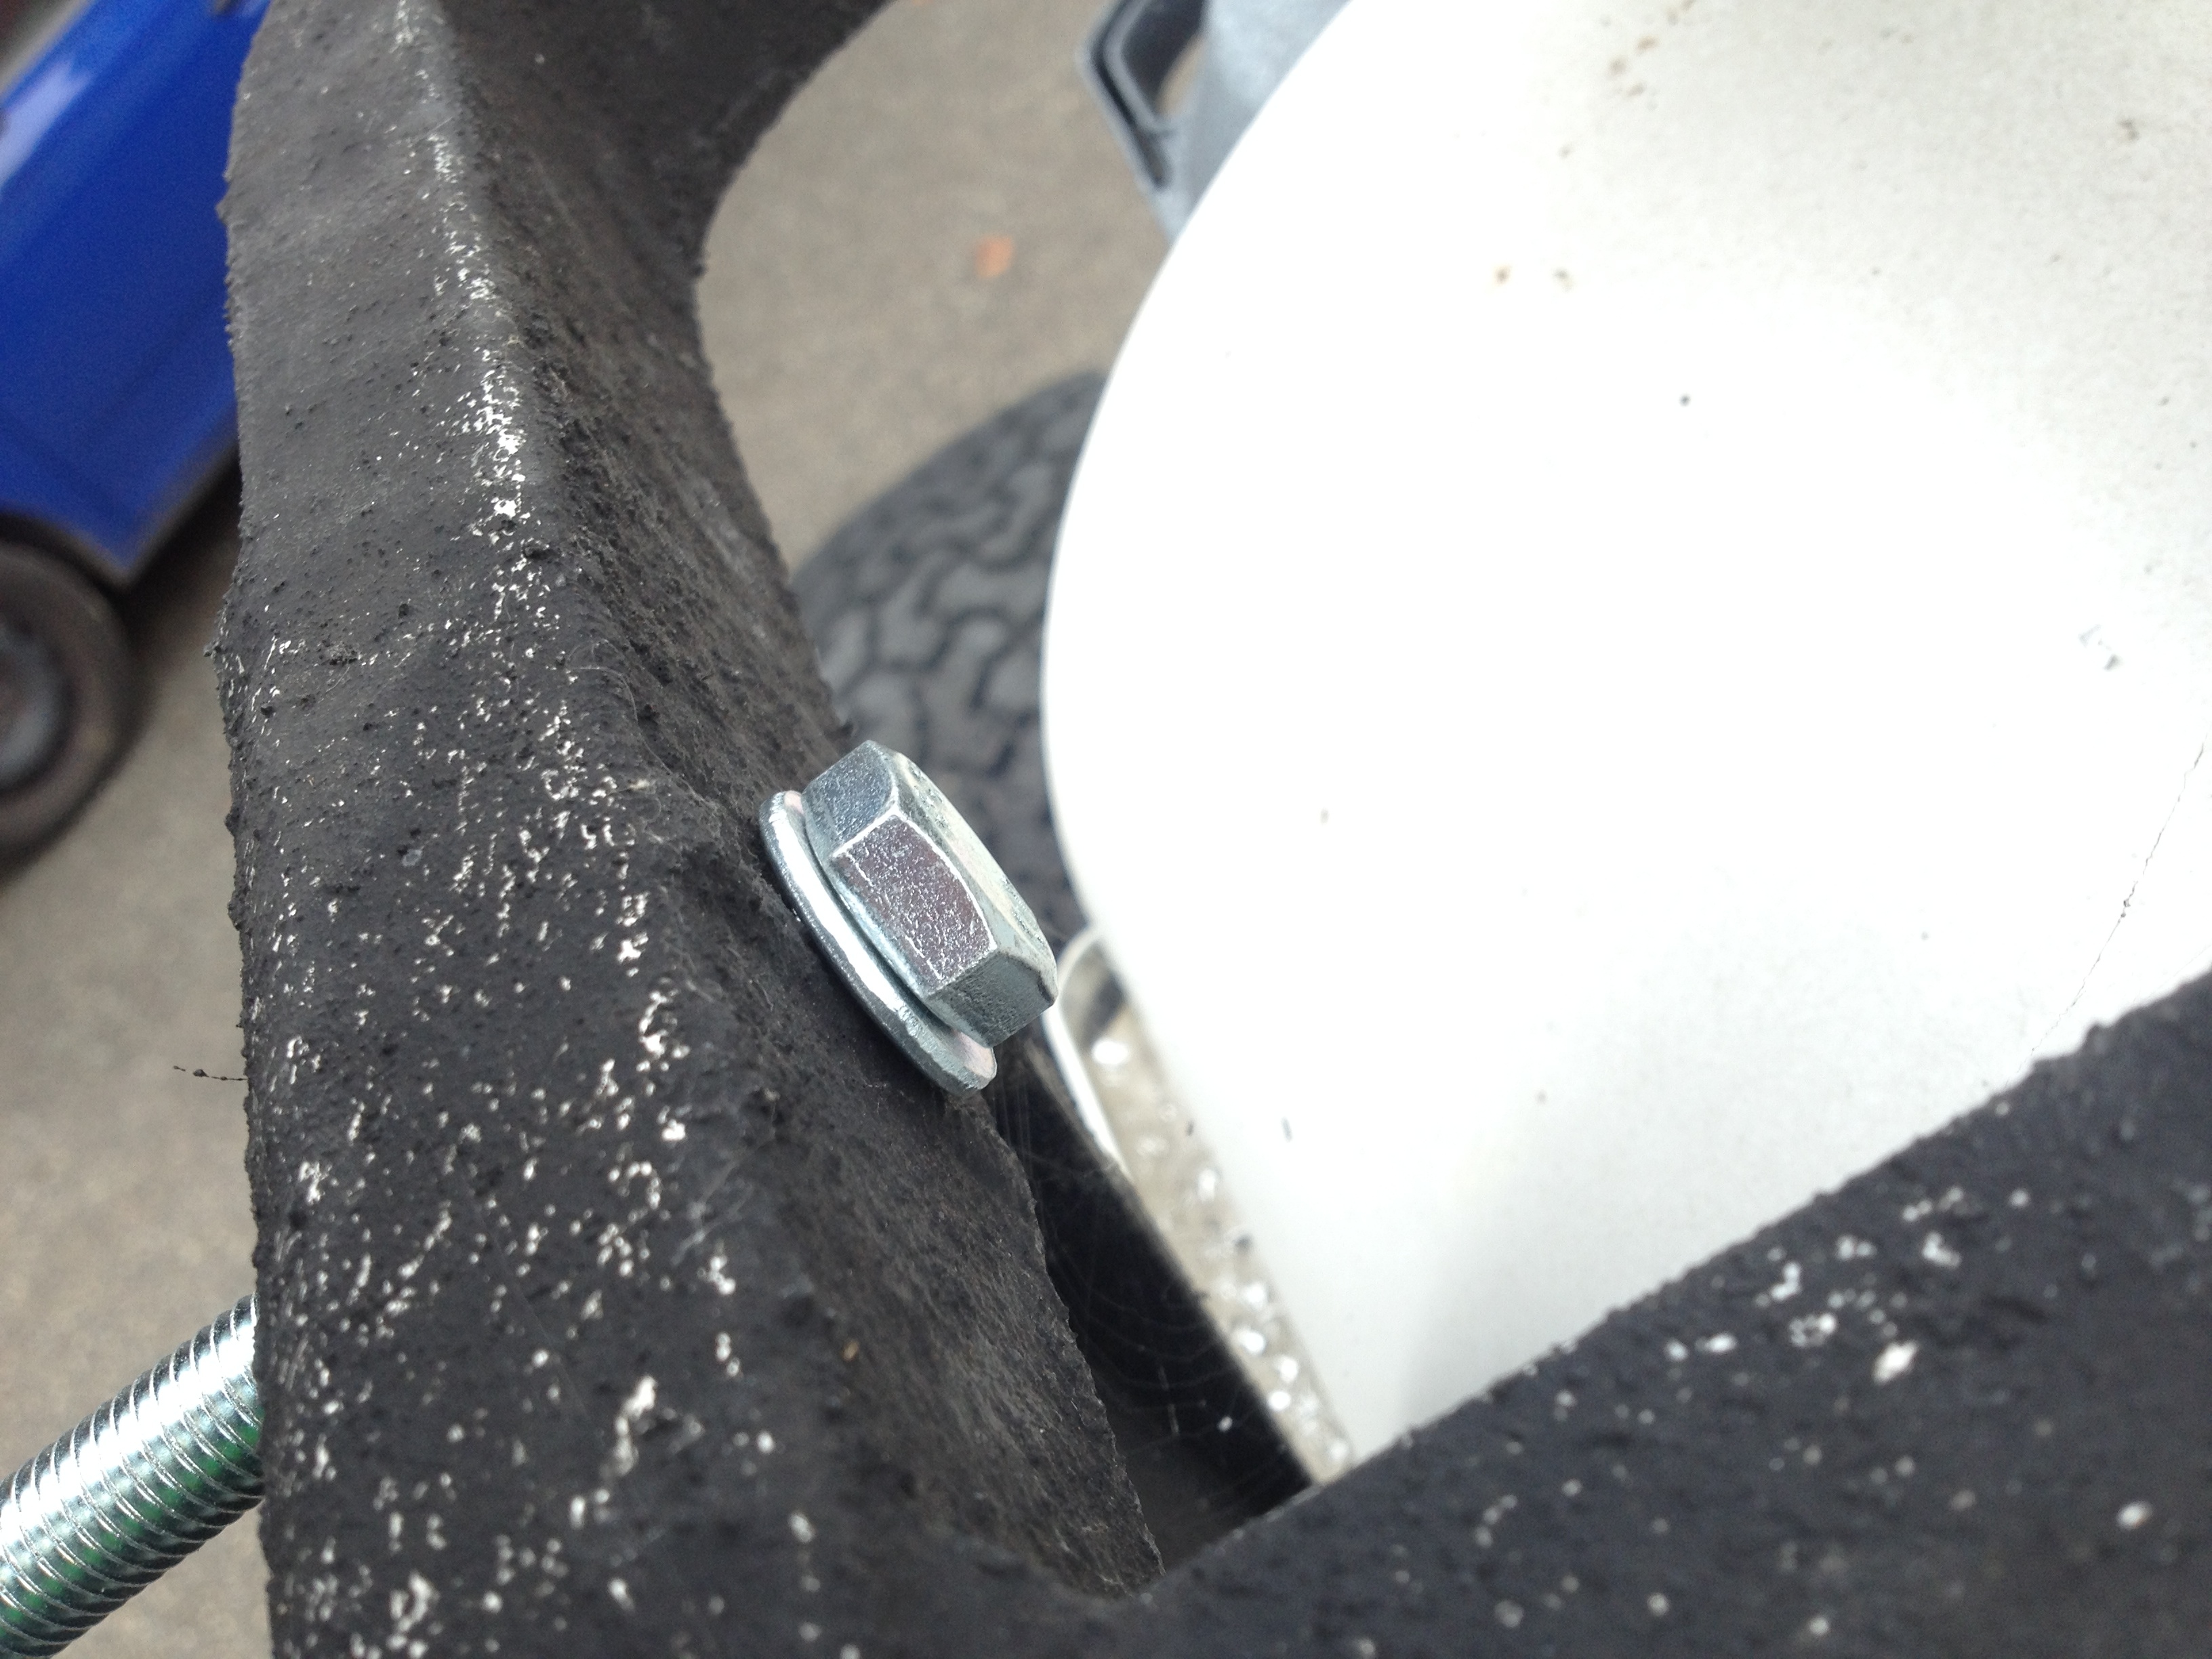
Step 4: Add the washers and nuts
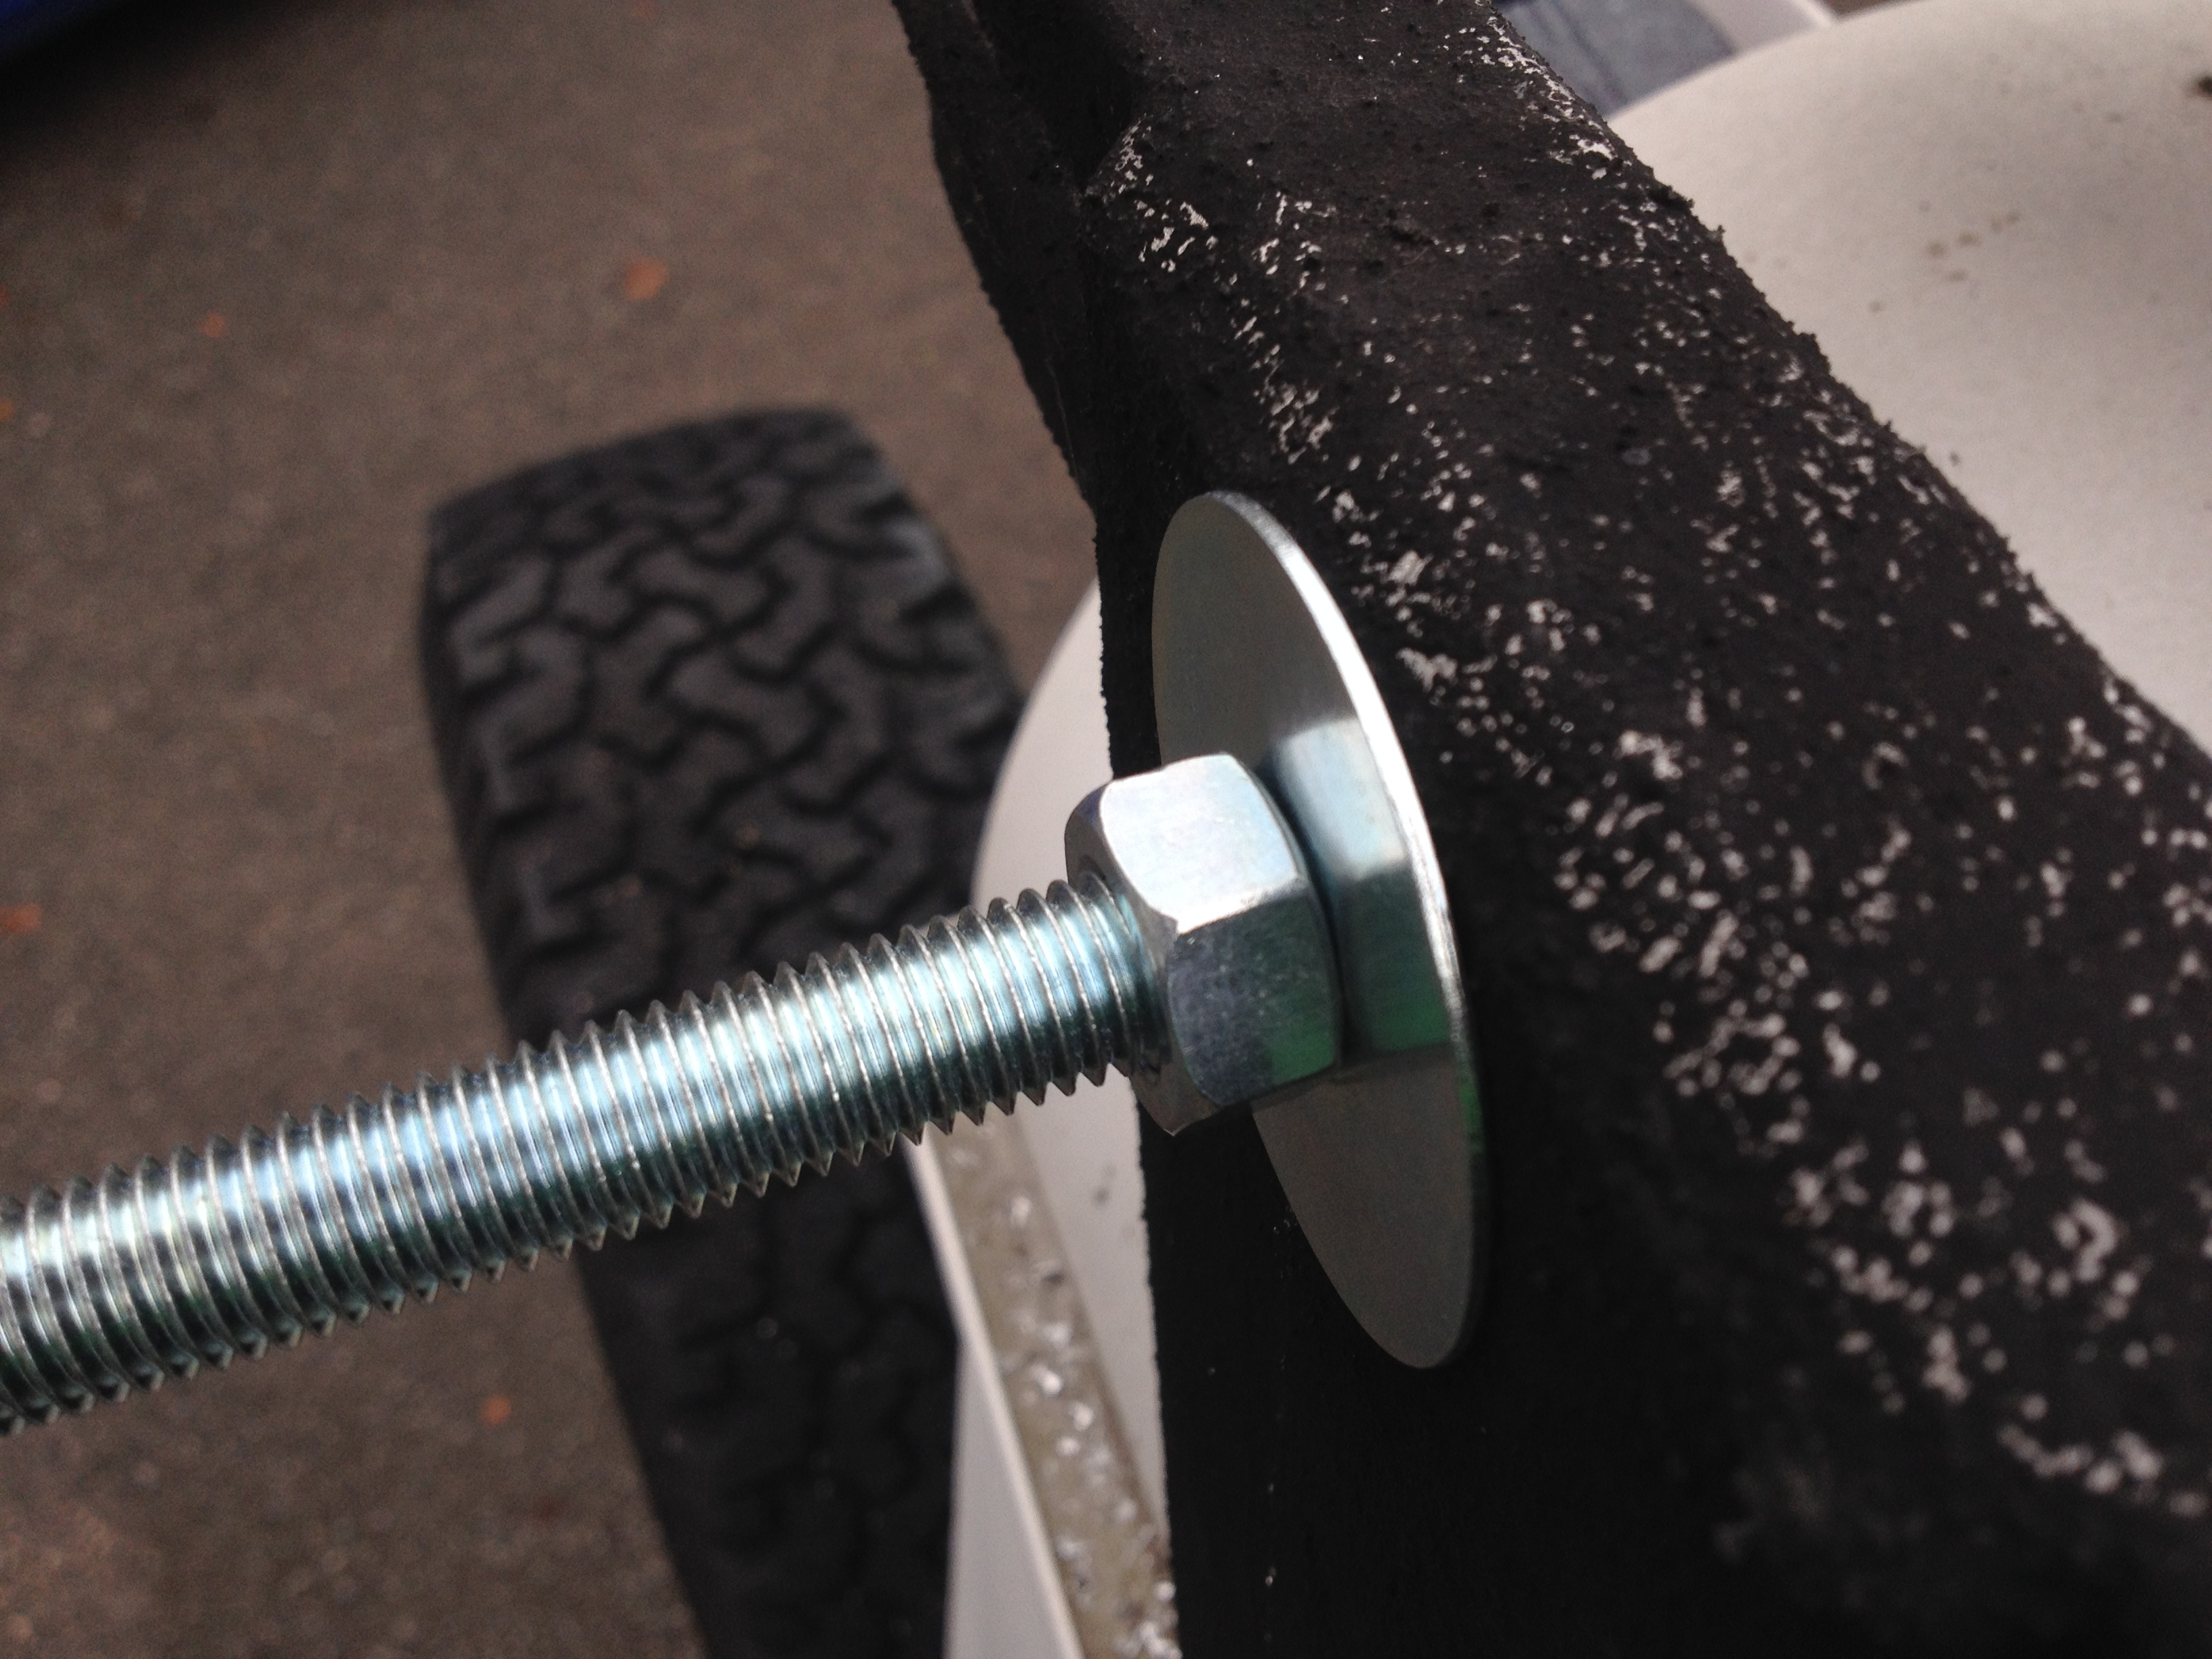
Add a large flat washer and a nut to hold it in place. Afterwards, add another washer.
Step 5: Mount your waffle boards
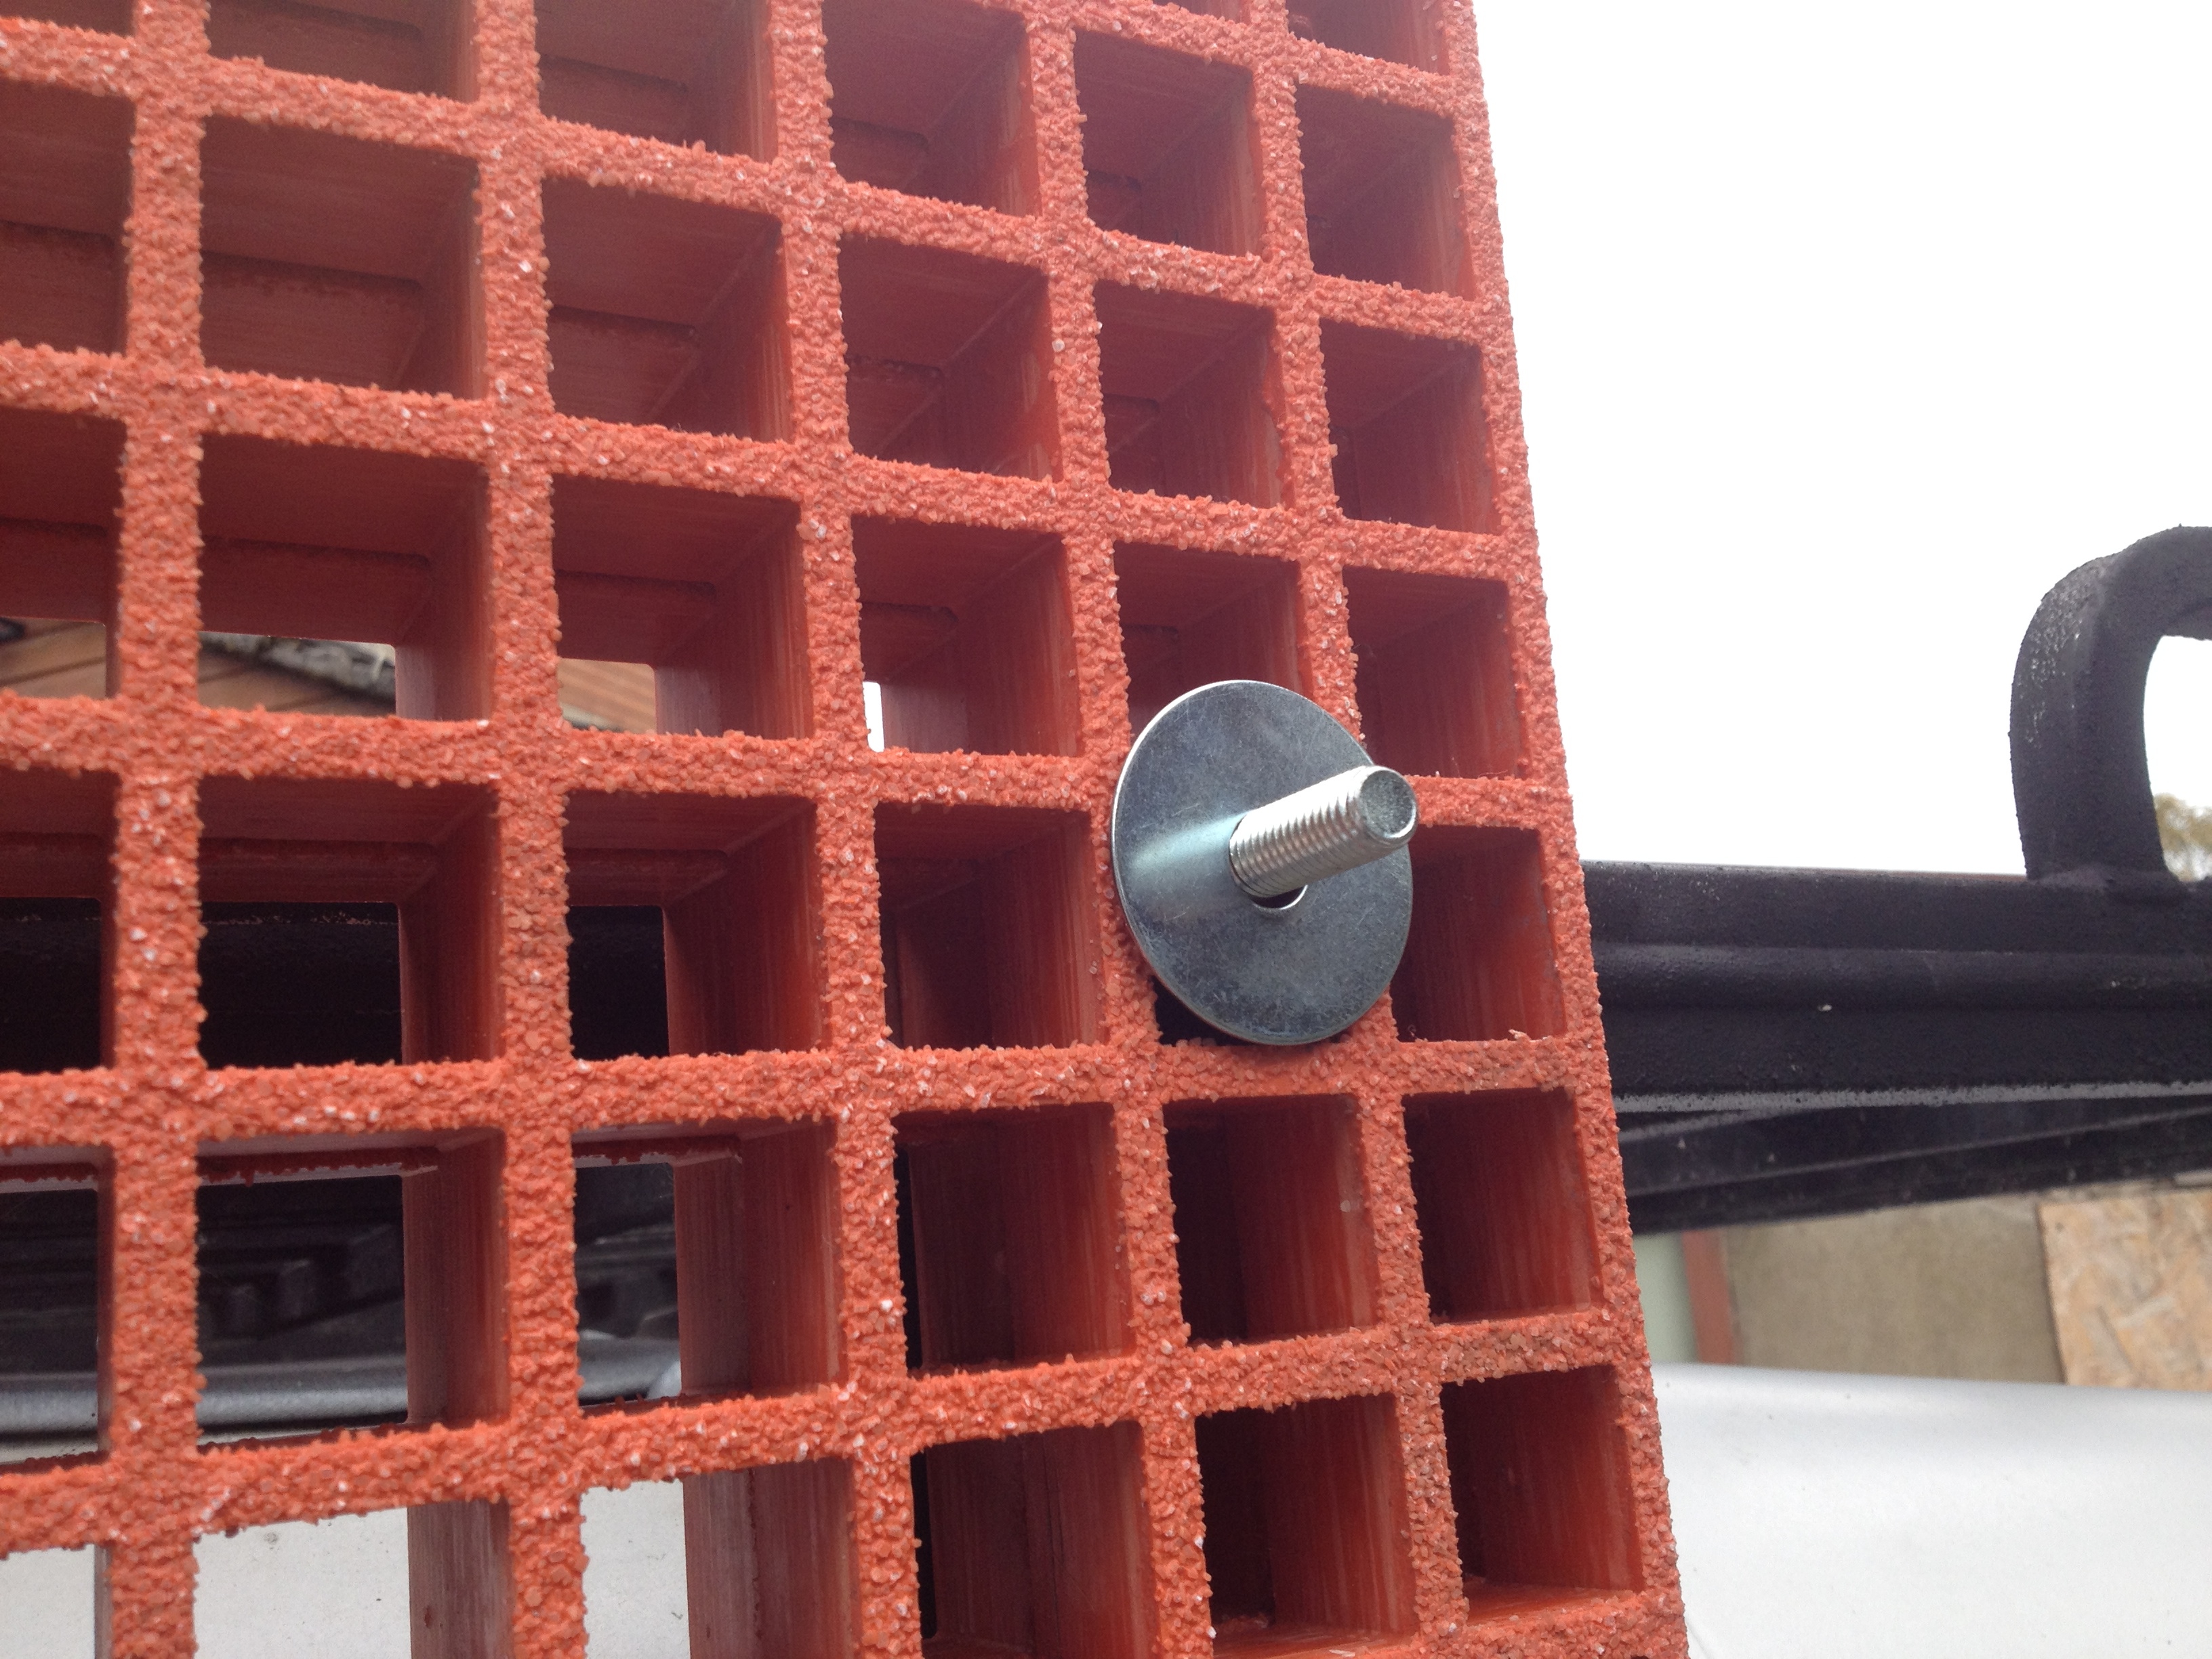
Carefully place your boards on the bolts, pushing the board flat to the last washer you slipped over the bolt. Then the last washer.
Step 6: Add your wing nut & tighten

Cinch down the wing nut on each bolt, and the boards are secured to the rack. For extra security, you could drill a small hole in the bolt to accept a padlock or chain the boards to the roof rack with a bike lock. We chose to use a solid D lock.

Your bridging ladders are now quickly accessible, secure and ready to use!
Liked this post, let us know! How have you fitted your bridging ladders?
Related items for sale on eBay
| Ebay has returned a malformed xml response. This could be due to testing or a bug in the RSS2 Generator. Please check the support forums to see if there are any posts regarding recent RSS2 Generator bugs. CURL error code = 6. (Could not resolve host: rest.ebay.com) |
About Us
FunRover is a place for Land Rover enthusiasts to gather as a community and discuss the best 4x4 vehicles ever produced. We're building a library of high quality resources & articles to help owners along in their Land Rover ownership.
Popular Posts
8 Almost Useless Land Rover Mods
11th June 2014
Updated: What Makes a Defender Iconic?
29th November 2011
How to Plastidip your Land Rover Defender
19th August 2014