
Ben Gribbin
August 19, 2014
Share post:


-

12K Subscribers
Subscribe
Search
Popular Articles
8 Almost Useless Land Rover Mods
11th June 2014
Updated: What Makes a Defender Iconic?
29th November 2011

Plastidip is a completely removable rubberised coating that can be applied to car bodies or wheels to protect them and give them a whole new look. Plastidip will also:
- Reduce water ingress
- Drastically change the appearance of your car
- Cost very little, compared to traditional painting
- Repair easily
- Can be applied with basic, cheap tools - suitable for all skill levels
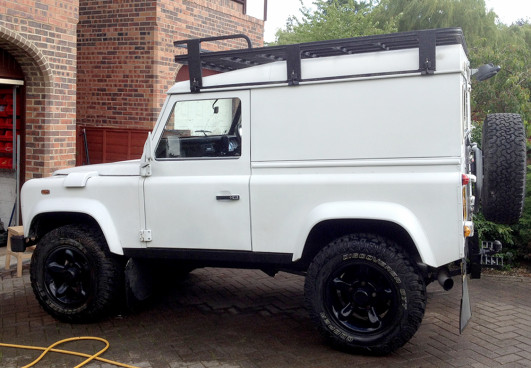
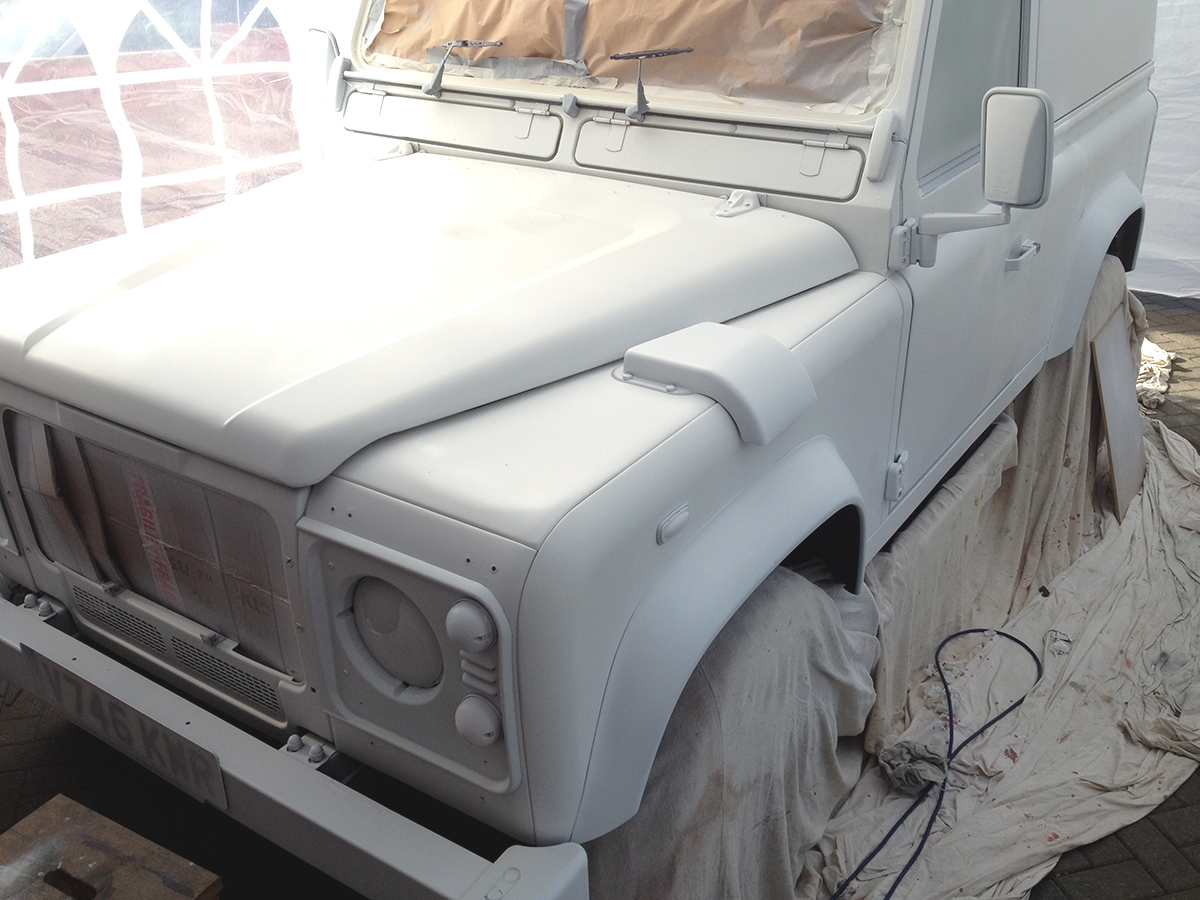
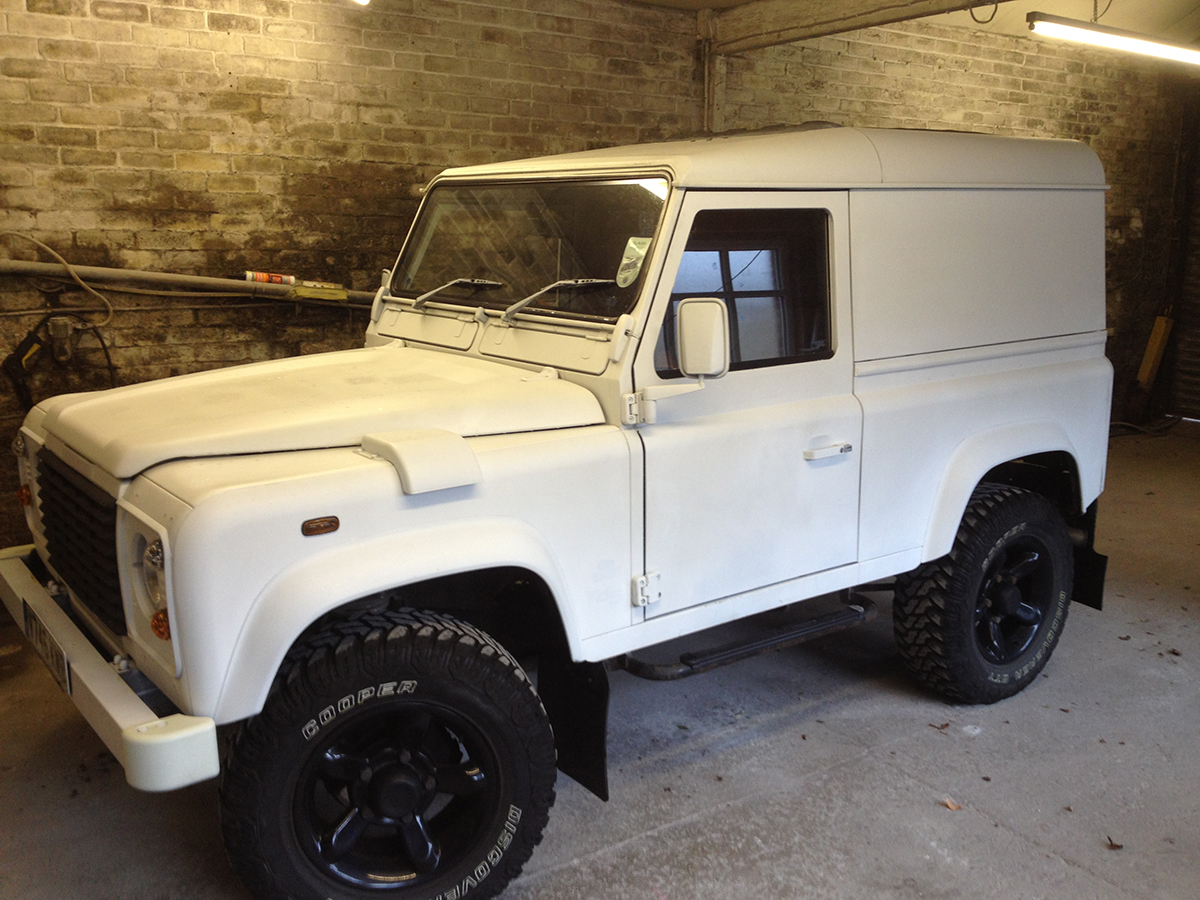
This is our Land Rover after Plastidipping

Tools Needed
- Spray gun - Airless or Air-fed (unless purchasing in spray cans. In which case a spray can handle is a good purchase)
- Buckets for mixing
- 5 Litres Plastidip
- 5 Litres Xylene Thinners
- Masking tape, razor blade
You could getaway with less Plastidip, but we have plenty left to touch up any marks or scuffs.
Step 1: Prepare the area
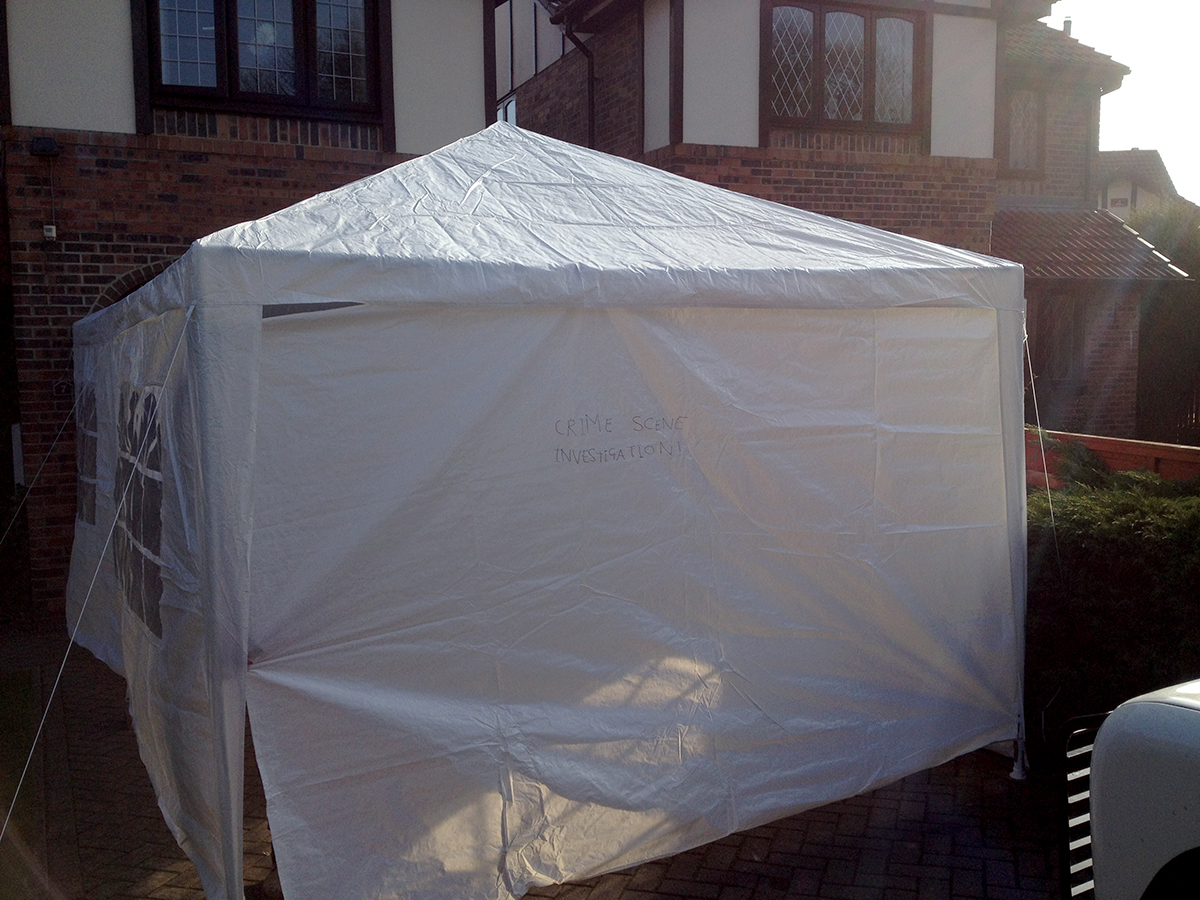
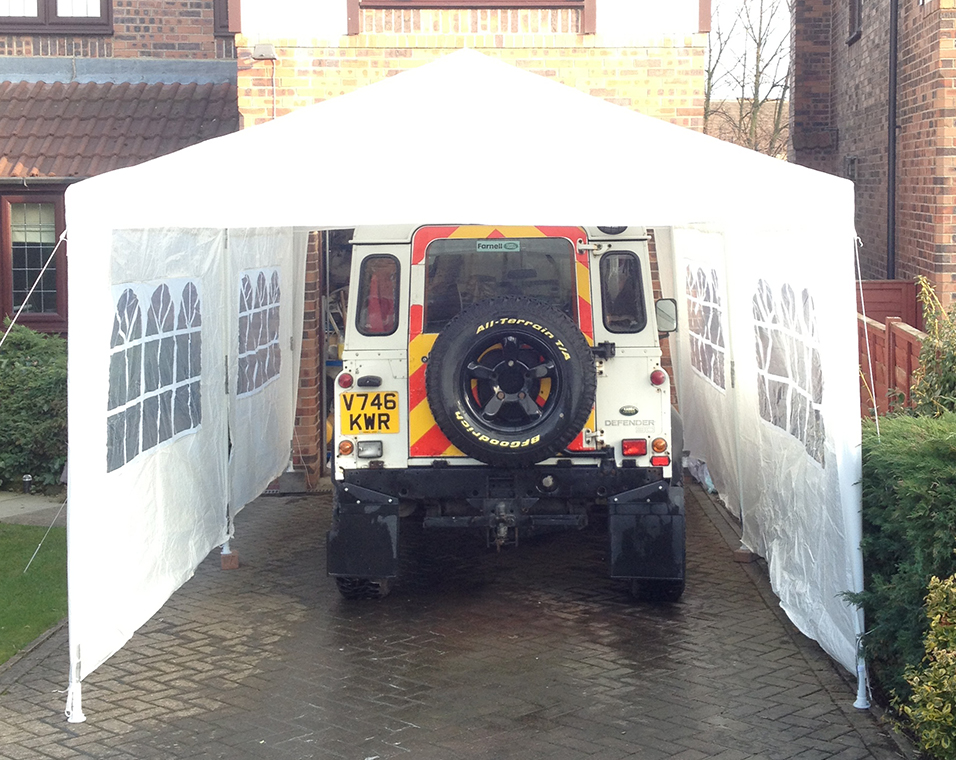
First step, prepare the area you're working in. Clean it, brush it down. If you're indoors, great! But you can apply Plastidip outside no problem. We decided to go halfway in between, in a budget outdoor gazebo - as it was the middle of winter. Applying in cold weather will slow down the curing process, but seemed to have no adverse effects to our application
Step 2: Wash your Land Rover
We used a strong traffic film remover to wash, scrub and really clean the Land Rover all over. You need to get into the nooks and crannies as Plastidip cannot stick to dirt, just like any paint. Leave the bodywork to dry fully, or dry using an air compressor.
Step 3: Mask off
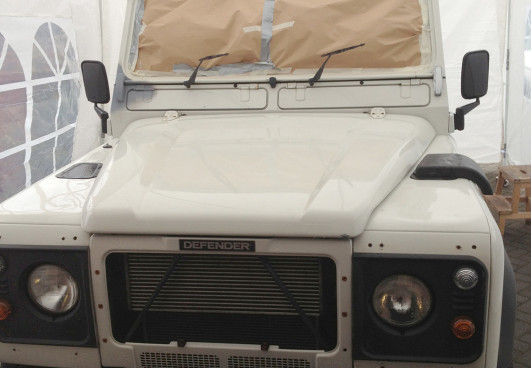
You don't have to do much masking with Plastidip, unlike conventional painting, however, a little masking is essential. Cover your brakes, wheels and transmission with dust sheets. We masked off the windscreen to cut down on clean-up time. You need to decide exactly what you want covering, if you don't want it covering and it's difficult to access that location to peel it off, mask it. This will also save on dip material. Also, make sure to block off the intercooler and radiator. We used a sheet of cardboard pushed up the inside of the front panel.
Step 4: Prep your spray gun

It is possible to spray Plastidip with a conventional spray set-up, however, for ease of application, we used an electric airless sprayer. You'll often see the Plastidip team using these guns and so they come highly recommended. A Wagner W550 HVLP spray gun like this can be had for around £55, not too heavy an investment.
Step 5: First coat
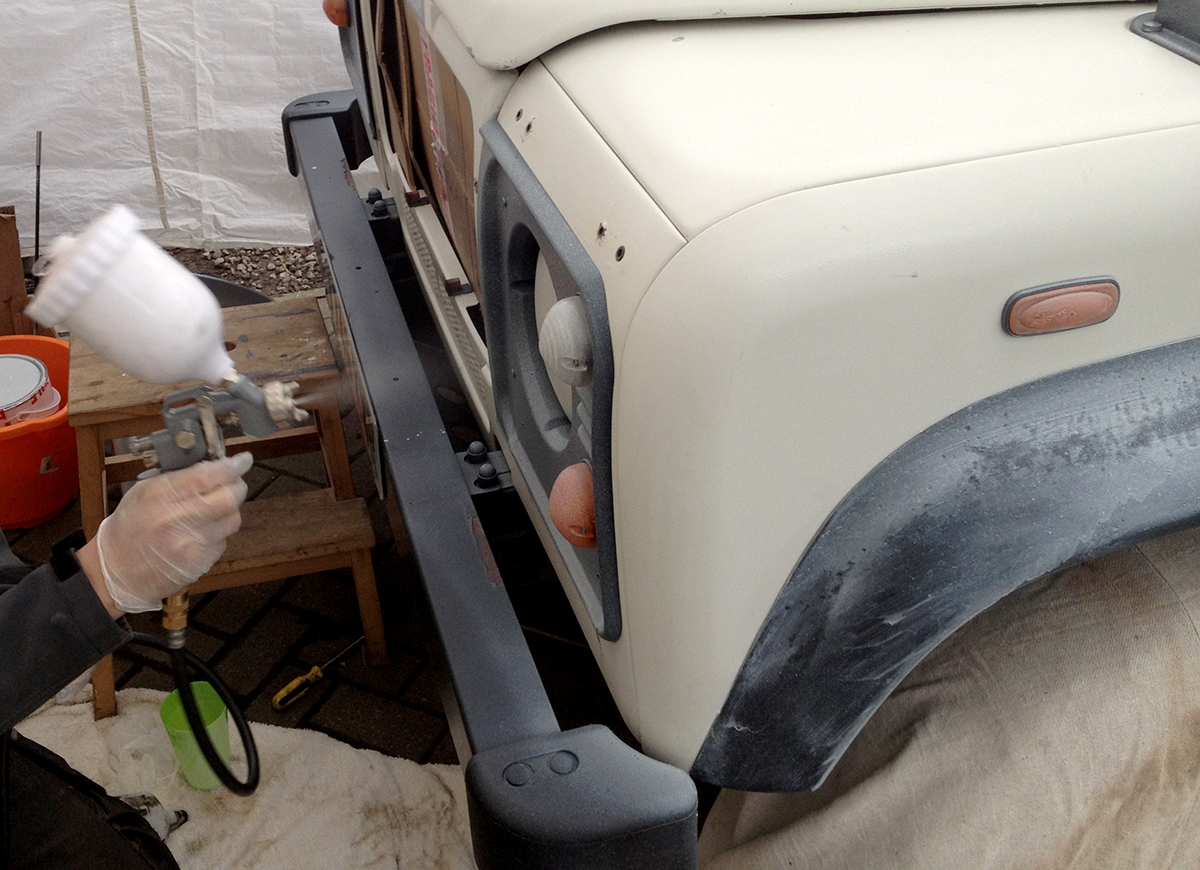
Here we're laying down a mist coat first. This first layer needs to be light, with about 50% transparency. It allows the following layers to bond to the body and creates a tougher coating. When spraying, work methodically on each panel. Spraying panel per panel allows a quicker application, as one area can be drying whilst you're painting another. Spray around 15cm away from the surface. A coat should be dry within 15-30 minutes, dependant on the weather and conditions.
Step 6: Continue building layers
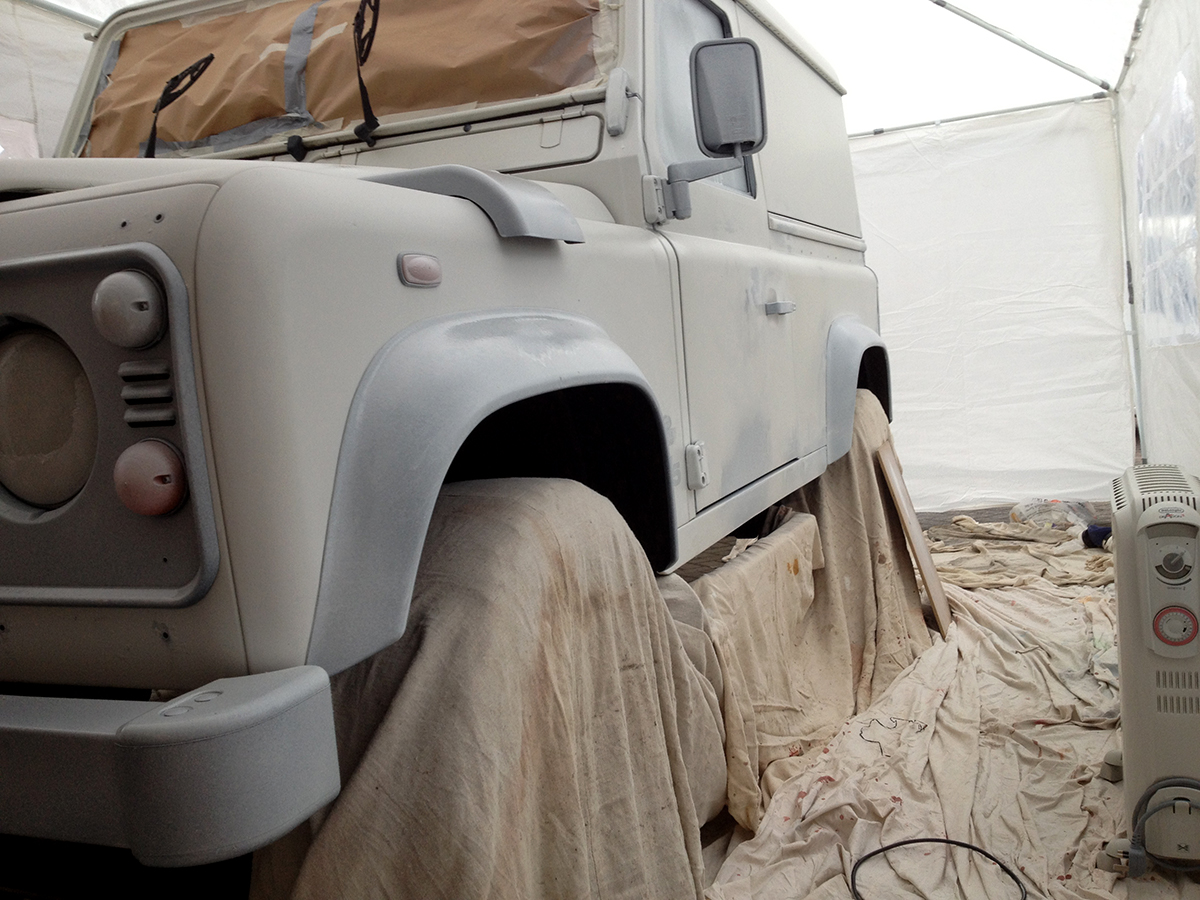
You'll want to build up around 4 - 5 layers or Plastidip, depending on the colour your applying and the original paint colour of the vehicle. In the end we applied 4 layers on our Defender. This is the perfect amount to get a strong, tough finish and still allow easy removal when you come to peeling off the Plastidip.
Step 7: Tool clean-up
Whilst the last layer is curing, you can start clearing up the surrounding area. Make sure to look after your airless spray gun to make it last as long as possible. You can run the Xylene thinners through the gun to clear out internal components, then wipe down and store. Any drips or spillages can be cleaned with the thinners also.
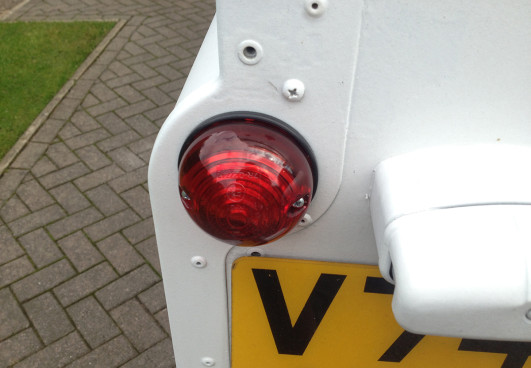
Step 8: Remove masking and unwanted 'dipped' areas
Here comes the really fun part. Grab a razor blade or Stanley knife and make a very light score in the Plastidip, in an inconspicious area, just in case the dip material hasn't fully flashed off. These score lines allow you to very simply peel off the material from anywhere you don't want to remain the colour of the plastidip. In this case, we removed it from our windows, indicators, side lights, door handles and mirrors. If you've built up enough layers, it will peel off very easily. Again, thinners on a rag can clean off any overspray you may have that isn't thick enough to peel.
Step 9: Final finish
Wait a few days before washing the vehicle to allow the dip material to fully cure and you're done! No extra maintenance necessary.
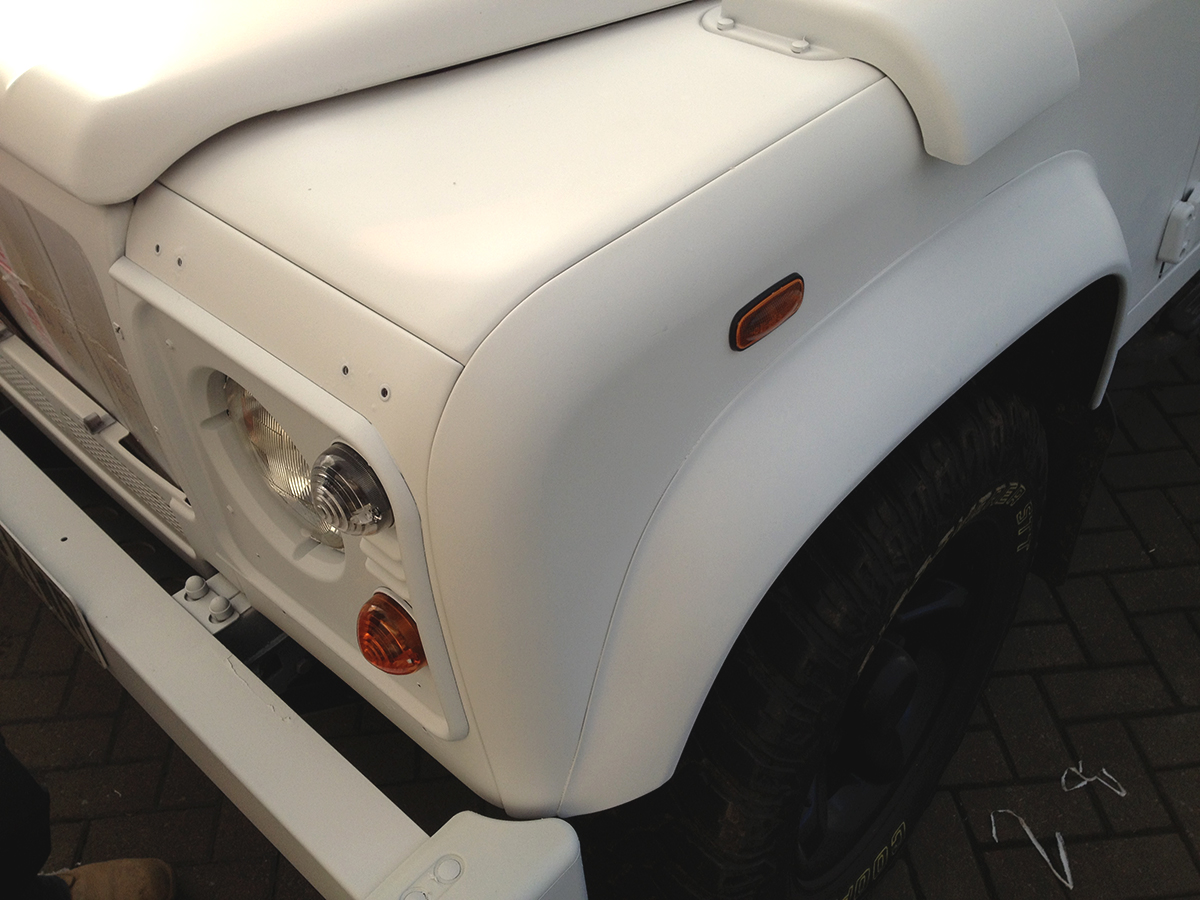
Here you can see a close up of the finished coating. Looks very white and has a matte finish, though gloss top-coats are available.
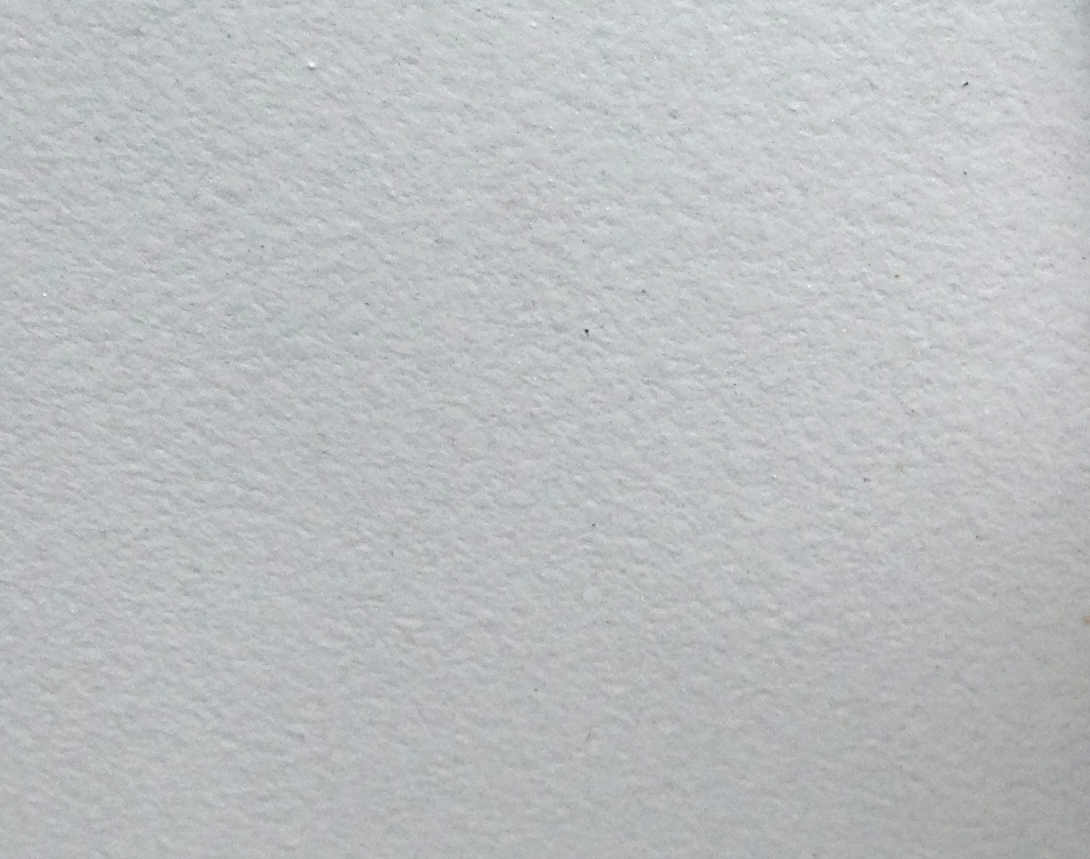
Here's an extreme close up of the final finish. Plastidip has a slightly rough texture.
Related items for sale on eBay
| Ebay has returned a malformed xml response. This could be due to testing or a bug in the RSS2 Generator. Please check the support forums to see if there are any posts regarding recent RSS2 Generator bugs. CURL error code = 6. (Could not resolve host: rest.ebay.com) |
Verdict
Plastidip is durable, easily applied, easily removed, protects the original paint finish and gives a trendy, matte appearance. We were happy with the result, even a few years on. Plastidip does have a tendency to pick up scratches and dirt a little more than normal paint, but can be very easily re-applied and repaired.
-
Build Quality


-
Value for Money
-
Ease of Fitting
-
FunRover Rating

Manufacturer
Plastidip can be found at Plastidip UK, distributors of Plastidip within the EU
16 Comments
Leave a Reply
About Us
FunRover is a place for Land Rover enthusiasts to gather as a community and discuss the best 4x4 vehicles ever produced. We're building a library of high quality resources & articles to help owners along in their Land Rover ownership.
Popular Posts
8 Almost Useless Land Rover Mods
11th June 2014
Updated: What Makes a Defender Iconic?
29th November 2011
How to Plastidip your Land Rover Defender
19th August 2014
A fantastic idea, what was the rough overall cost of paint?
Hi Steve, From memory, the gun was around £50, the dip material and thinners around £100 and everything else we already had. So £150 for the first application.
great idea! did you spent 15 liters or more?
Hi Henrique,
We used 10 litres total of mixed Plastidip. This was painting white over off-white.
Thanks,
Ben
Thanks 😉
No problem
As it has a rough finish. Is it easy to clean after off-roading?
It’s fairly easy to clean, best cleaned with a snow lance and power washer, I wouldn’t leave dirt on it too long!
Great stuff. I started reading up on this over the weekend. ‘Dorothy’ is crying our for a quick, low cost makeover and this stuff looks like it should do the job nicely. Many thanks for the info. Now to decide on colour. She is Blenheim Silver so perhaps the Gunmetal Grey will be a reasonable change. Very interesting indeed.
what mix did you use i.e paint to thinners?
Hi Andrew, We used a 50/50 mix, though some recommend 60/40.
Just wondering how the finish held up and how it was to clean?
Hi Rich, It held up well, it’s fairly easy to clean but you have to keep up to it – the Plastidip was removed after 2 years and it left no evidence behind
As you can peel it off when required how durable is it really. What happens when you’ve made contact with the odd tree?+
It’s surprisingly durable stuff. It wouldn’t peel off when contacting a tree, it would more likely scuff / scratch. It can be easily repaired however unlike traditional paint
Good job! Would it last when u go offroad aswell, any experience with that?