
Ben Gribbin
September 14, 2015
Share post:


-

12K Subscribers
Subscribe
Search
Popular Articles
8 Almost Useless Land Rover Mods
11th June 2014
Updated: What Makes a Defender Iconic?
29th November 2011

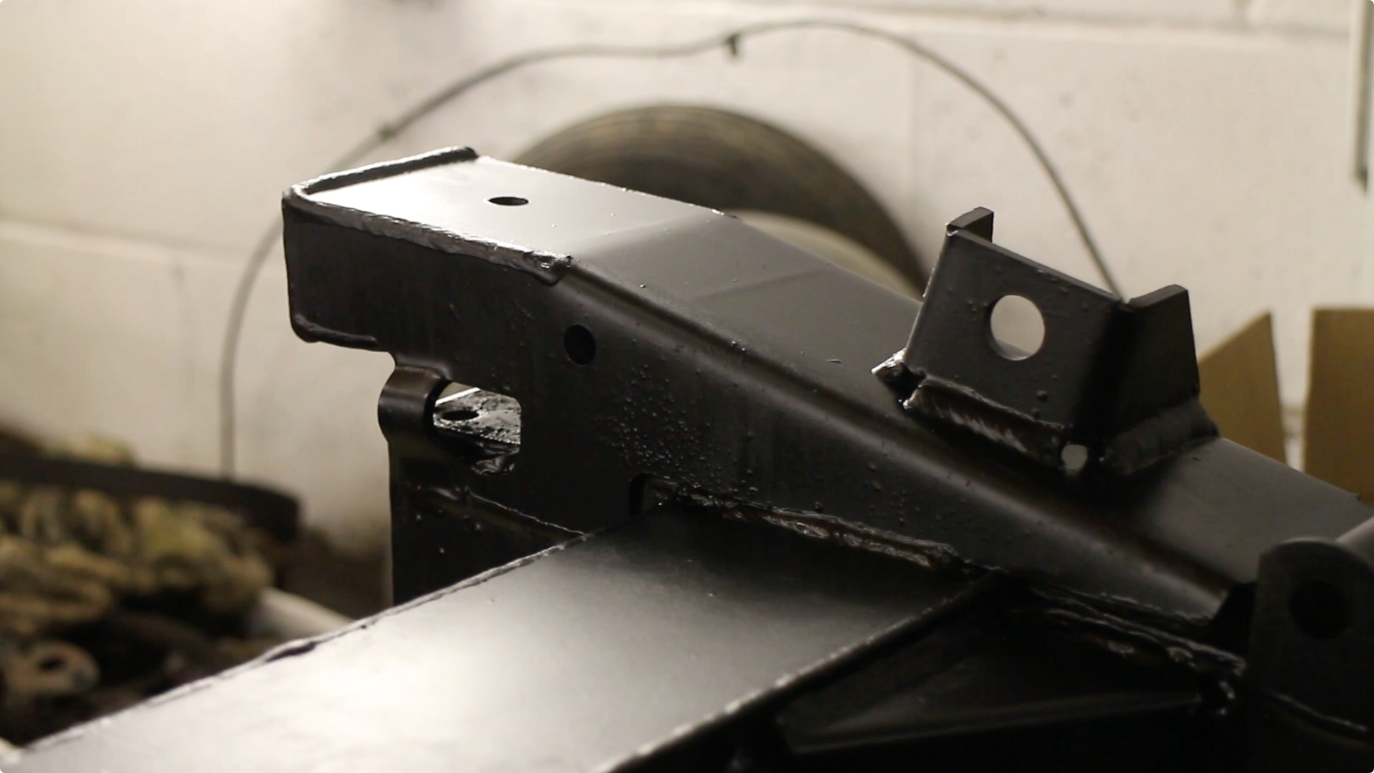
Weekly update #03 of our tribute Defender build, we show you how to paint a galvanised chassis. The train of thought here is that it looks standard, so does not stand out to thieves and should add a little extra corrosion resistance in the long term. Not everyone likes a bright shiny chassis! We used the excellent Frost High Performance Frame and Chassis Paint - http://www.frost.co.uk/automotive-paint-coating-electroplating/automotive-paint/frost-auto-car-paint/frost-high-performance-frame-chassis-paint-aerosol-satin-black-500ml.html
Video produced in conjunction with http://lrparts.net and http://www.frost.co.uk
Corroded galv chassis photo from http://www.blackpaw4x4.com
Additionally, FunRover TV is not to be taken as an instructional video. It is for reference and entertainment purposes. FunRover TV cannot be held responsible for any damage, warranty voids or problems that arise from attempting to carry out work on your own Land Rover. Always work safe and ALWAYS refer to the manual! If you're unsure about anything, talk to a qualified mechanic or car technician.
Painting a galvanized chassis is somewhat controversial, many argue that it doesn’t adhere and it doesn’t add any protection. On the other hand, a galvanized chassis is attractive to thieves. Let us know what you think below.
However, a galvanised chassis can be painted, using commercially available products. Here's the process we used.
Step 1: Remove spikes and impurities
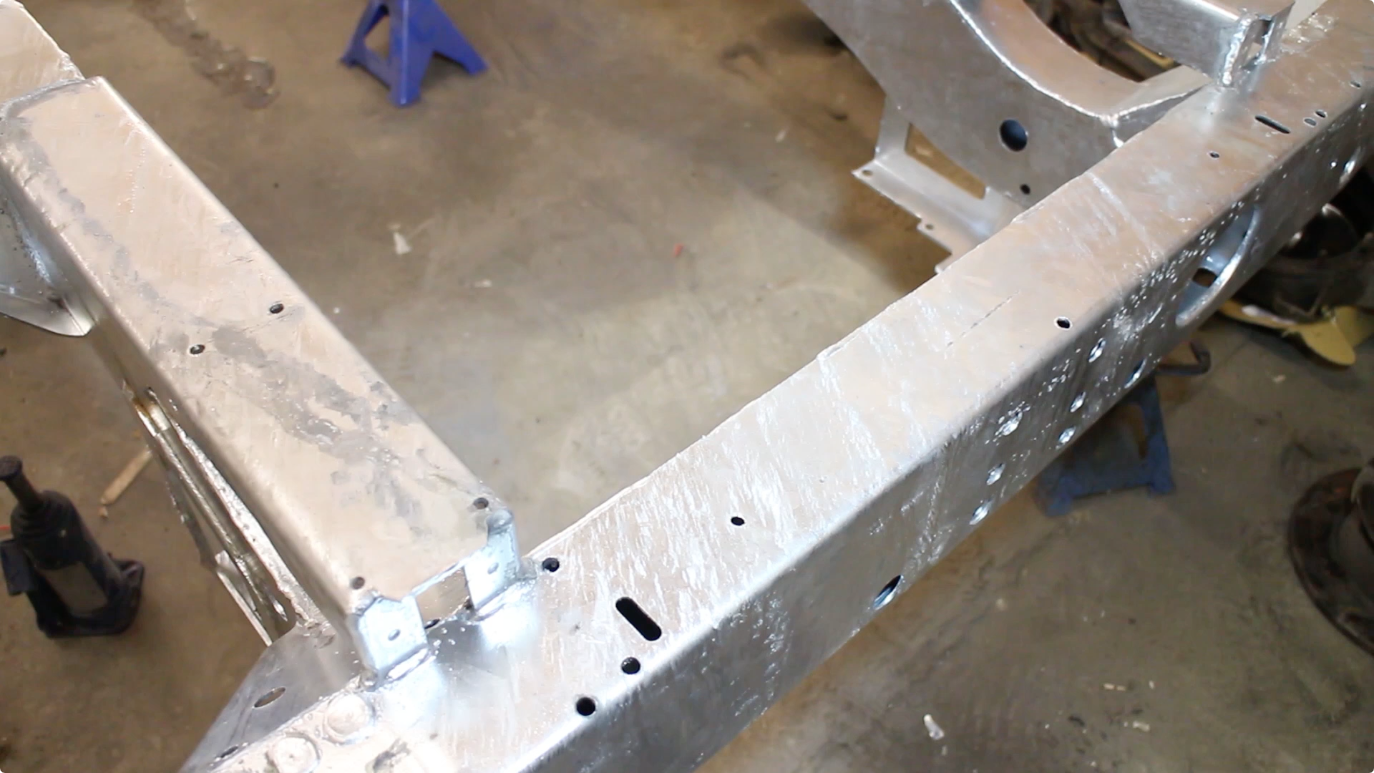
First there are some galv spikes and spatters that need carefully filing smooth, these are a by product from hot dip galvanising.

As the chassis is withdrawn from the molten zinc bath, small (sharp!) drips form and some of the slag from the surface can remain on the chassis surface.
Step 2: Degrease the chassis
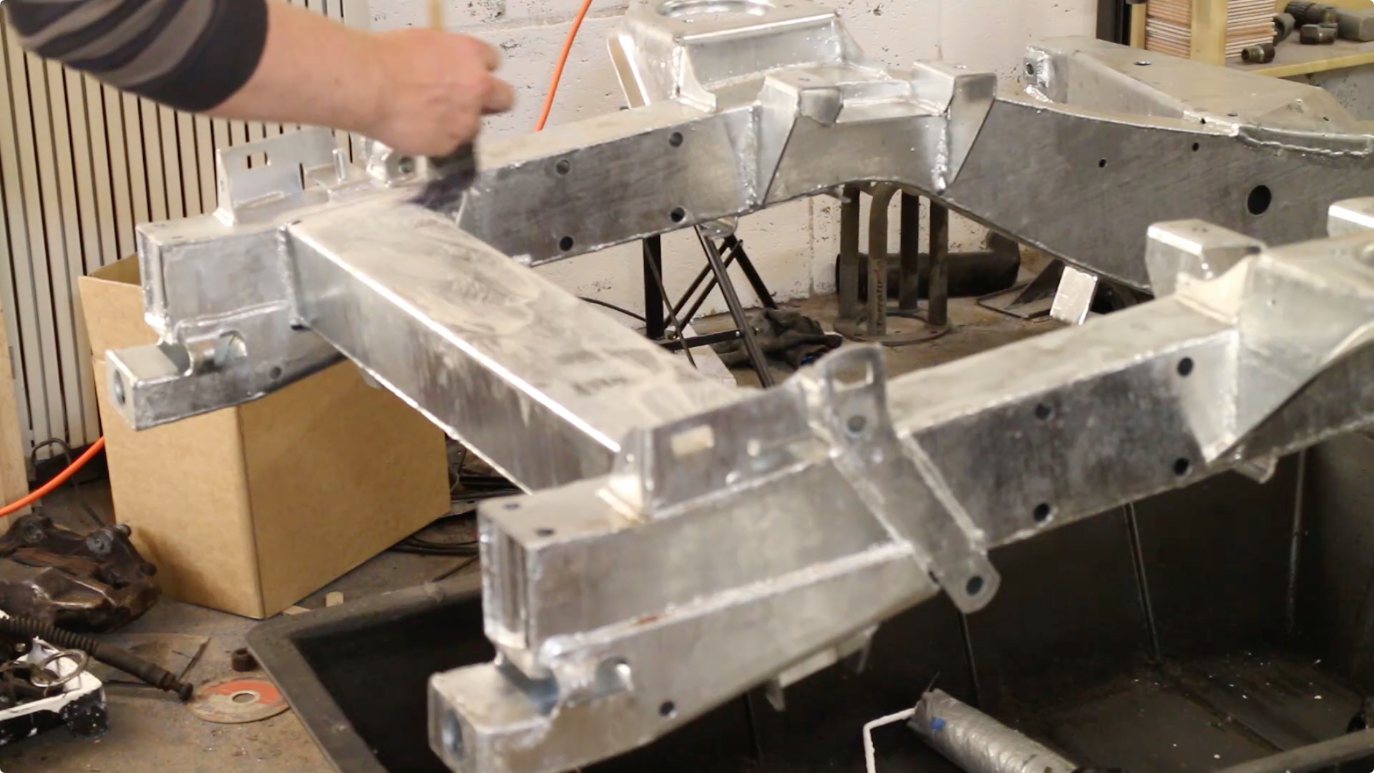
Then the whole chassis needs cleaning with a degreasant to remove grease, oils and even finger print marks that can affect the paint application. You can brush or spray this on. Rinse the detergent off after 5-10 minutes. Allow to fully dry inside and out. We recommend chassis clean from Frost Restorers.
Step 3: T-Wash
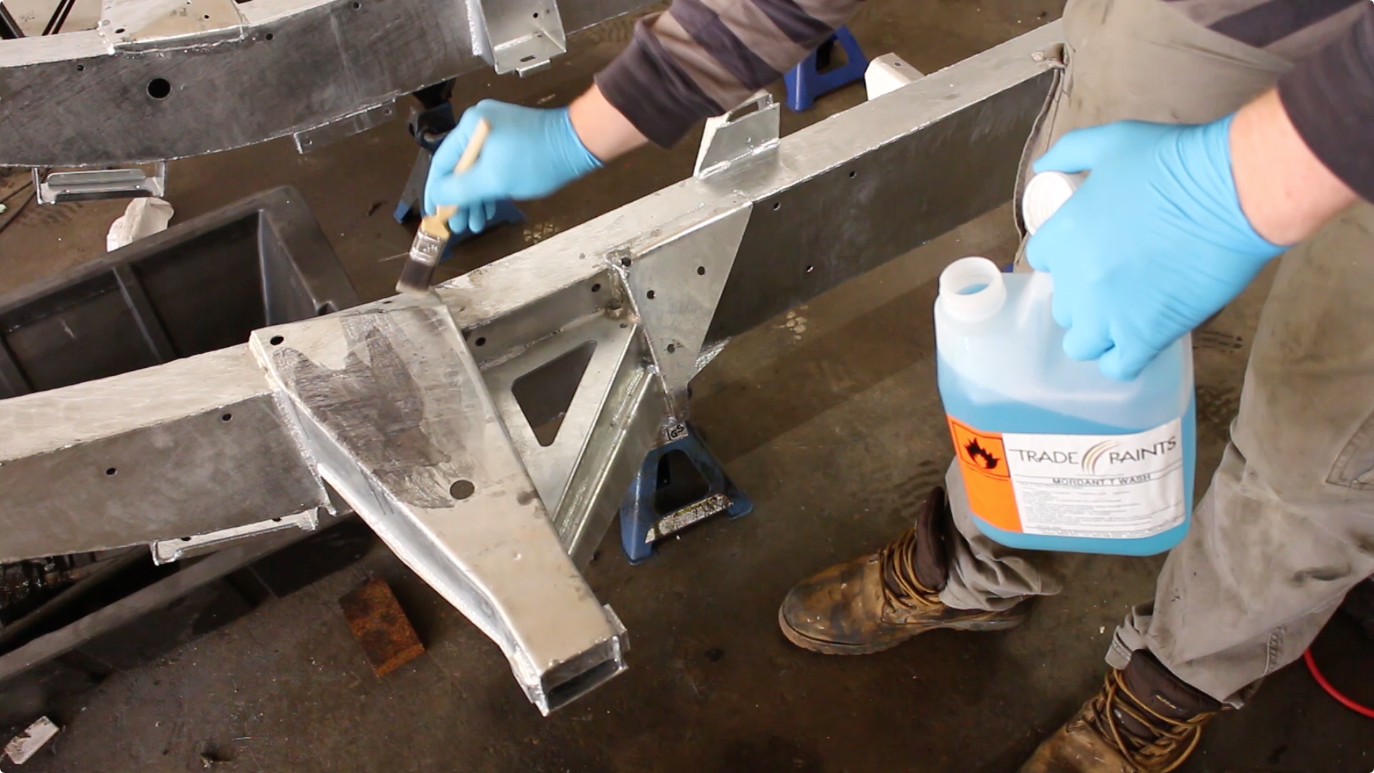
Next, the galv metal needs t-washing - an alkaline solution that readies the galv to accept a paint coating by removing the oxidisation formed in the first 24 hours after hot dipping. We chose to brush this solution on, if you spray it, you should have full safety equipment as it's an unpleasant solution to be breathing in. When applying, the zinc changes colour to a black finish. This shows the reaction has occurred and then after 10-15 minutes, you should wash the t-wash off and leave to dry fully.
Step 4: Etch Primer

Once dry, we can Etch Prime the surface. Etch primer is a mix of acid and primer that chemically bonds (or etches) to bare metal and alloys, improving the key for our subsequent layers. The 2 pack Etch primer we’re using is mixed 1:1, with an activated thinner. Be careful with any 2 pack product, as it contains isocyanates that are highly toxic. Ideally, you would use an air-fed mask when working with any 2 pack product. Leave the etch primer to dry for several days, it is during the drying process that the acid goes to work.
Step 5: Top Coat
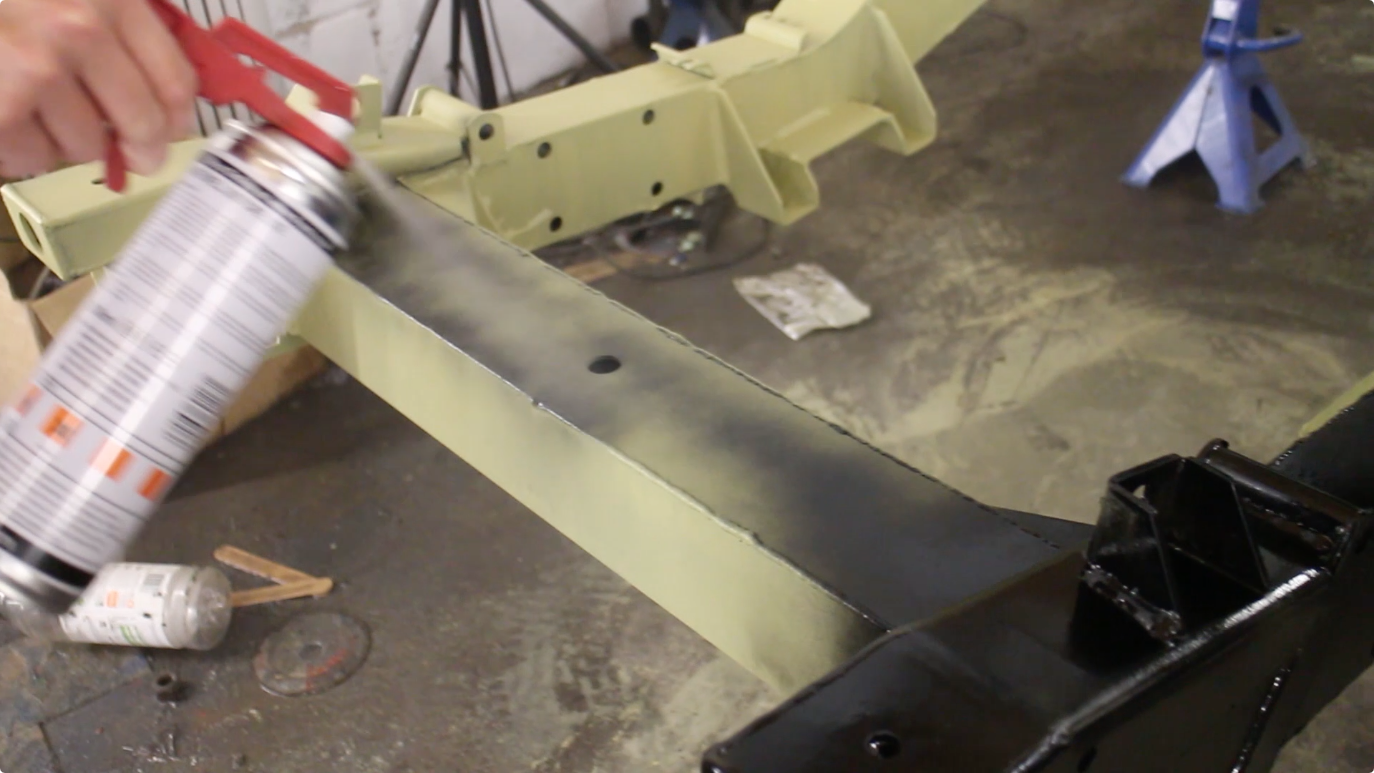
Finally, we can apply our top coat. Frost High Performance Chassis & Frame paint works well here. It dries to a black satin finish that mimics the factory finish on the Defender. This paint is specifically formatted to resist chips and corrosion - as well as oils, fuel and brake fluid. The topcoat is UV stabilised. We've applied 2 coats to the chassis.
Related items for sale on eBay
| Ebay has returned a malformed xml response. This could be due to testing or a bug in the RSS2 Generator. Please check the support forums to see if there are any posts regarding recent RSS2 Generator bugs. CURL error code = 6. (Could not resolve host: rest.ebay.com) |
1 Comment
Leave a Reply
About Us
FunRover is a place for Land Rover enthusiasts to gather as a community and discuss the best 4x4 vehicles ever produced. We're building a library of high quality resources & articles to help owners along in their Land Rover ownership.
Popular Posts
8 Almost Useless Land Rover Mods
11th June 2014
Updated: What Makes a Defender Iconic?
29th November 2011
How to Plastidip your Land Rover Defender
19th August 2014
Hi, Which etch primer and activator did you use? Also, can you suggest quantities for the degreaser, T-wash, primer and paint?