Ben Gribbin
February 21, 2011
Search
Popular Articles
8 Almost Useless Land Rover Mods
11th June 2014
Updated: What Makes a Defender Iconic?
29th November 2011
The first tweak we are making is to give our bulkhead top a re-spray with a reasonably hard-wearing paint, to repair the years of abuse it's had. This is really more of a cosmetic thing than anything else. Whilst we're at it, we've decided to finish it in black (following our colour scheme of black and white - but also, it matches the rest of the interior). This post will really only apply to Hard-top vans, as County's have the bulkhead cut out. That said, you could paint all the interior to suit.
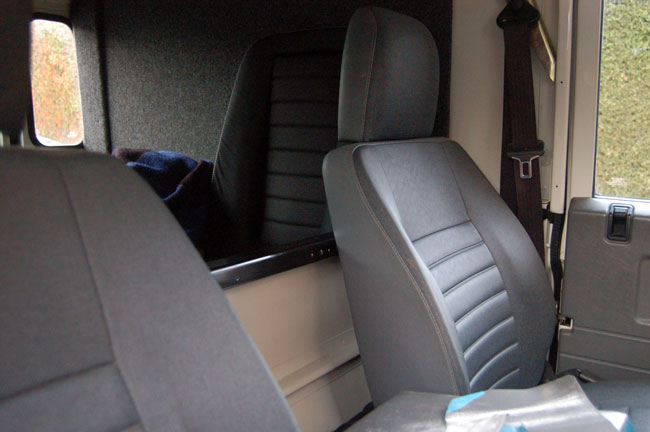
The standard interior, utilitarian to say the least (carpet added by us).
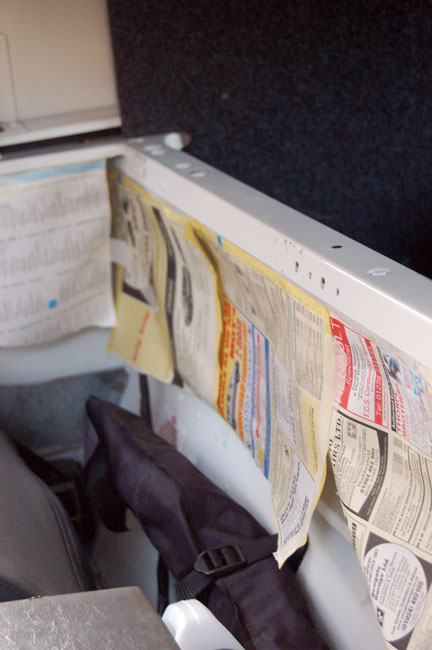
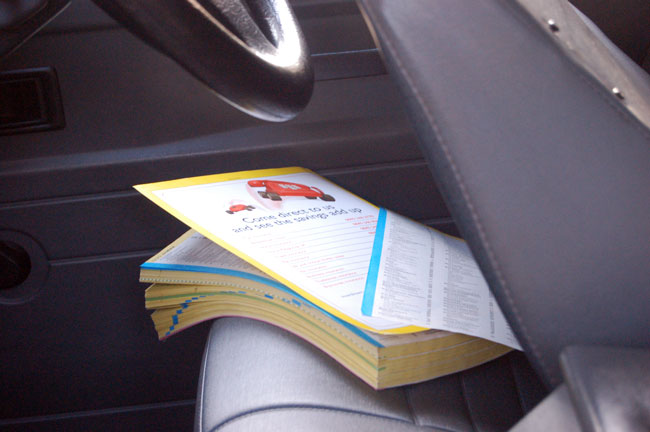
As we didn't have several days handy to strip the entire interior and mask all the glass up, we decided to use a small airbrush and compressor. This reduces overspray to basically nothing and helps save time in masking e.t.c. Using the small compressor, we were able to simply drop the seats forward, and mask off the bulk head front and rear using an old phone book and some masking tape. Low tech it is, but the finished result looks good and helps just finish the inside off.
Method
Bulkhead wiped and masked up
First up, we needed to give the bulkhead a wipe down. Use some tack cloths or similar, but it might be an idea to just give it a clean with warm soapy water first and leave it to dry. The bulkhead, especially in working vans gets covered in years of grime, dust and hula hoops in our case. Once you've done that, drop the front seats forward and use some wet and dry to key the original surface. Once again, give it a wipe over with a tack cloth to remove the dust, or you can use paint thinners as it's a solvent. Then, it's time to mask. We used an old phone book as it provides 1000's of pages and is a great way to recycle. Do it right and do it once. Spending a bit of time here will help save time later having to clean up overspray.
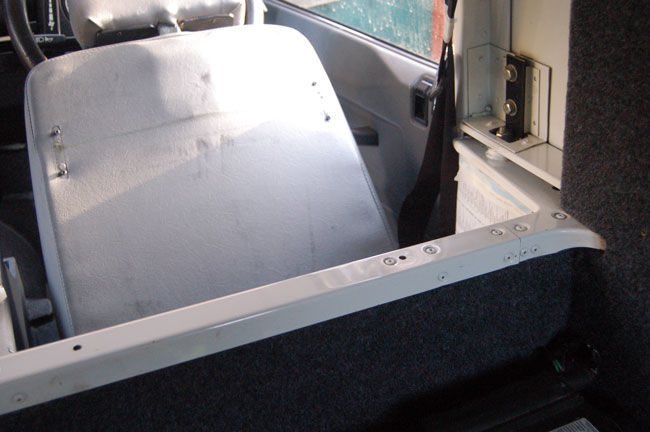
The bulkhead runs the width of the vehicle and is pretty ugly. It's also covered in varnish and glue from previous owners (and probably the Special Vehicles Department).
Here you can see a light wet and dry sand has removed varnish and stains and also keyed off the surface nicely. Some bulk heads might even require a filler depending on how much abuse they've had.
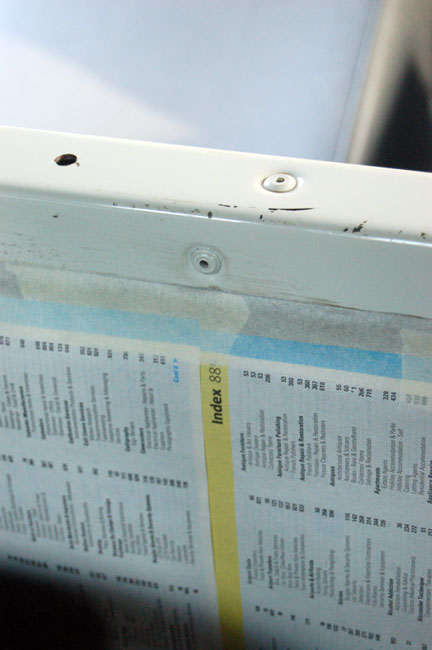
Tape was run along the underside of the bulkhead, facing outwards (cleaned first so the tape would stick). This then meant sheets of paper could be attached and we'd get a nice neat (and speedy) mask.
Next up, it's time to spray. You might give it one final wipe down and then fire up the compressor. We were using a cellulose paint, so it's essential you open all the doors and vents for proper ventilation and ensure you were a good ventilator and eye protection. The paint mixes up at roughly 50 / 50 paint to cellulose. The small airbrush we have has a tiny little pot that looks almost like those jam jars you get at hotels, but one jar is enough to do several coats of a cross member or completely paint up the bulkhead topper.If you masked up properly and removed a little more trim, you could maybe use rattle cans here, but of course there's a lot more spray and it's easier to overspray.
One advantage of painting - you can go right to the very edge of the van sides, whereas covering the bulkhead with a c-section of aluminium or plastic would only cover the straight parts, up to where the bulkhead flairs out. Still, it would be nice if a company produced some sort of bulkhead top protector.
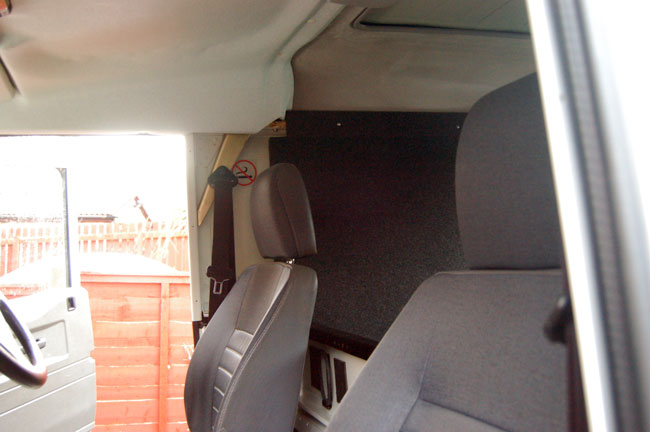
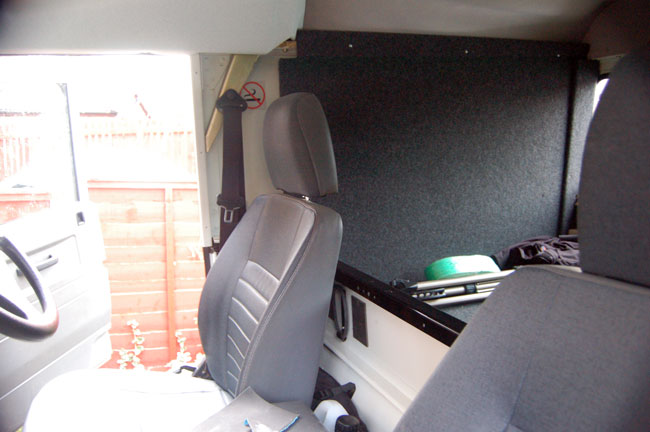
Once finished, the bulkhead blends in a little more and doesn't have any unsightly marks, chips or splodges of varnish.
Now you've done spraying, just leave it to dry. With cellulose paints, it would be a good idea to keeping airing the car for a few hours, otherwise you've got all those fumes kicking about in the cab. Next time round, we'll fit an Exmoor Trim Leather Gear Gaitor and in the future, we've got seat re-trimming, a custom box to be made, the cubby box to refinish and sound deadening to look into. Stay tuned.
Related items for sale on eBay
| Ebay has returned a malformed xml response. This could be due to testing or a bug in the RSS2 Generator. Please check the support forums to see if there are any posts regarding recent RSS2 Generator bugs. CURL error code = 6. (Could not resolve host: rest.ebay.com) |
About Us
FunRover is a place for Land Rover enthusiasts to gather as a community and discuss the best 4x4 vehicles ever produced. We're building a library of high quality resources & articles to help owners along in their Land Rover ownership.
Popular Posts
8 Almost Useless Land Rover Mods
11th June 2014
Updated: What Makes a Defender Iconic?
29th November 2011
How to Plastidip your Land Rover Defender
19th August 2014


