
Ben Gribbin
November 30, 2015
Share post:


-

12K Subscribers
Subscribe
Search
Popular Articles
8 Almost Useless Land Rover Mods
11th June 2014
Updated: What Makes a Defender Iconic?
29th November 2011

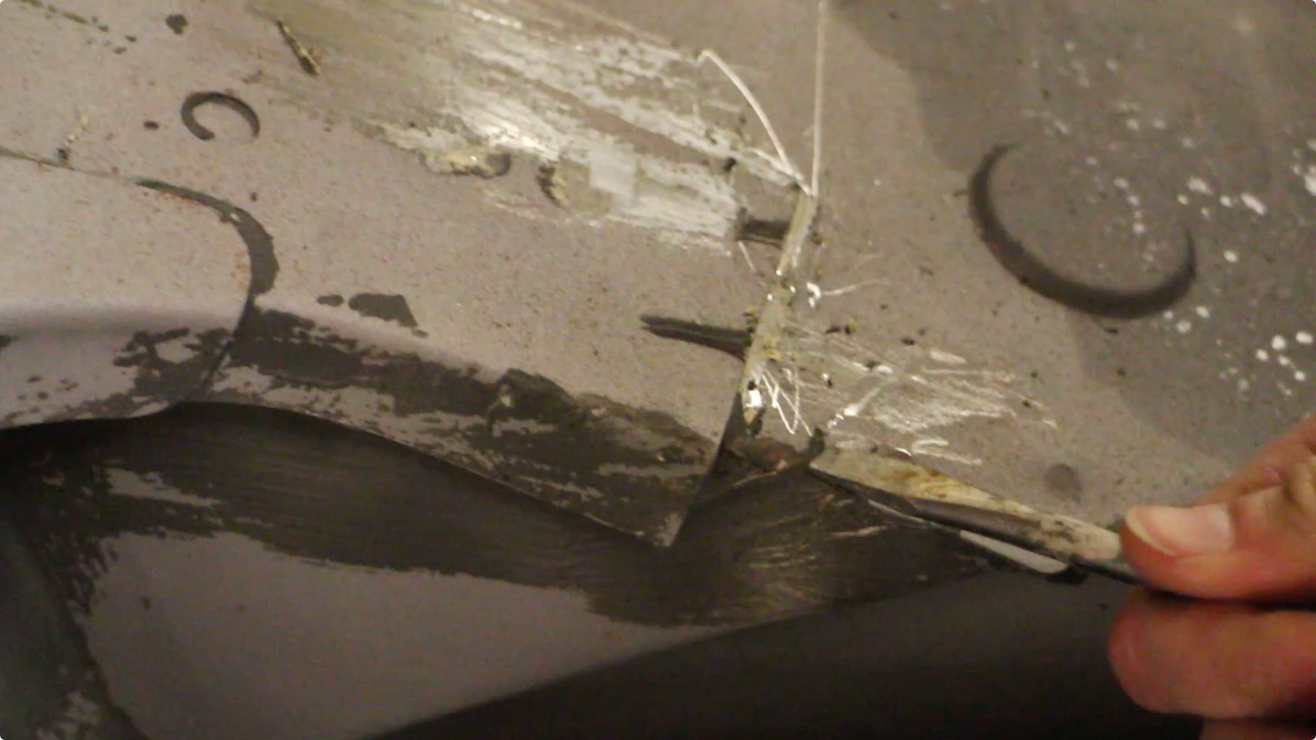
This week, I've had my better half working on the bulkhead, removing the remains of the seam sealer so the bulkhead can be sent off to the shot blasters, then to the galvanisers and back to me for painting.
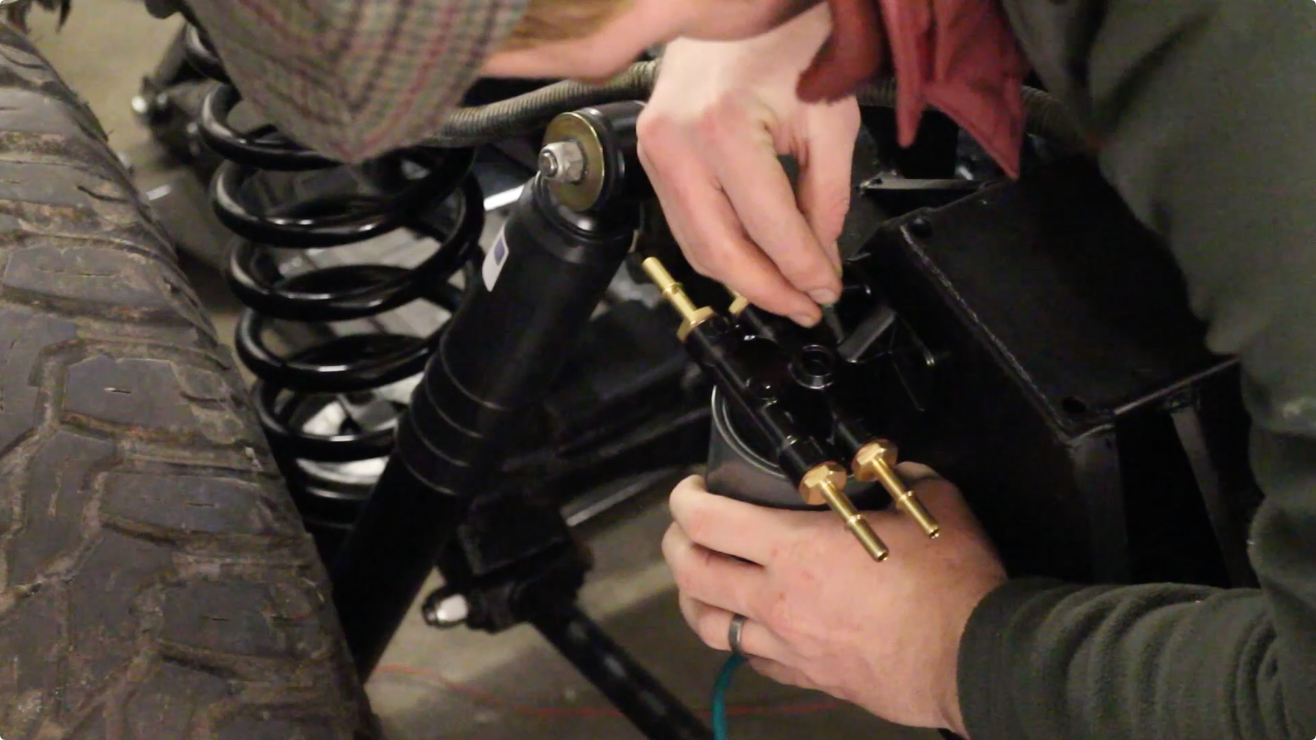
The filter housing corrodes on the TD5, the one we removed was unusable. I replaced it with this new part which is anodised and also took the time to spray the casting cavity with Dinitrol.
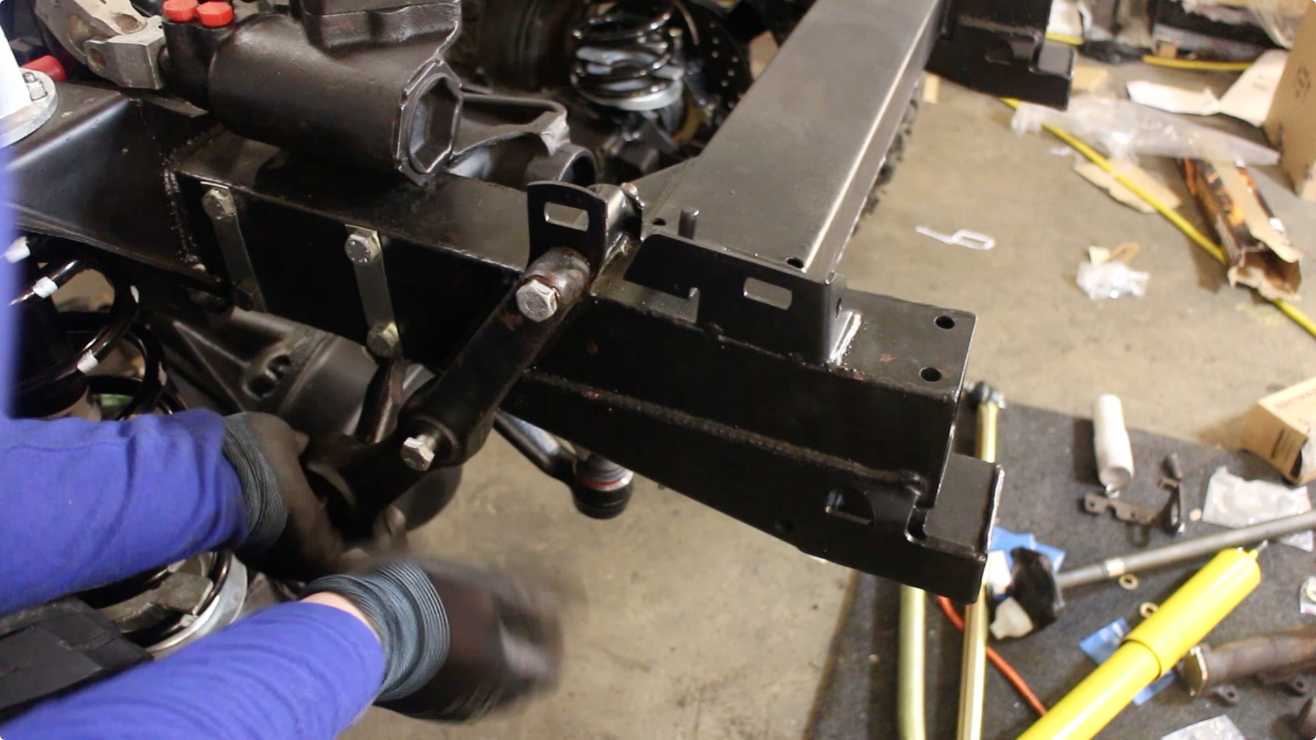
Then I fitted up this bracket, ready to accept the panhard rod.

I've chosen to use a heavy duty adjustable panhard rod from Terrafirma. It's well made and looks good. I had to tap it in place with a soft faced hammer.
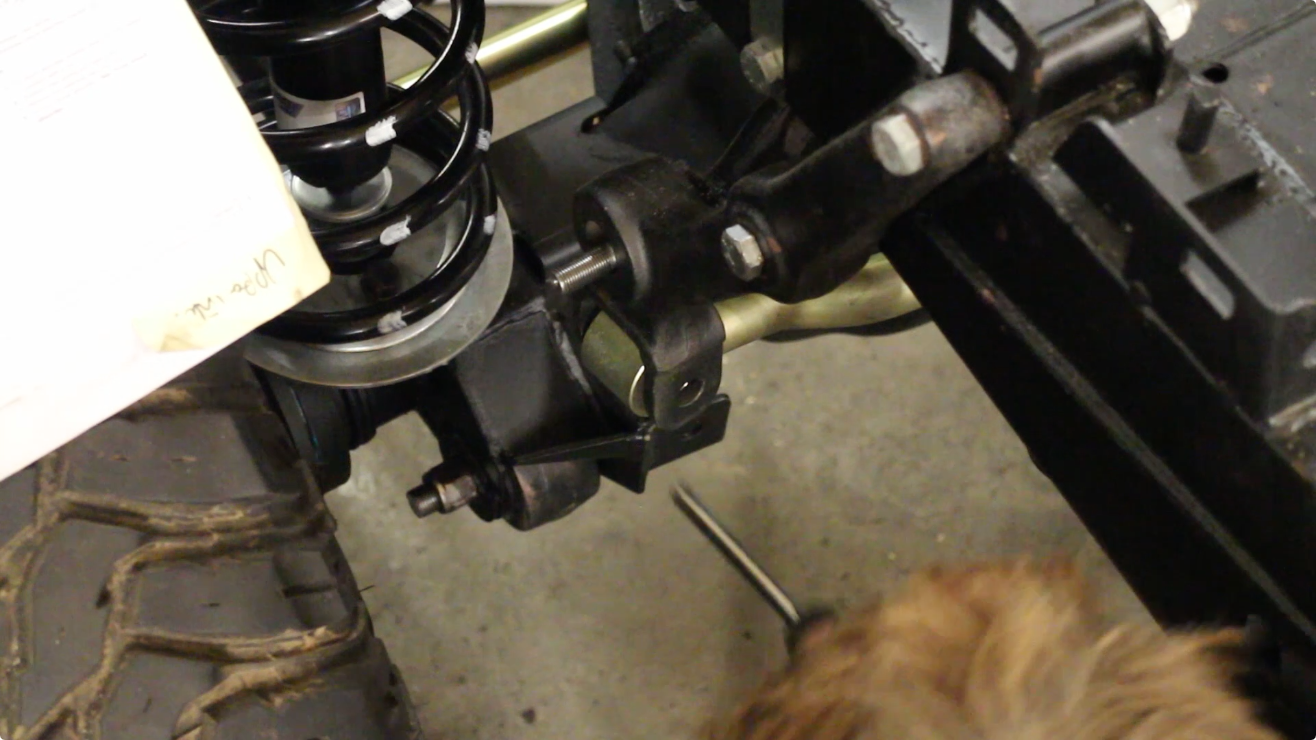
To get it to fit, I had to adjust it slightly - then use a screwdriver to align the bolt hole. Both bolts then need torquing down. I'm having the Defender professionally set-up and aligned at a later date, so the steering arms e.t.c will be adjusted then.

Then I fitted the cross rod eye into the steering arm. This has a counter clockwise thread so it tightens opposite to what you're normally used to.
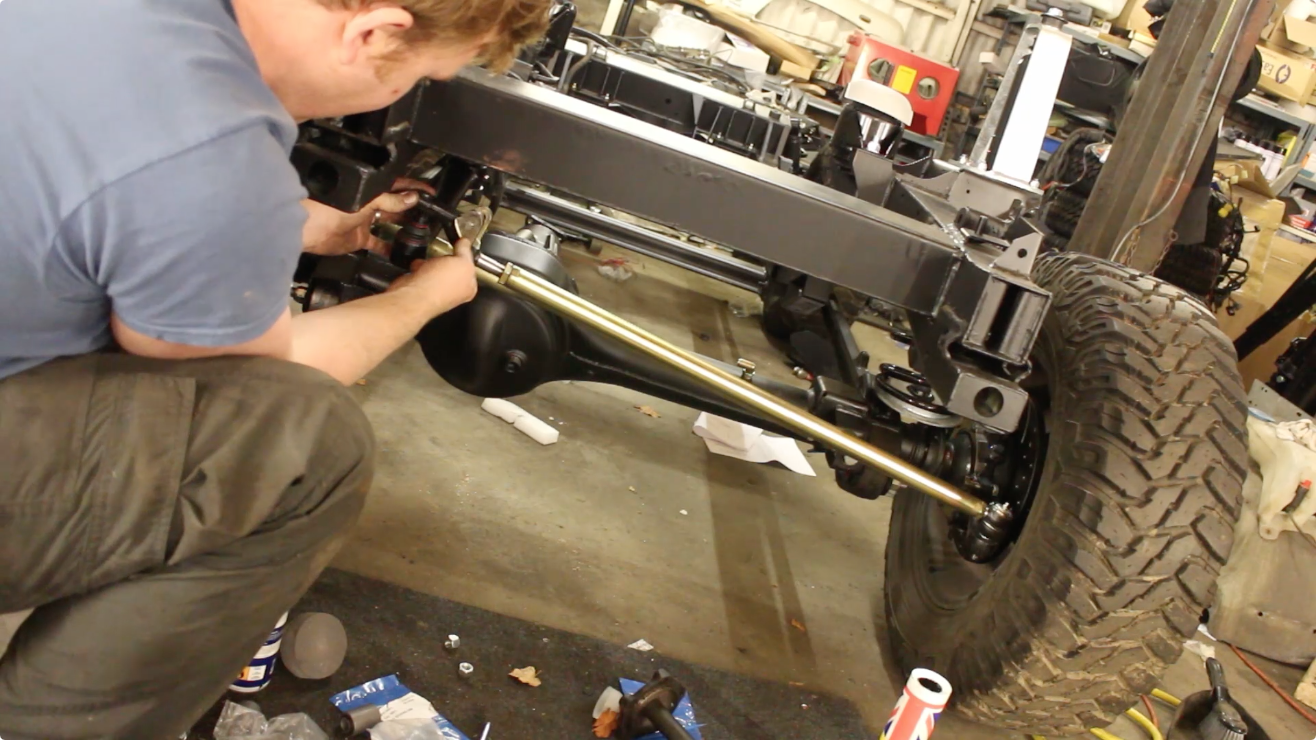
Then offered up the steering arm. Unfortunately, I've lost the castellated nuts that go onto the track rods so will need to replace those, along with the split pins.

Next I dropped in the new Old Man Emu steering damper. This is a very heavy duty damper, it's fairly easy to fit though I did have to file down the lower bush race slightly (mostly just the powder coat really).
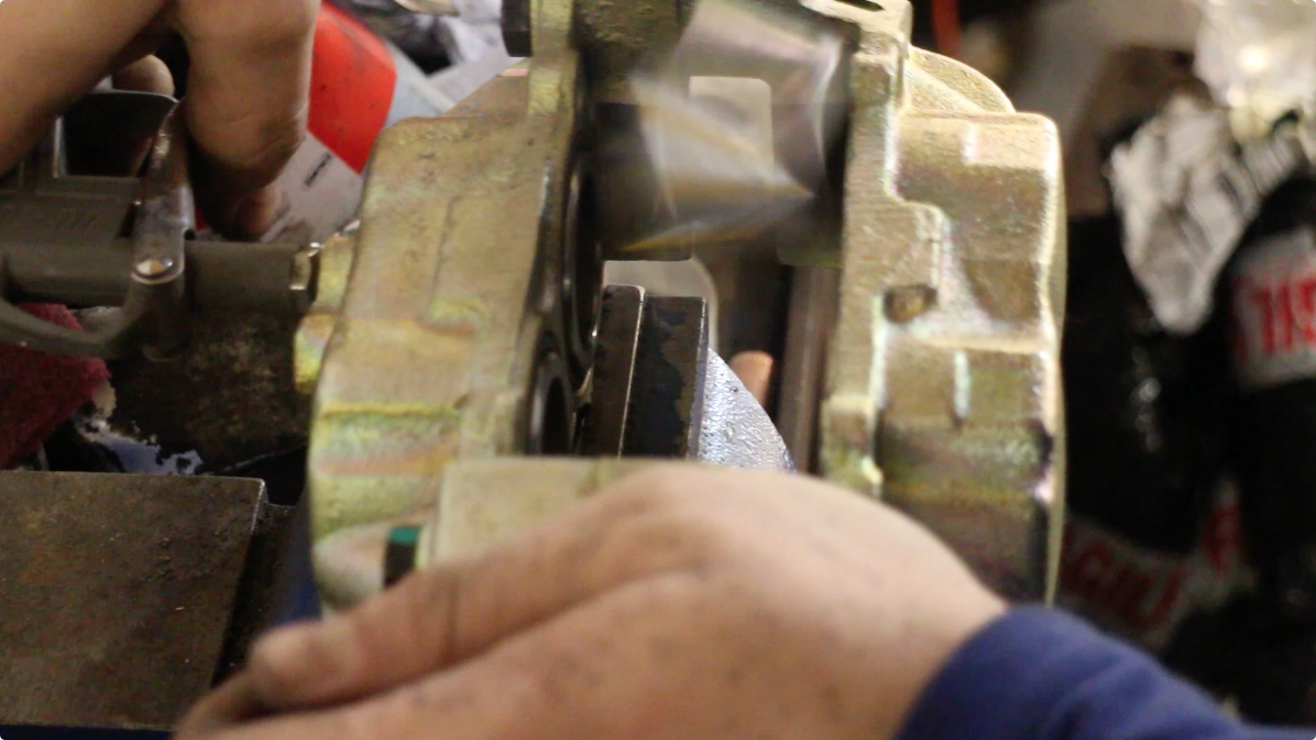
Moving onto the brake callipers, we were shot blasting our old ones, which brought them up a treat. But when you have 4 callipers that need blasting, painting, the seals replacing then refitting 0 the time taken quickly adds up. So, the decision was made to replace them with 4 OEM new brake callipers. We are also swapping the standard steel piston callipers with stainless steel replacements. In the past, I've had to rebuild the brakes almost everytime I swapped brake pads - as we cover very little miles in the Land Rover, it allows the callipers to corrode. Then when you come along to replace the pads, the callipers will not retract. Lots of people say "just force them", but if your pistons are binding, this is more friction and thus a less efficient brake.
The easiest way to remove the old pistons is using an air line and blow gun. Be careful though, they fly out with tremendous force! I've had caliber pistons fly 30 feet easily! Then unbolt the calliper halves (this is not recommended by us or any brake manufacturer) but if you do so - you must have a spotlessly clean work area.
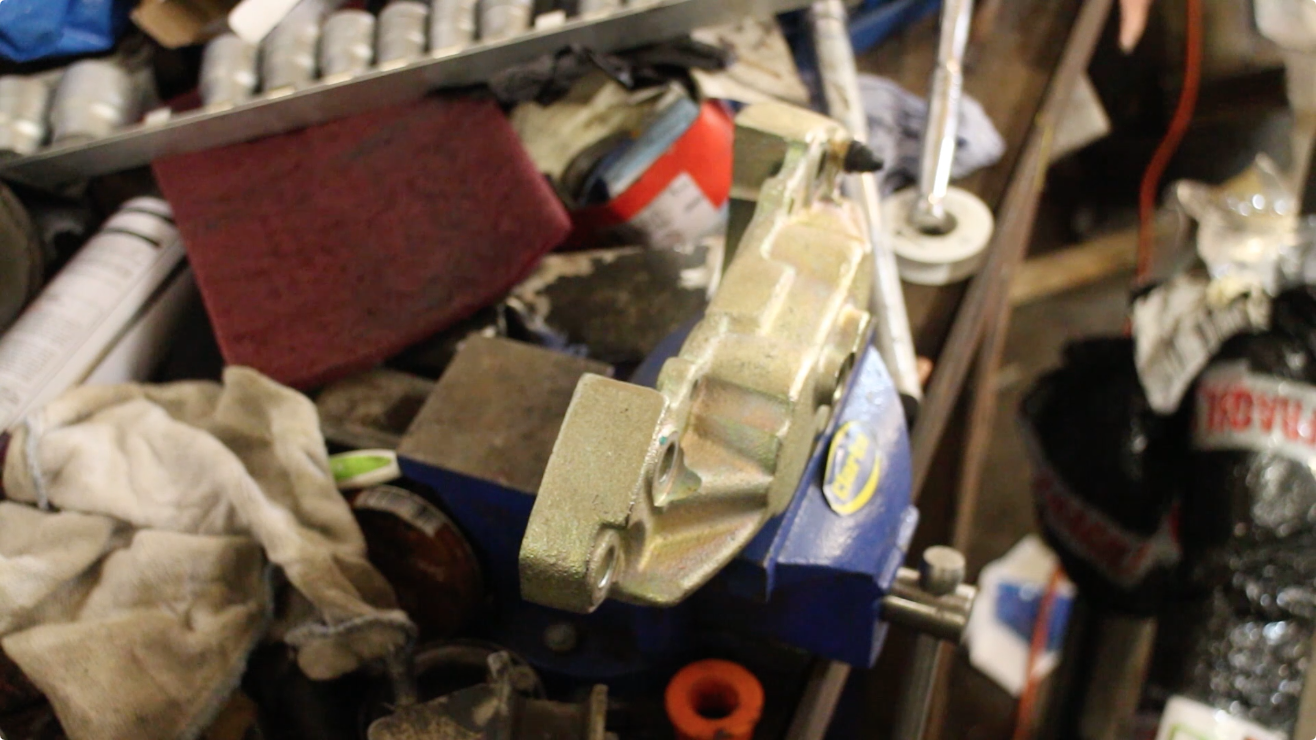
This is the stainless steel replacement, they can be picked up quite reasonably nowadays and should prevent any problems in the future!
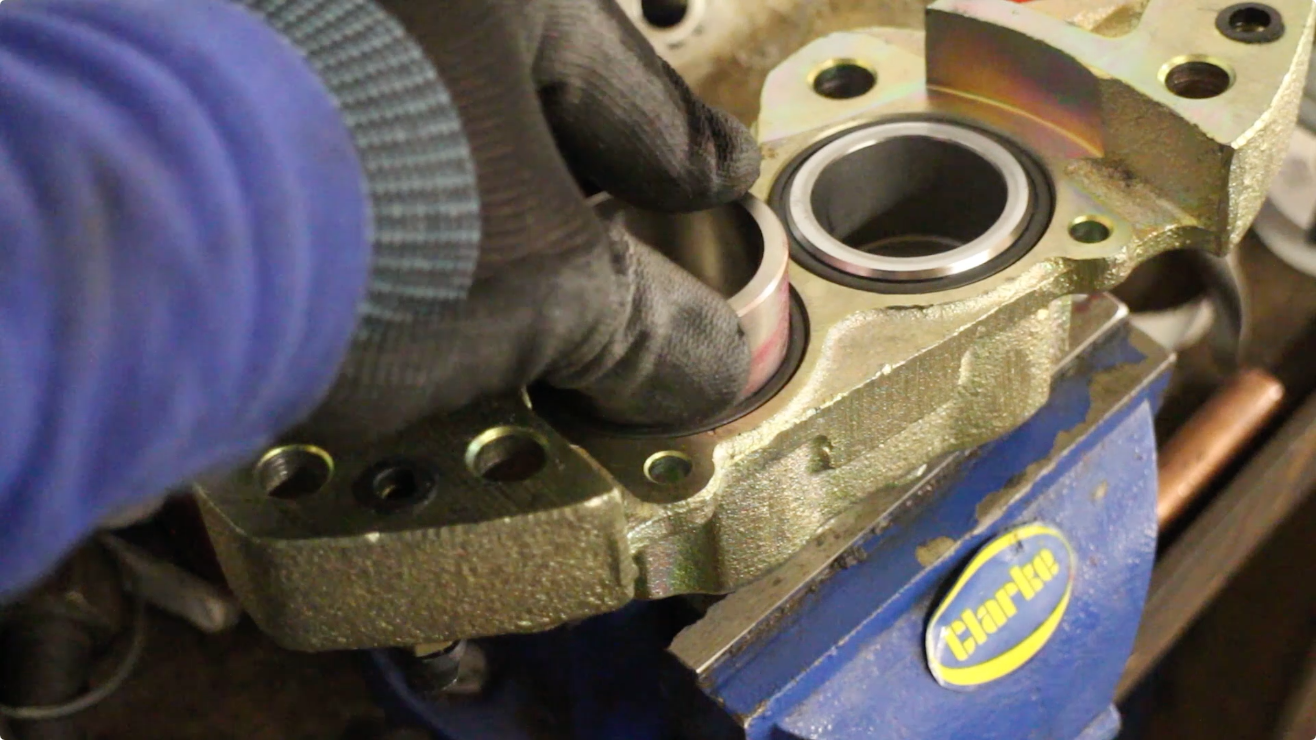
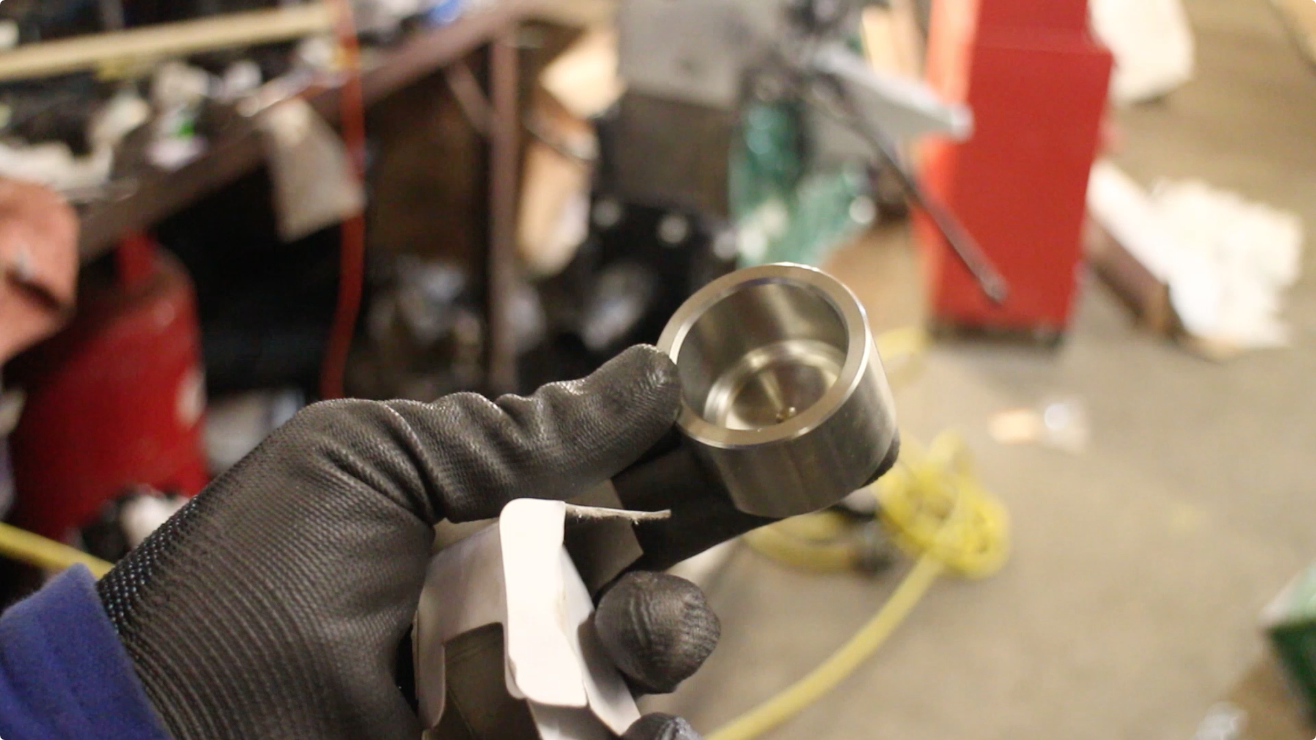
When assembling, smear Red Rubber Grease on the piston calliper. These has numerous benefits:
- It prolongs the life of the rubber seal
- It reduces the effects of wear from moving parts
- It helps helps to resist water ingress / hydroscopic action
- It's a rust inhibitor
Once smeared in red rubber grease, the piston should slide smoothly back into place. Repeat for the remaining pistons. When doing the calliper bolts up, it's best to do these as tight as you can.
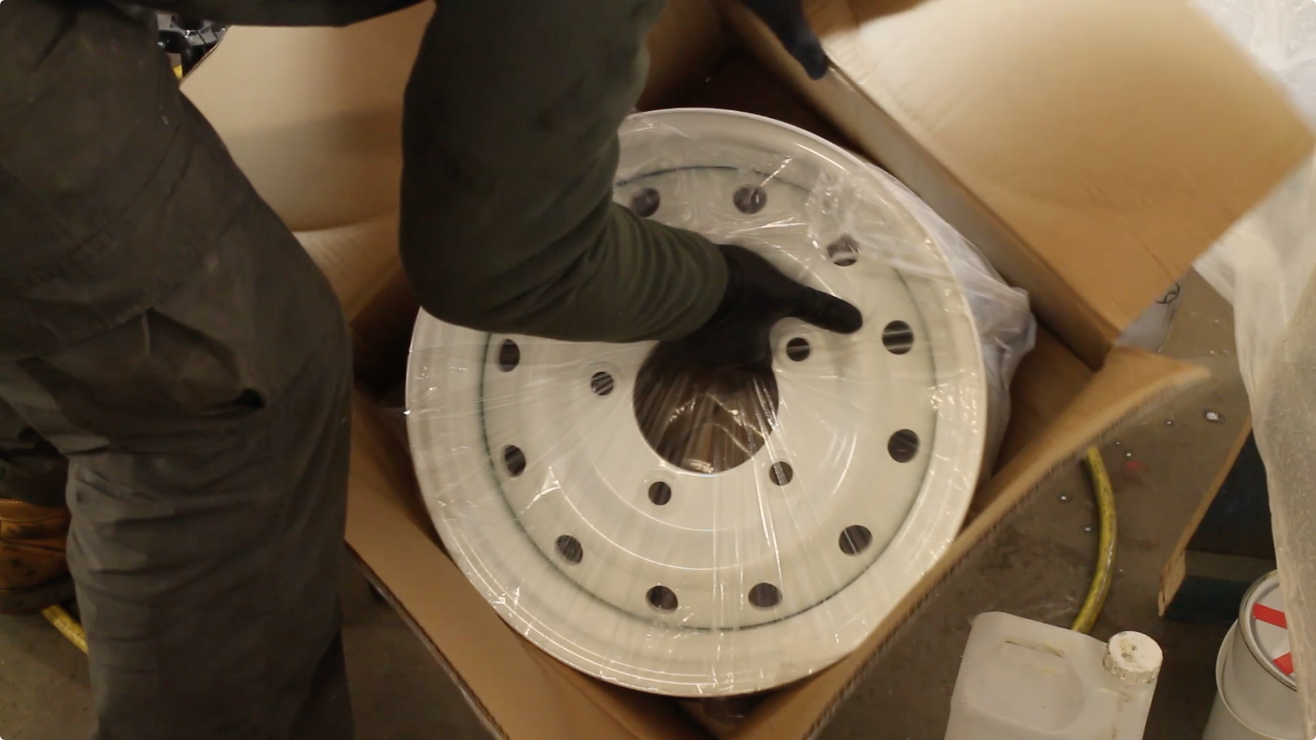
We sold our 90's old wheels. These were aftermarket & oversized alloys that wouldn't suit our build, to a fellow Land Rover enthusiast and FunRover fan. In their place, we're fitting Wolf steel rims. We're trying to stick very closely to Land Rover factory fitment options so these suit our build perfectly, whilst still giving us a more vintage Land Rover appearance. Wolf rims are also impressively strong with a high load ratings per corner. These need painting though to match our concept drawings. We've chosen the classic Land Rover wheel colour: Limestone.
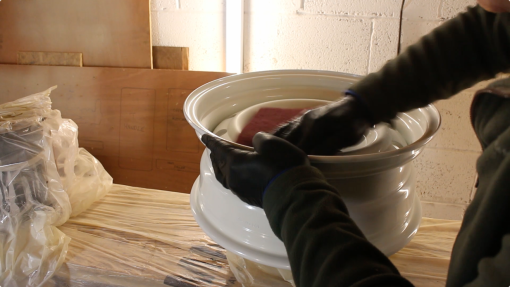
Thoroughly keying off our wheels with a 3M red scotchbrite pad, and blowing away the resulting dust. Anywhere that isn't keyed off will likely not adhere correctly with the paint.
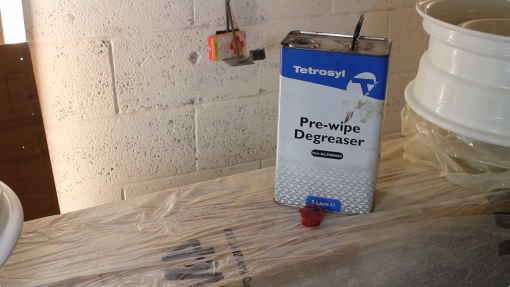
The whole rim was degreased. After the degreaser evaporated, it was then tack clothed.
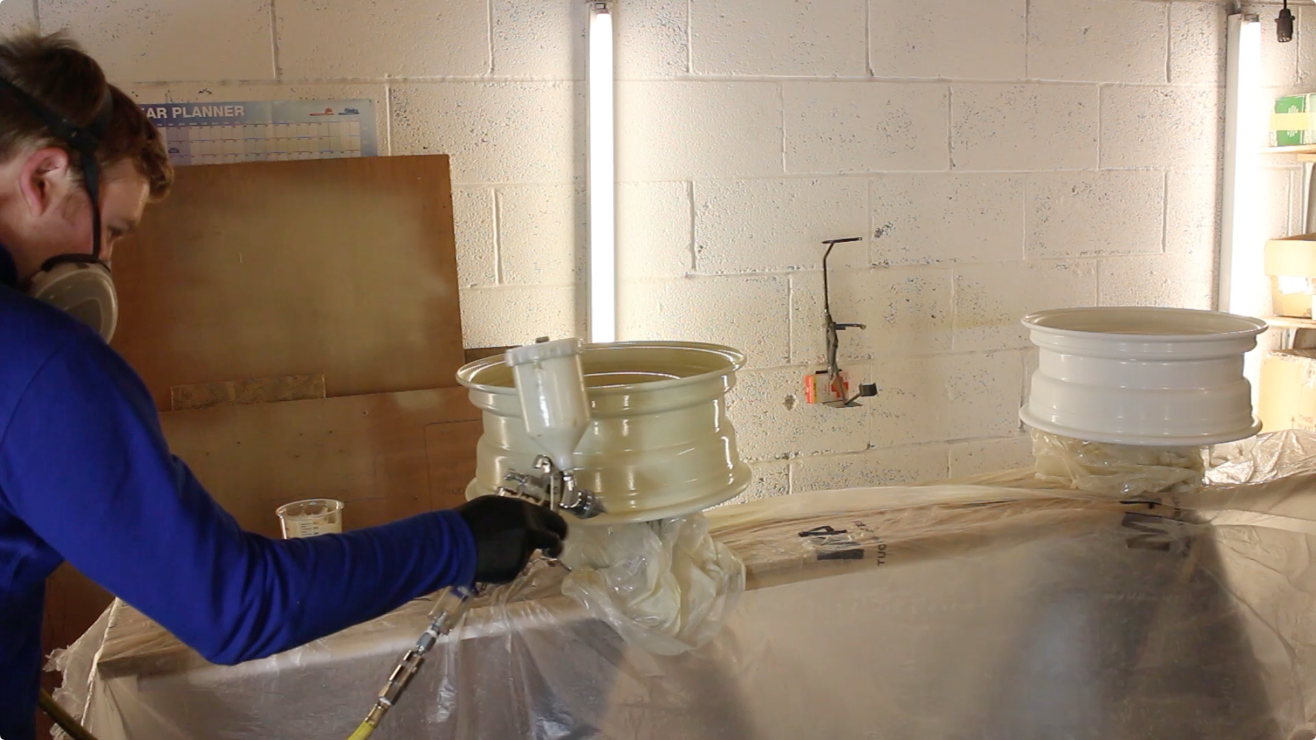
Finally, onto painting. We're using a single pack, matt finish acrylic enamel. This one uses Xylene industrial thinners, at a ratio of around 10 / 15%. However, since it's so cold in the workshop, I had to add more to suit. A light coat of paint was added for the first layer. Subsequent layers were medium wet. We;d been firing up the space heater prior to painting to raise the ambient temperature and burn off some of the humidity. Paints work best when applied around 20 degrees, so the closer to this mark you get, the better.
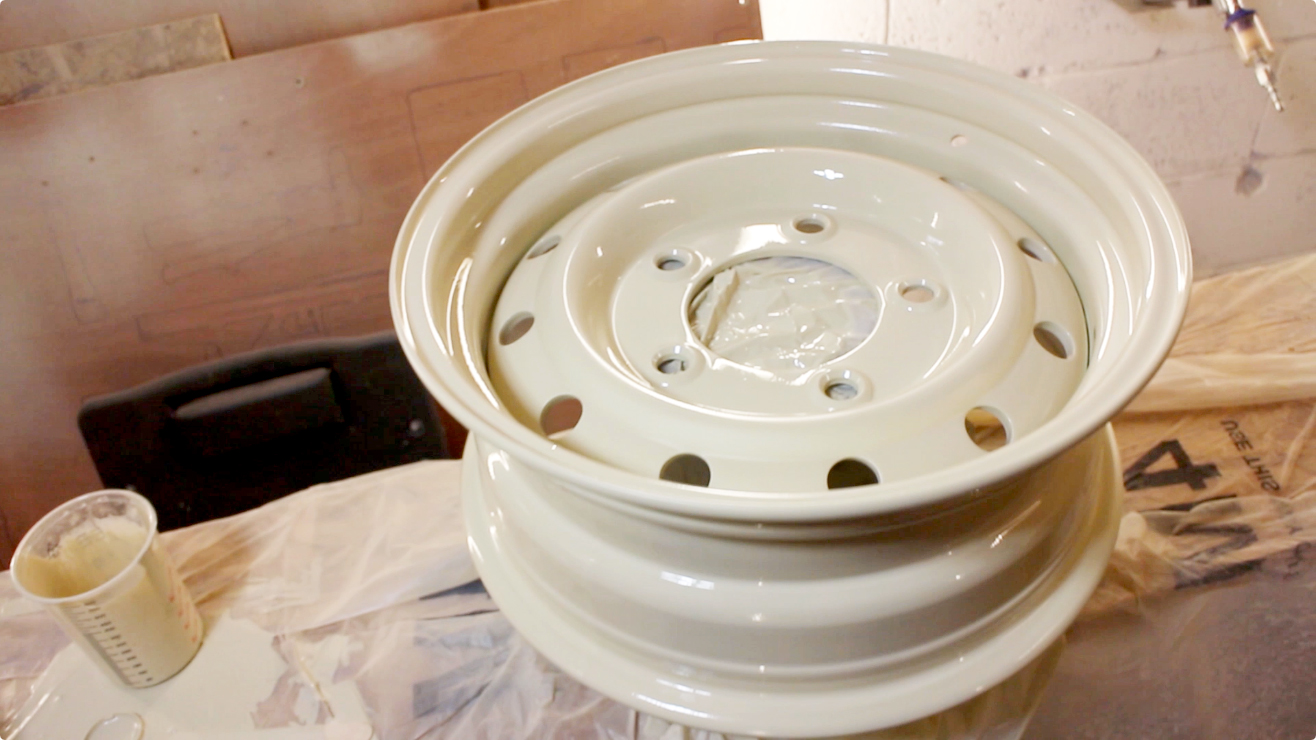
The wheels will then be left to cure for a week at least before mounting the tyres. The coat here is still drying, hence the high gloss appearance.
Related items for sale on eBay
| Ebay has returned a malformed xml response. This could be due to testing or a bug in the RSS2 Generator. Please check the support forums to see if there are any posts regarding recent RSS2 Generator bugs. CURL error code = 6. (Could not resolve host: rest.ebay.com) |
About Us
FunRover is a place for Land Rover enthusiasts to gather as a community and discuss the best 4x4 vehicles ever produced. We're building a library of high quality resources & articles to help owners along in their Land Rover ownership.
Popular Posts
8 Almost Useless Land Rover Mods
11th June 2014
Updated: What Makes a Defender Iconic?
29th November 2011
How to Plastidip your Land Rover Defender
19th August 2014