

Ben Gribbin
November 17, 2015
Share post:


-

12K Subscribers
Subscribe
Search
Popular Articles
8 Almost Useless Land Rover Mods
11th June 2014
Updated: What Makes a Defender Iconic?
29th November 2011

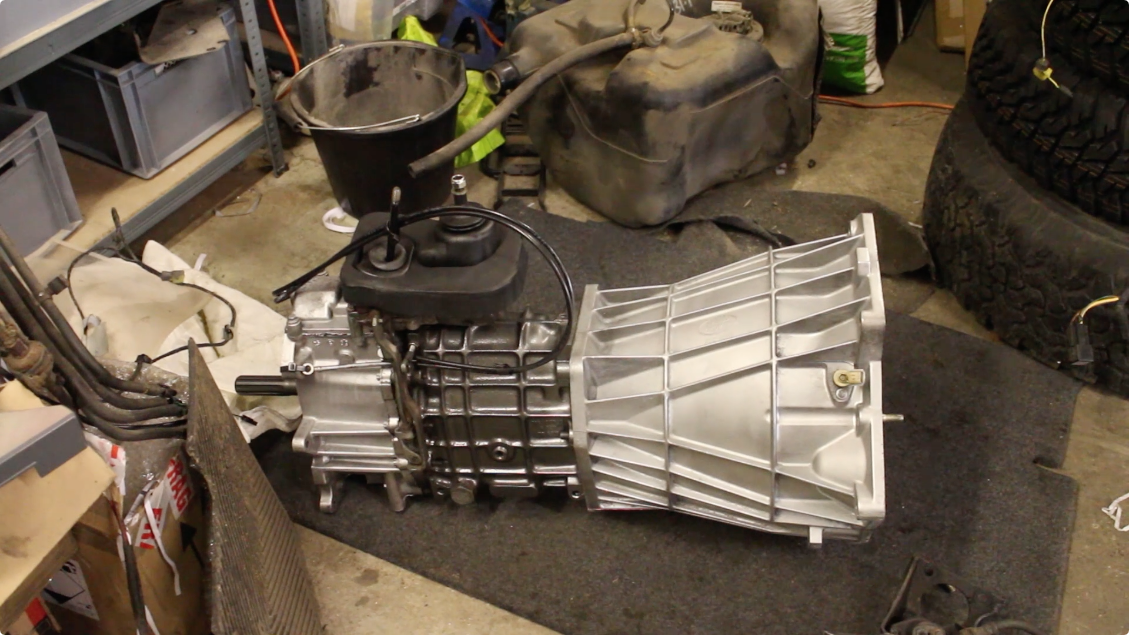
Recon Gearboxes LTD completed our R380 and it's looking superb! We're having the brackets blasted and galved so hope to put that back in soon!
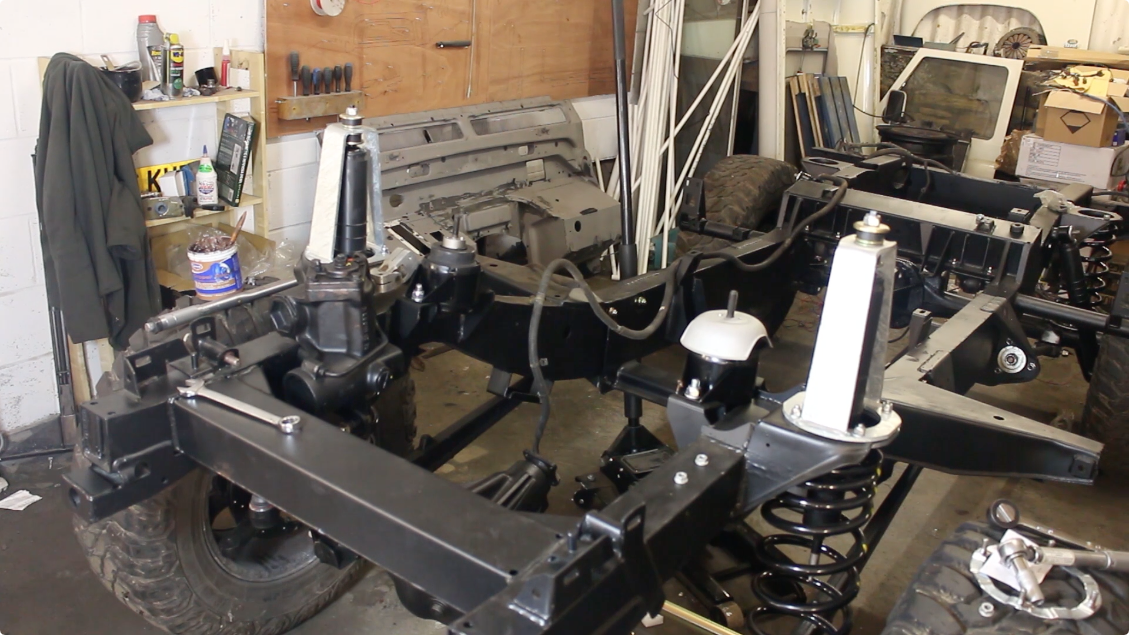
Following a suggestion from one of the forum posts we've been running for the build, we swapped our Britpart galvanised turrets for some heavy duty Gwynn Lewis turrets. These replacement turrets are stronger, galvanised, easier to clean / maintain and once fitted, will make shock replacement much faster! These have been designed for challenge trucks and are extremely well made. We're also fitting matching Gwynn Lewis turret rings. These have 10.9 tensile bolts welded into the ring and feature a chamfered edge to stop tyres rubbing at full articulation.
Fitting these turrets is a doddle. The easiest way is to undo the lower nut on the shock, then jack the chassis up to release the spring from it's seat about an inch or two.
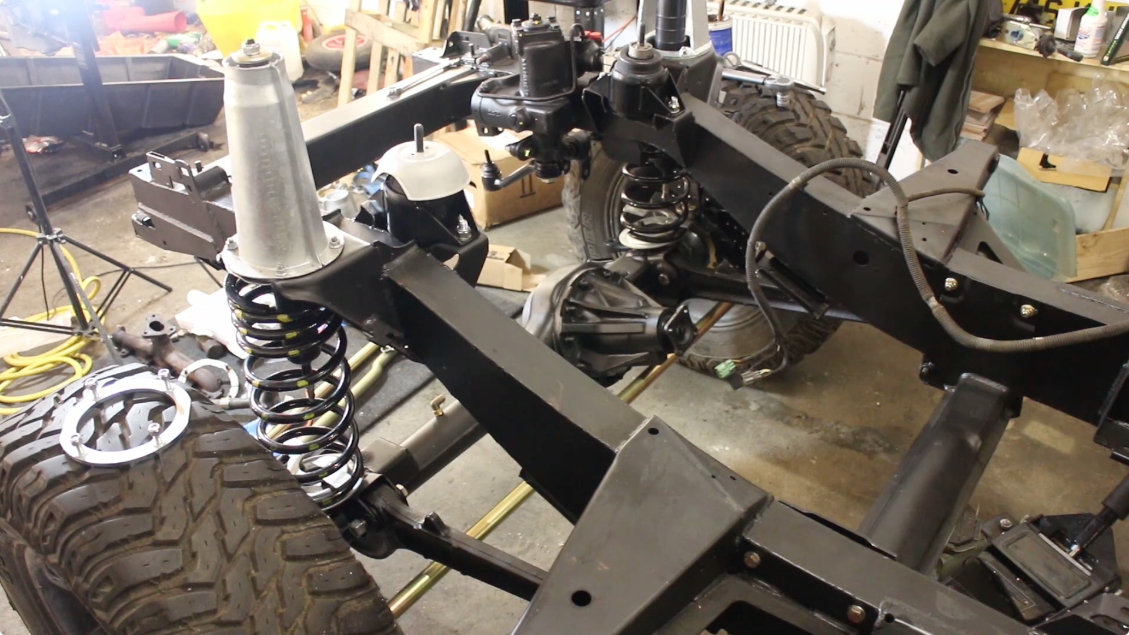
Then, if you unbolt the access panel in the wheel arch, and carefully undo the four nuts on the ring, the whole assembly will lift out in one piece. You may have to use a propane torch on the nuts as these can shear quite easily on corroded parts.
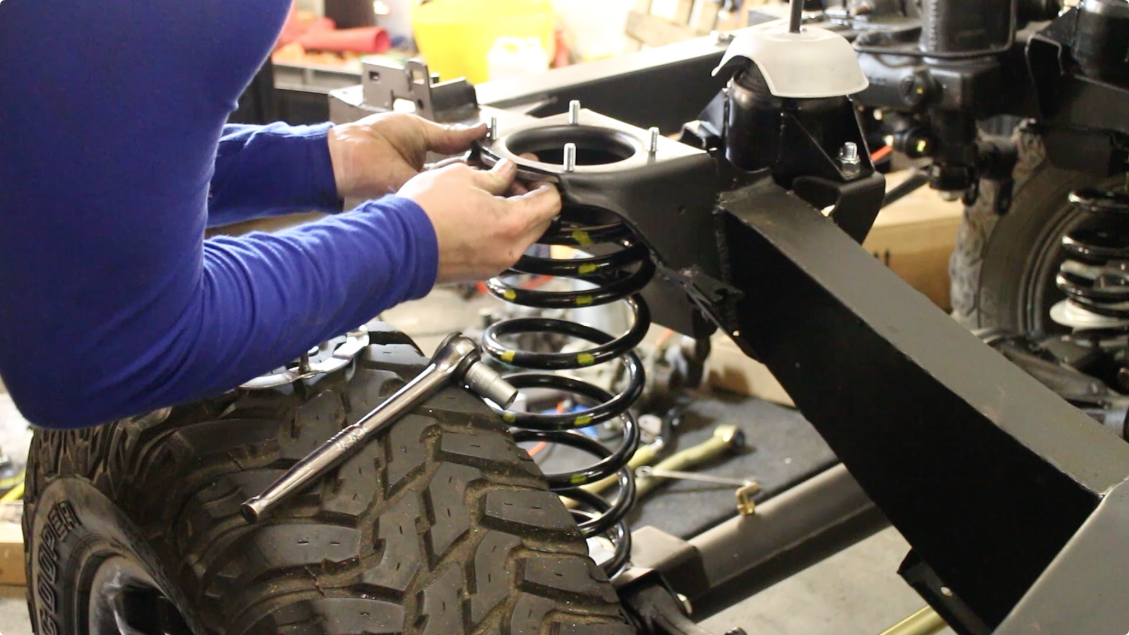
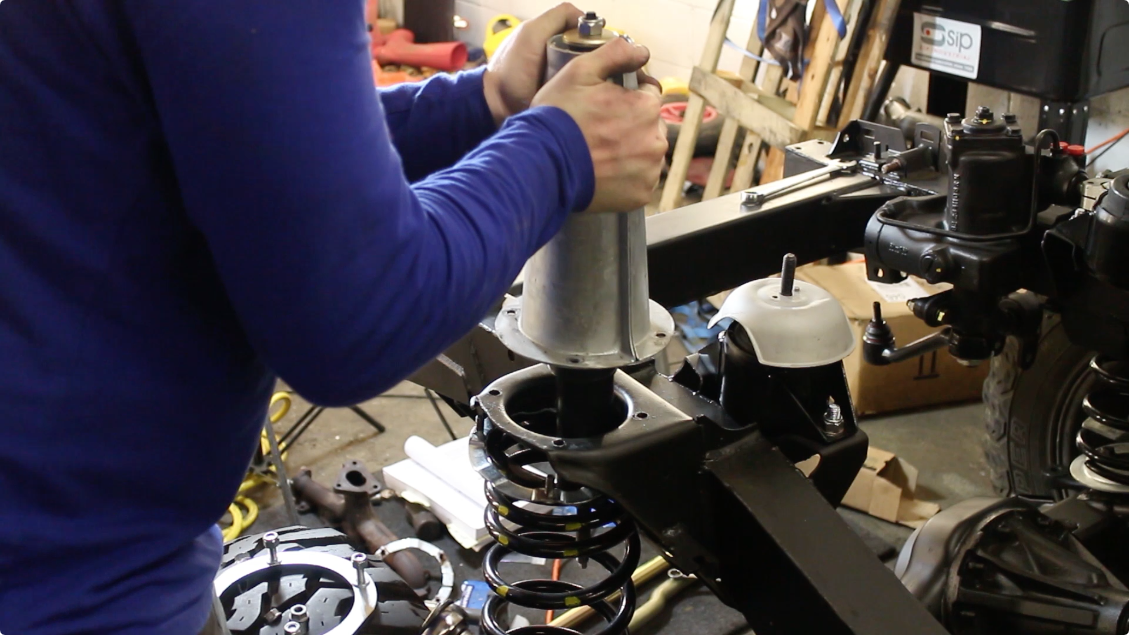
Then the ring can be slipped into place, the turret offered up and bolted down to 24nm or 17.7lb ft.


One key benefit of the Gwynn Lewis shock is that you can fit a shock absorber without removing the turret or spring.
Engine Painting
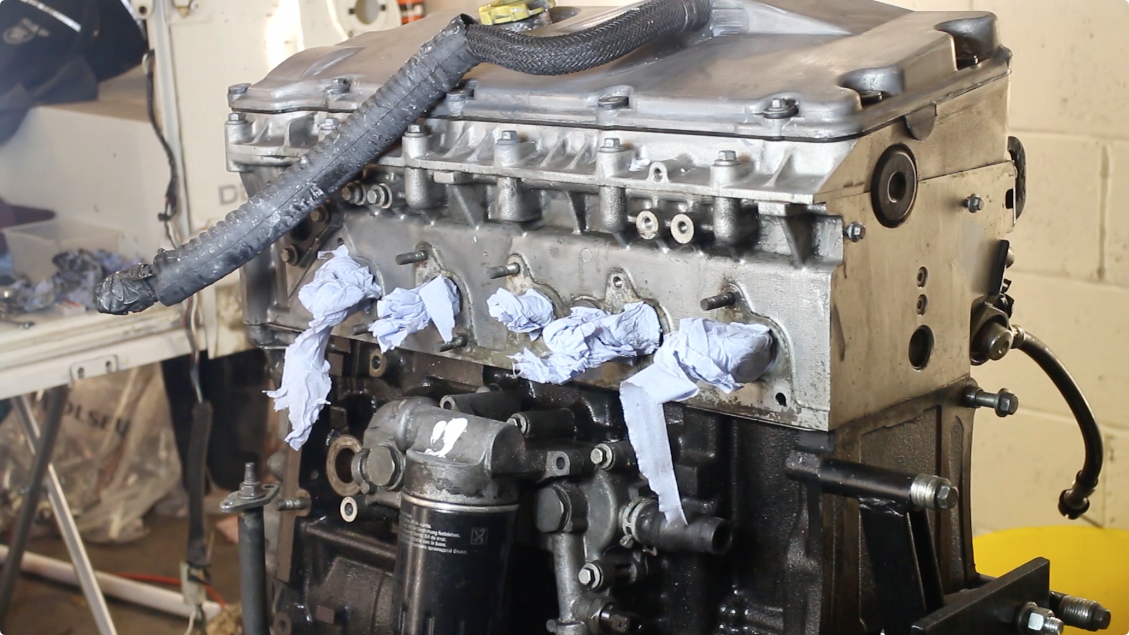
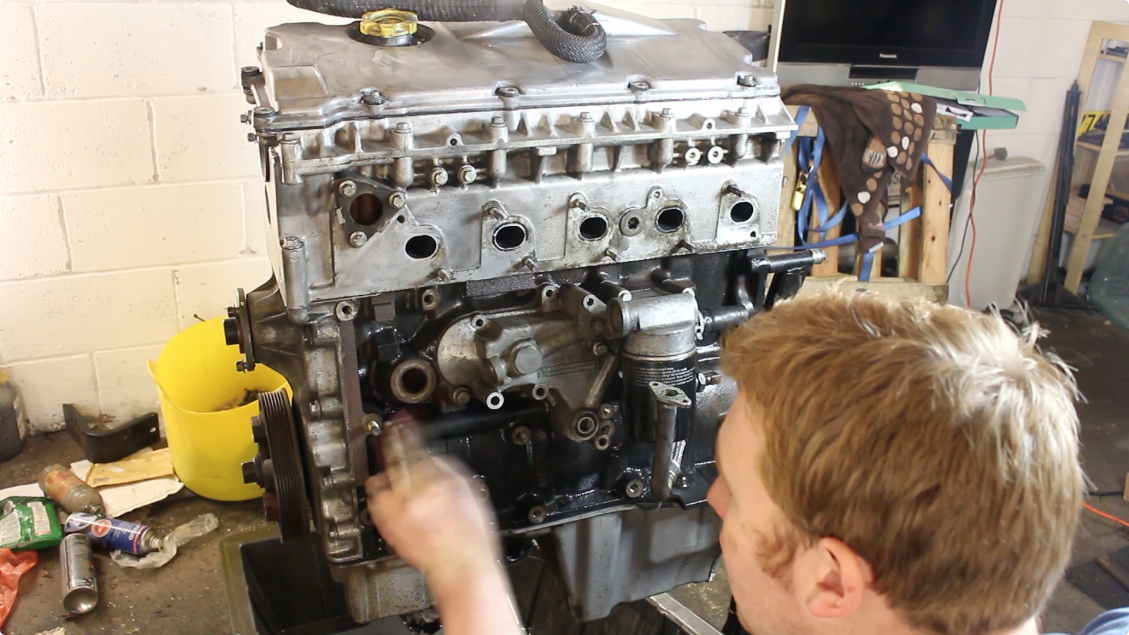
The TD5 rocker cover has been polished up and cleaned, so now it's the blocks turn for some attention. First off, all holes are plugged and bolts are temporarily placed back into their holes.
Look how clean that head is! Took a lot of work, but the results are worth it! Now using a bottle of brake cleaner, the block was throughly scrubbed down and agitated with brushes.

This is why it's so important! Even after 3 wash downs already, there's still dirt and oil left behind!
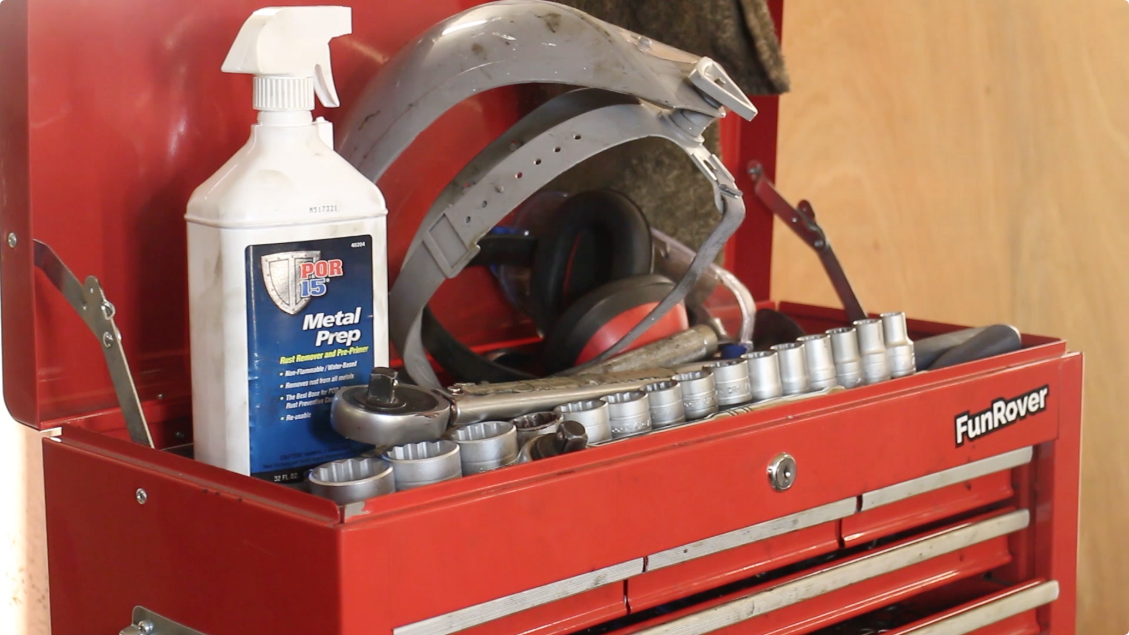
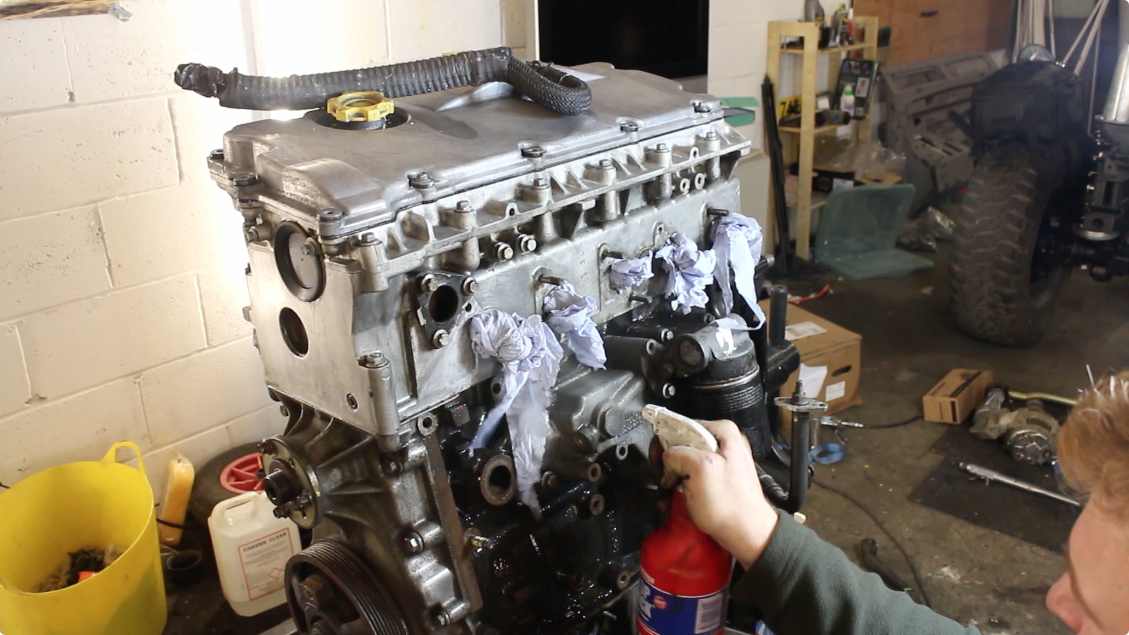
I'm using POR 15 Engine Enamel from Frost.co.uk to paint the block, it is recommended that bare aluminium surfaces should be treated with metal prep first before painting.

Then blown down with the air gun to get rid of any final bits of debris and moisture that might effect our paint.
Almost ready to paint, I keyed off the surface with a 3M scrotchbrite pad, just for a little extra adhesion!
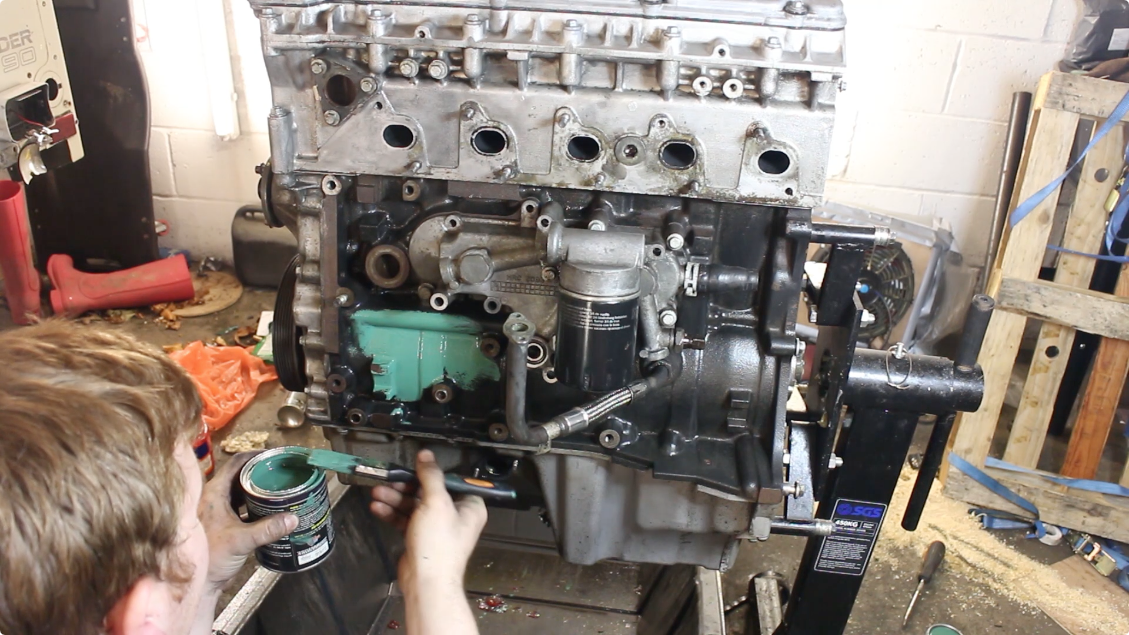
Finally! Painting time! I'm using a good quality brush and POR 15 Engine enamel from Frost. It's designed specifically to be used on engine blocks so will withstand higher temperatures and comes in a selection of colours. I've chosen Buick Green, which is as near as makes no difference to the final build colour, Pastel Green. This colour has become ever so popular recently, however, I bought mine about a year ago. Oh well, this is one Defender that isn't just following the crowd!

Looks good! Need to leave this 6 days to fully cure before starting the engine, but we can be on with putting it back in over the next week!
Engine Mounts
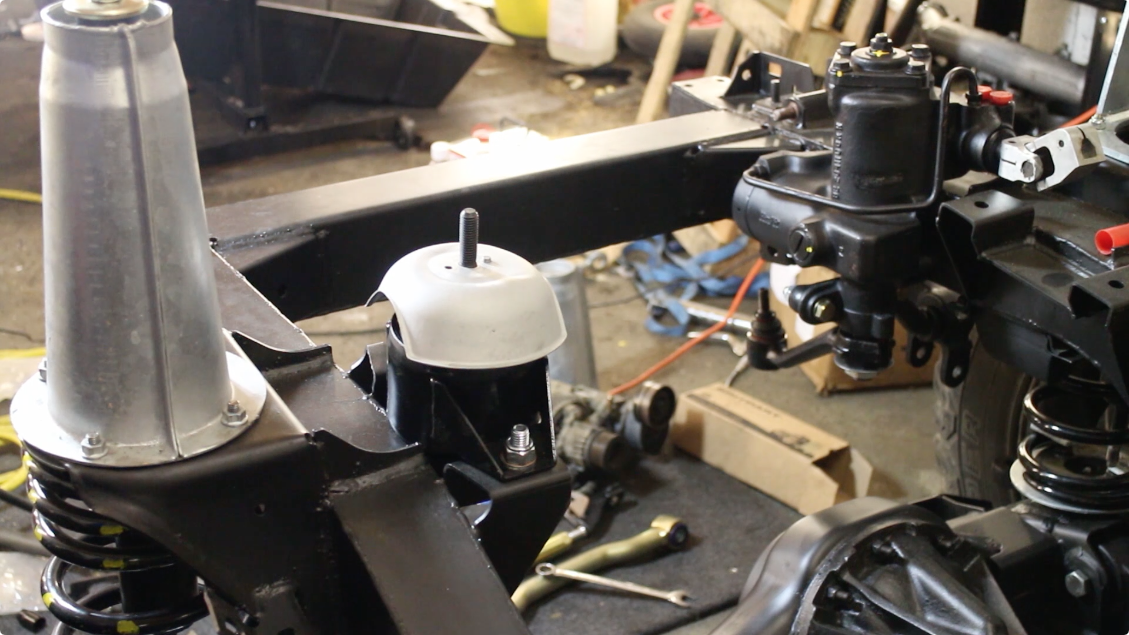
Engine mounts have been refitted, we've replaced the tired originals for some OEM replacements. These need to be torqued to 85NM. We also took the time to shot blast the original heat shield and paint that in a high temperature spray paint.
Fuel Tank and Guard
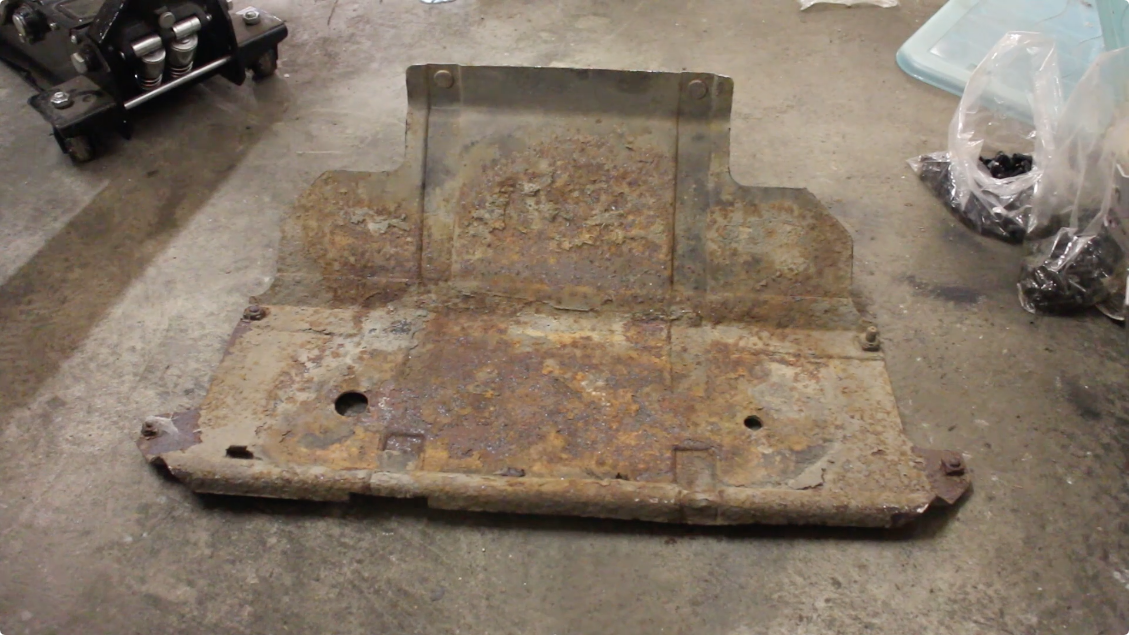
The old fuel tank guard looks a bit sorry for itself. On the TD5 90 this is all that holds the fuel tank in place - it also offers a little protection against terrain when off-roading. We could have replaced it with an original style guard, but these were actually more expensive than an aftermarket, heavy duty galvanised guard (bought from http://paddockspares.com). So we cleaned up the tank, and fitted up the replacement item
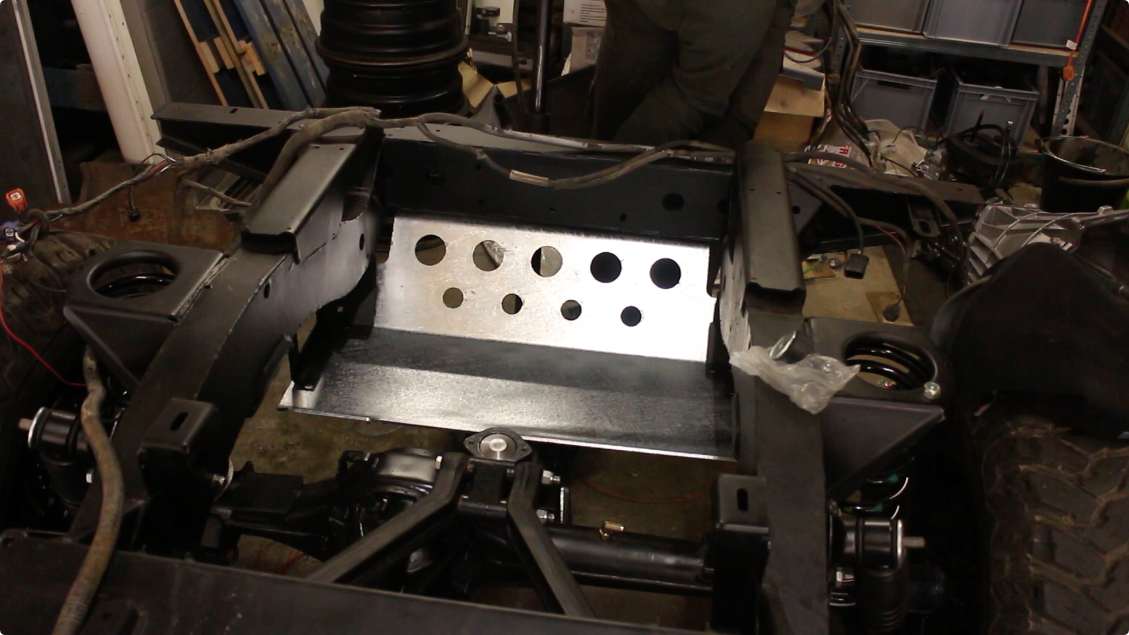
I used a trolley jack to line it up and hold the guard in place, it's quite cumbersome to do this on your back by yourself. Once bolted up, it looks great and is very tough! I can stand on the guard and it will take all 16 stone (100kg) of me no worries.
A great value replacement / upgrade!
Related items for sale on eBay
| Ebay has returned a malformed xml response. This could be due to testing or a bug in the RSS2 Generator. Please check the support forums to see if there are any posts regarding recent RSS2 Generator bugs. CURL error code = 6. (Could not resolve host: rest.ebay.com) |
About Us
FunRover is a place for Land Rover enthusiasts to gather as a community and discuss the best 4x4 vehicles ever produced. We're building a library of high quality resources & articles to help owners along in their Land Rover ownership.
Popular Posts
8 Almost Useless Land Rover Mods
11th June 2014
Updated: What Makes a Defender Iconic?
29th November 2011
How to Plastidip your Land Rover Defender
19th August 2014