
Ben Gribbin
January 8, 2016
Share post:


-

12K Subscribers
Subscribe
Search
Popular Articles
8 Almost Useless Land Rover Mods
11th June 2014
Updated: What Makes a Defender Iconic?
29th November 2011

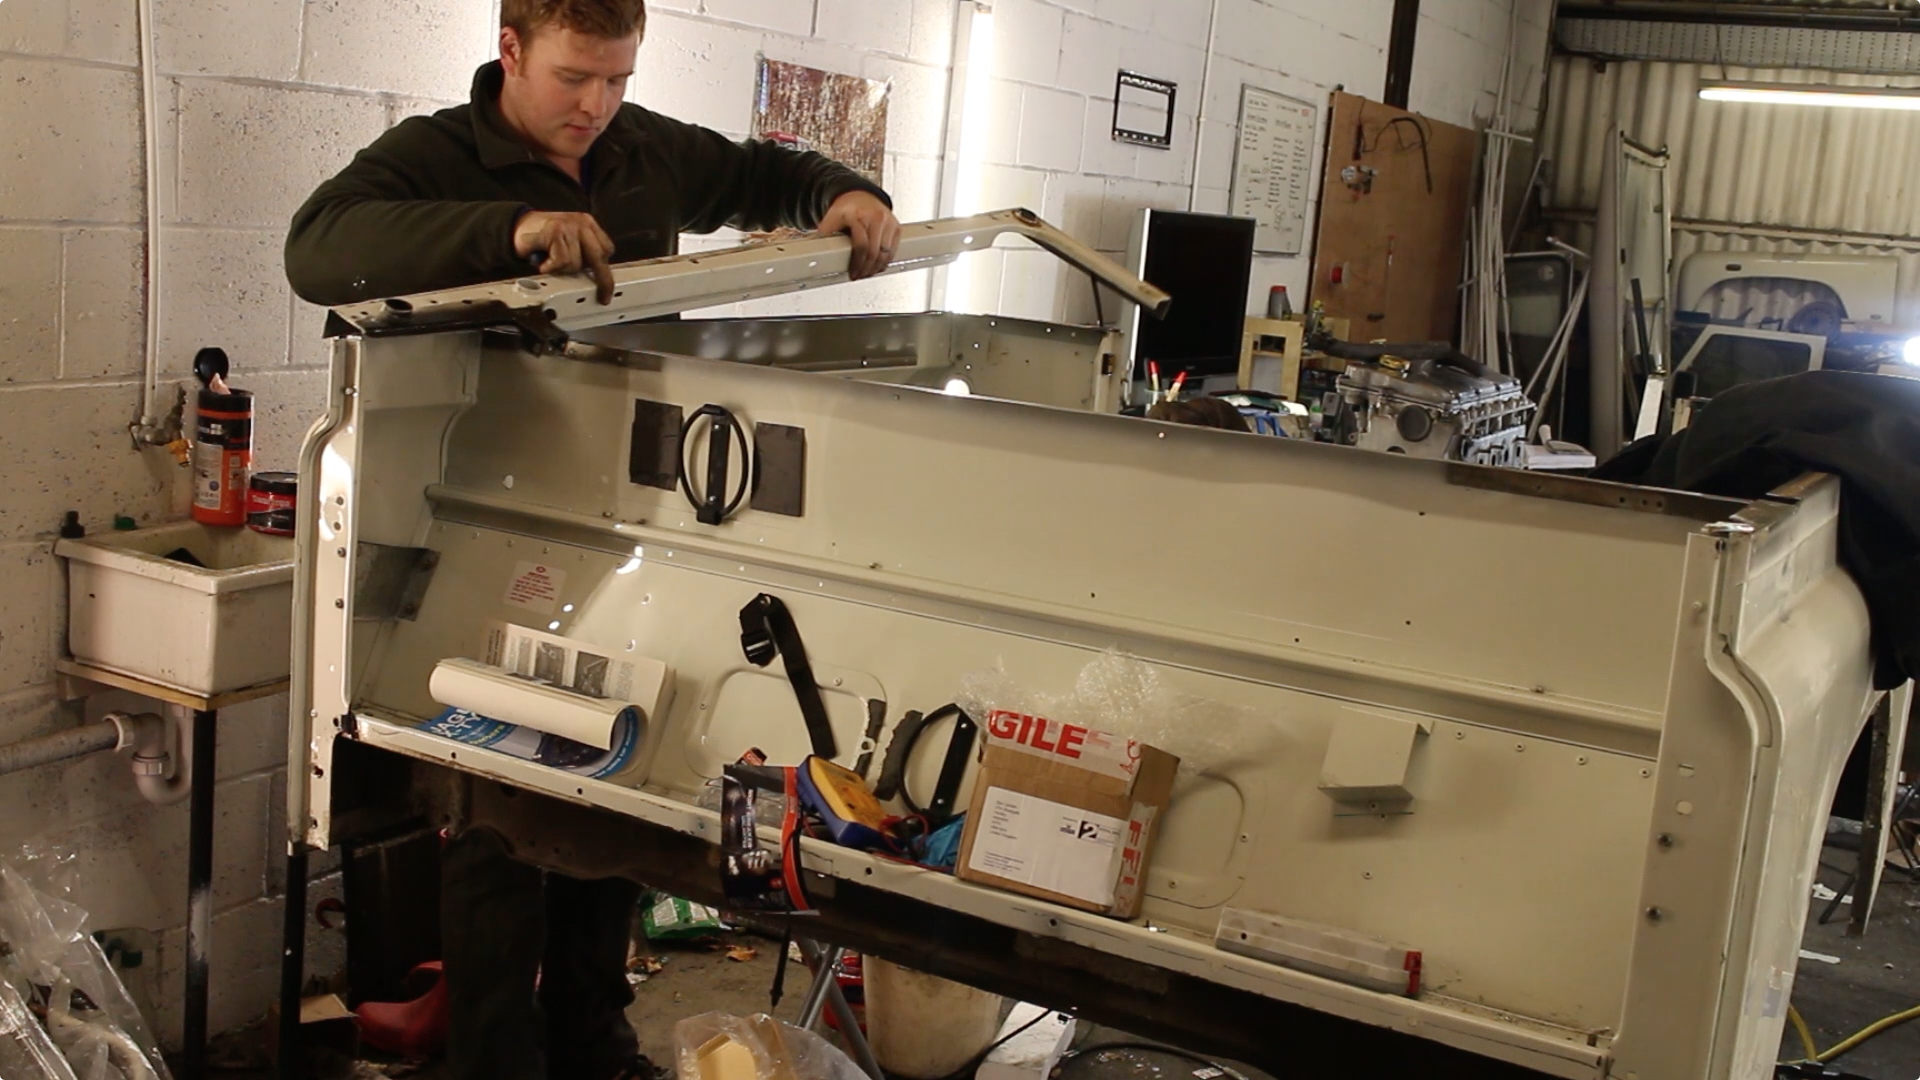
The rear tub is in need of some minor repairs. The tub cappings will be removed and sent off for galvanising. Everywhere else, we have replacement repair sections.
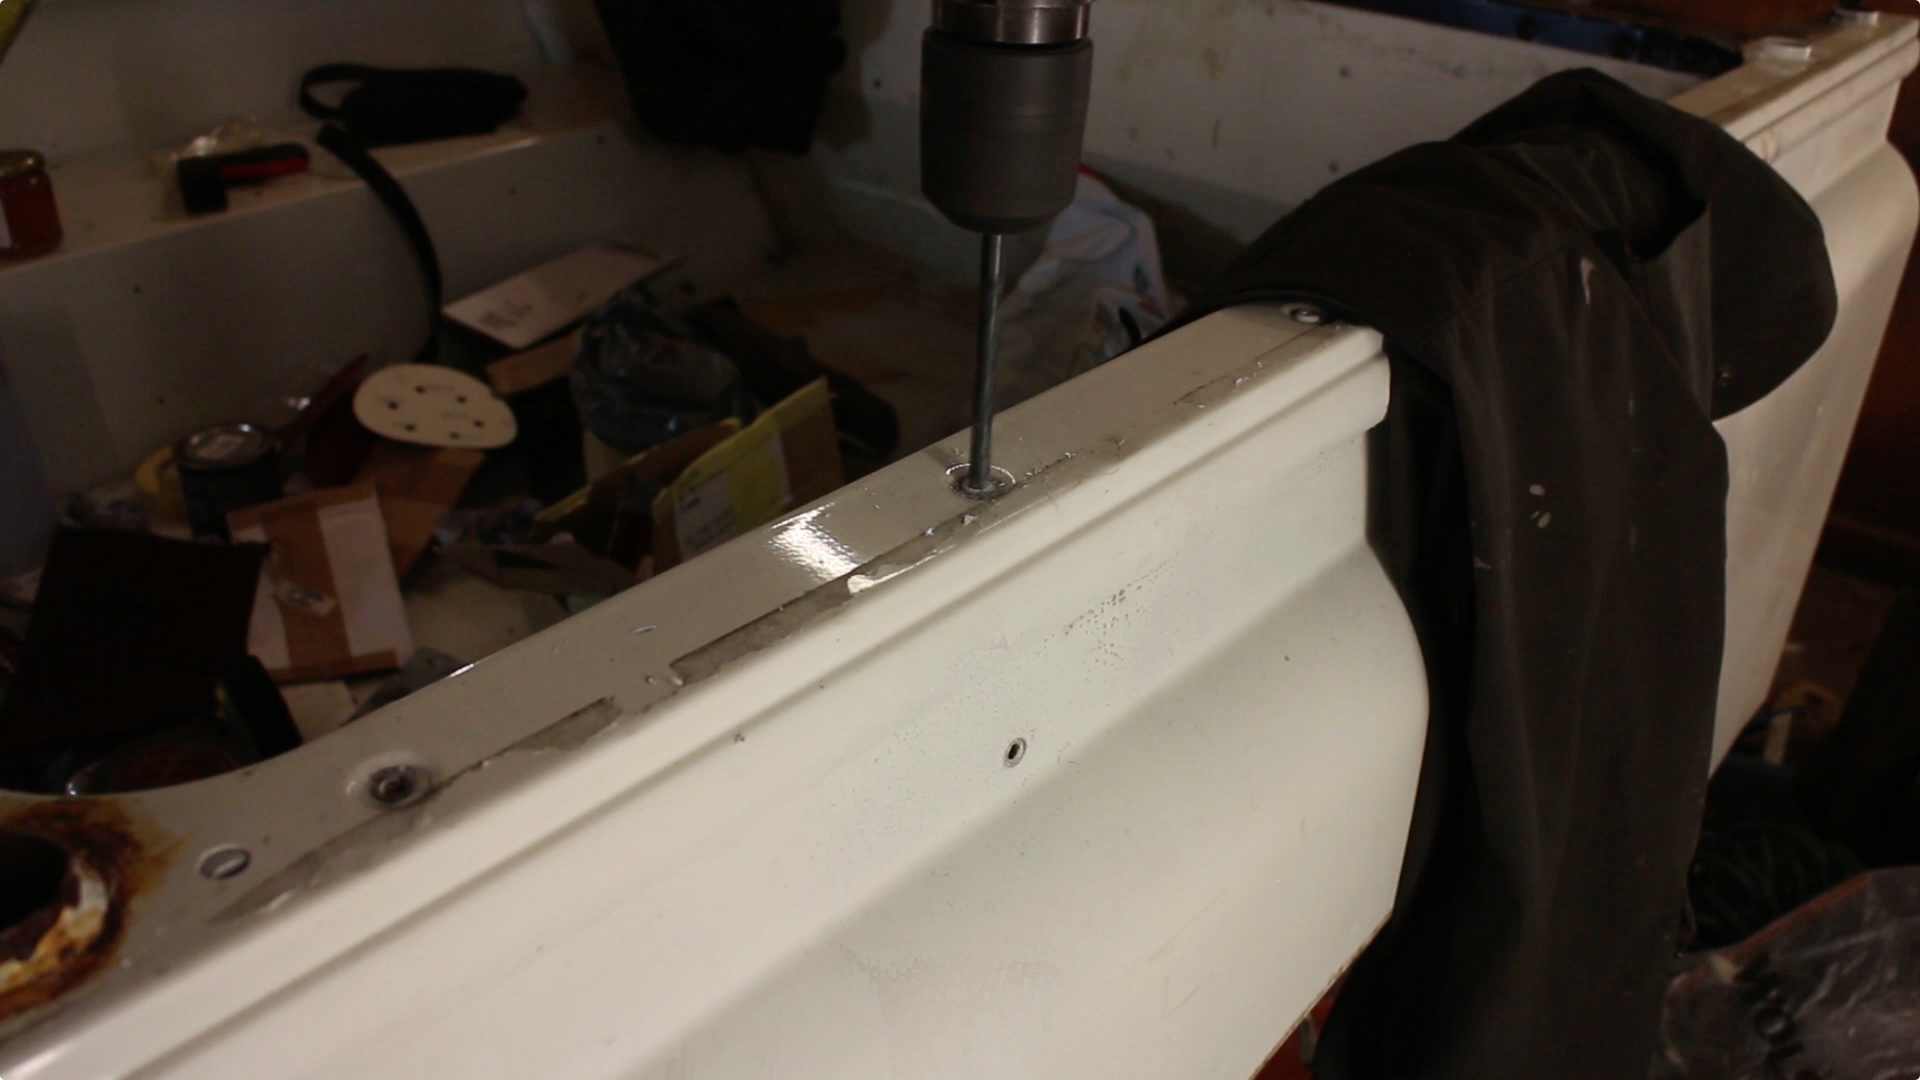
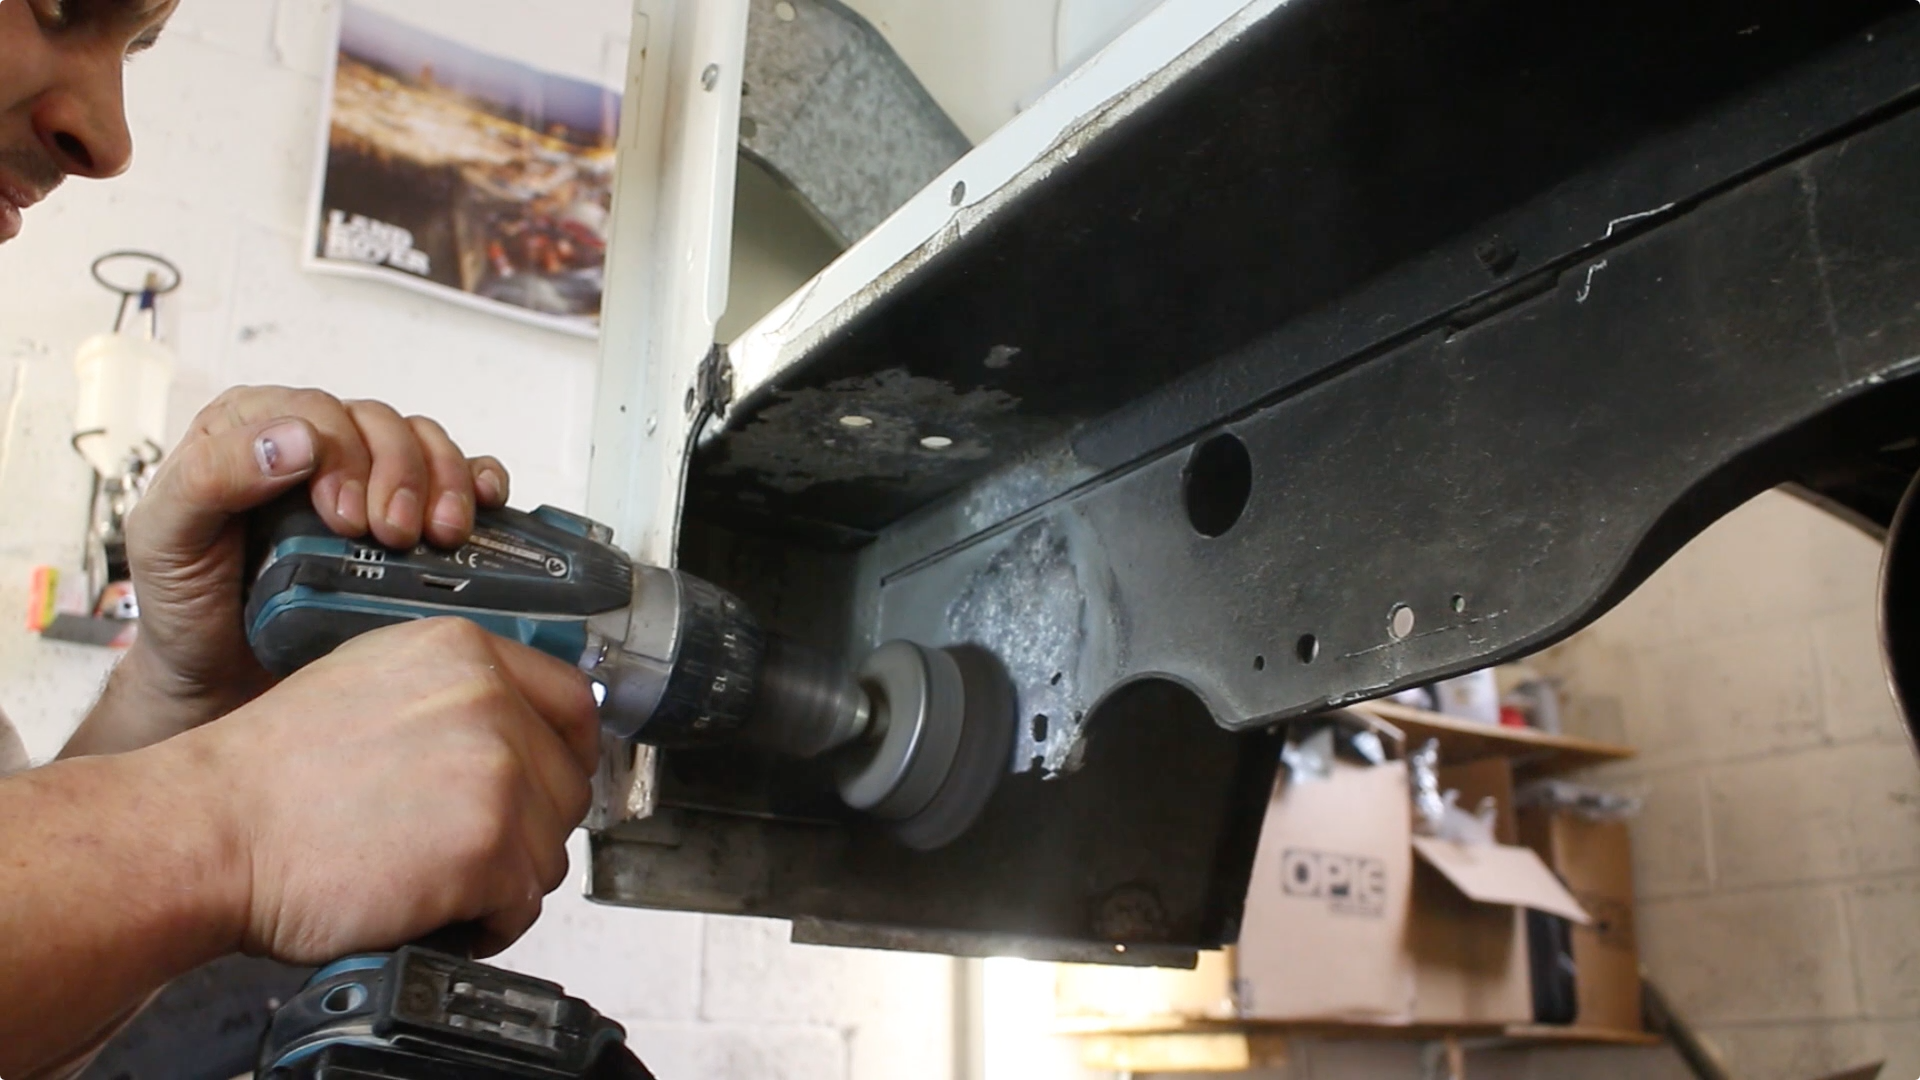
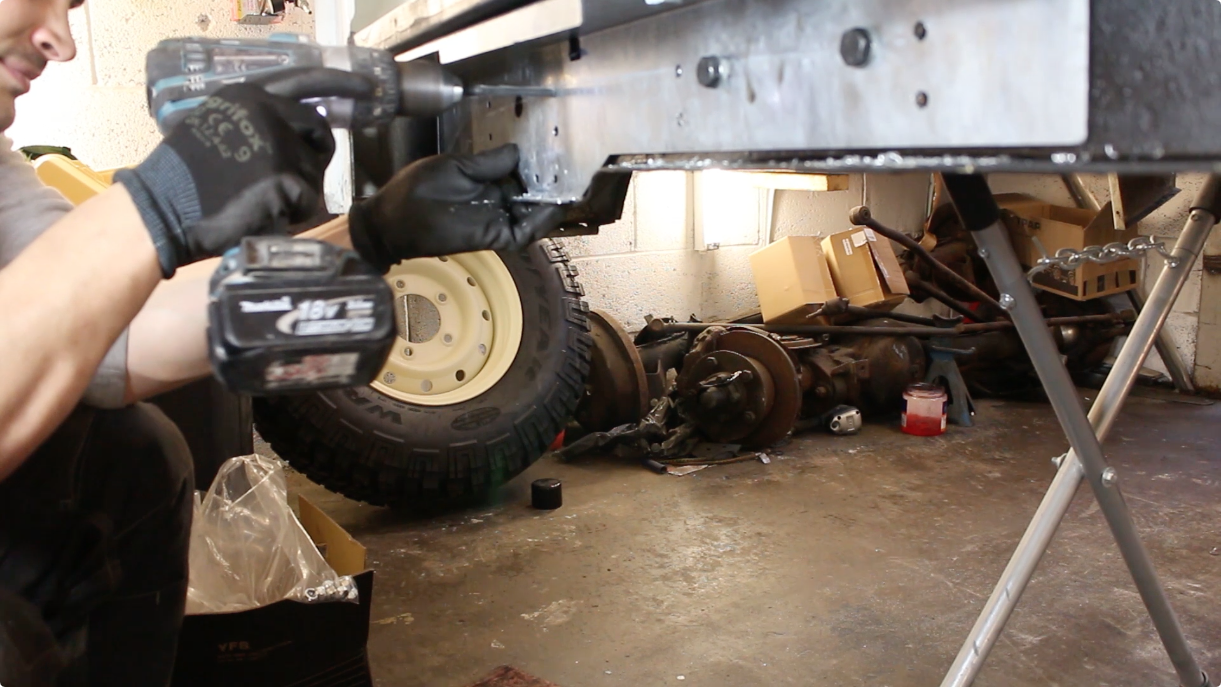
Using a 6mm drill bit, we're drilling into the rivet head, which typically shears off.
Then the crush section of the rivet can be tapped out, this is the quickest way to remove rivets.

There are quite a number of rivets all told on the cappings
In addition to rivets, the cappings are typically held on with some mild adhesives / foam tape and can then be lifted away. Those will be going to the galvanisers along side the bulkhead and will be fitted unpainted to the 90 for that classic Land Rover appearance.

Cappings gone, you can see the Zinc Phosphate primer applied at the factory. Over the primer, the tub is currently overcoated in 2 pack (Chawton White). We'll be going to the classic (and now rather popular) Pastel Green, a Series 1 colour
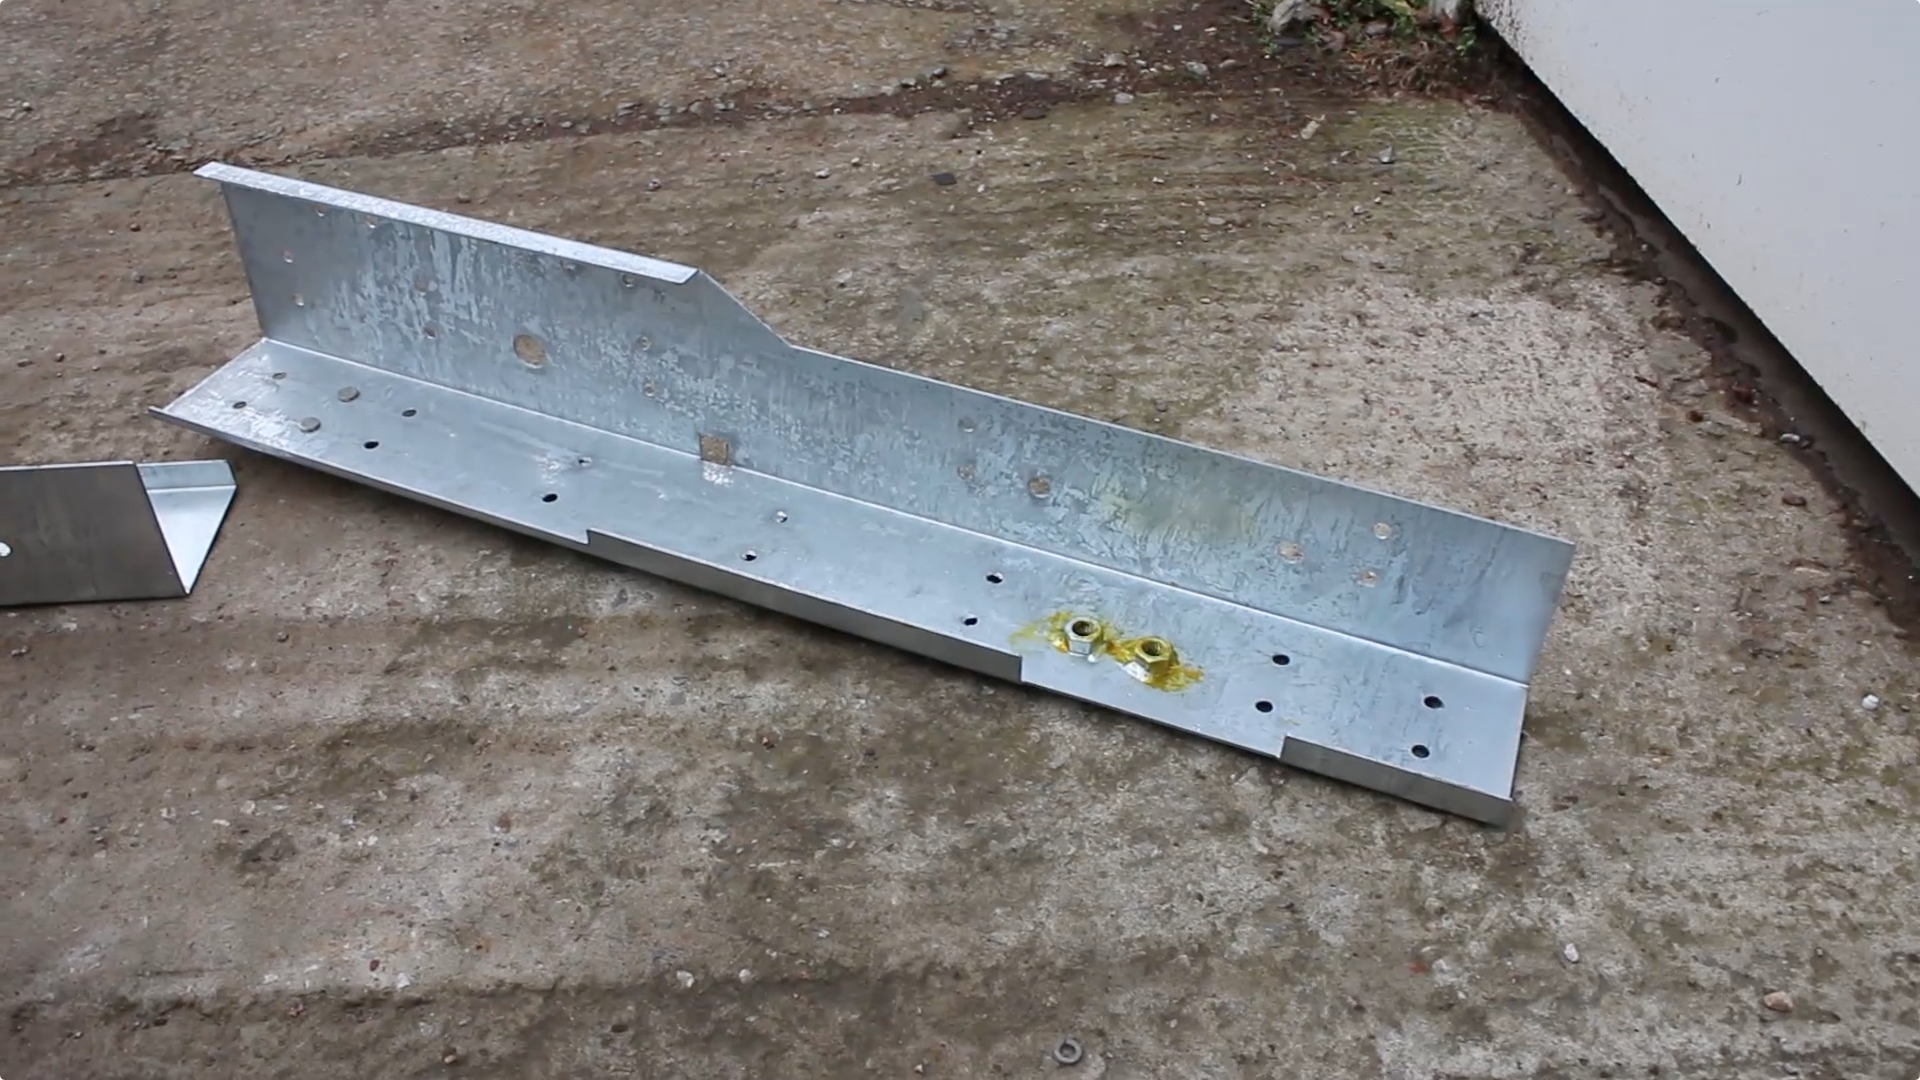
These seatbelt mount brackets panels came from YRM Metal Solutions. They've been laser cut, CNC folded and galvanised. The result is excellent tolerances and a lasting repair!
Fitting is easy, the old seat belt mount bracket is removed.
And any flaky aluminium corrosion is stripped away with a wire wheel.
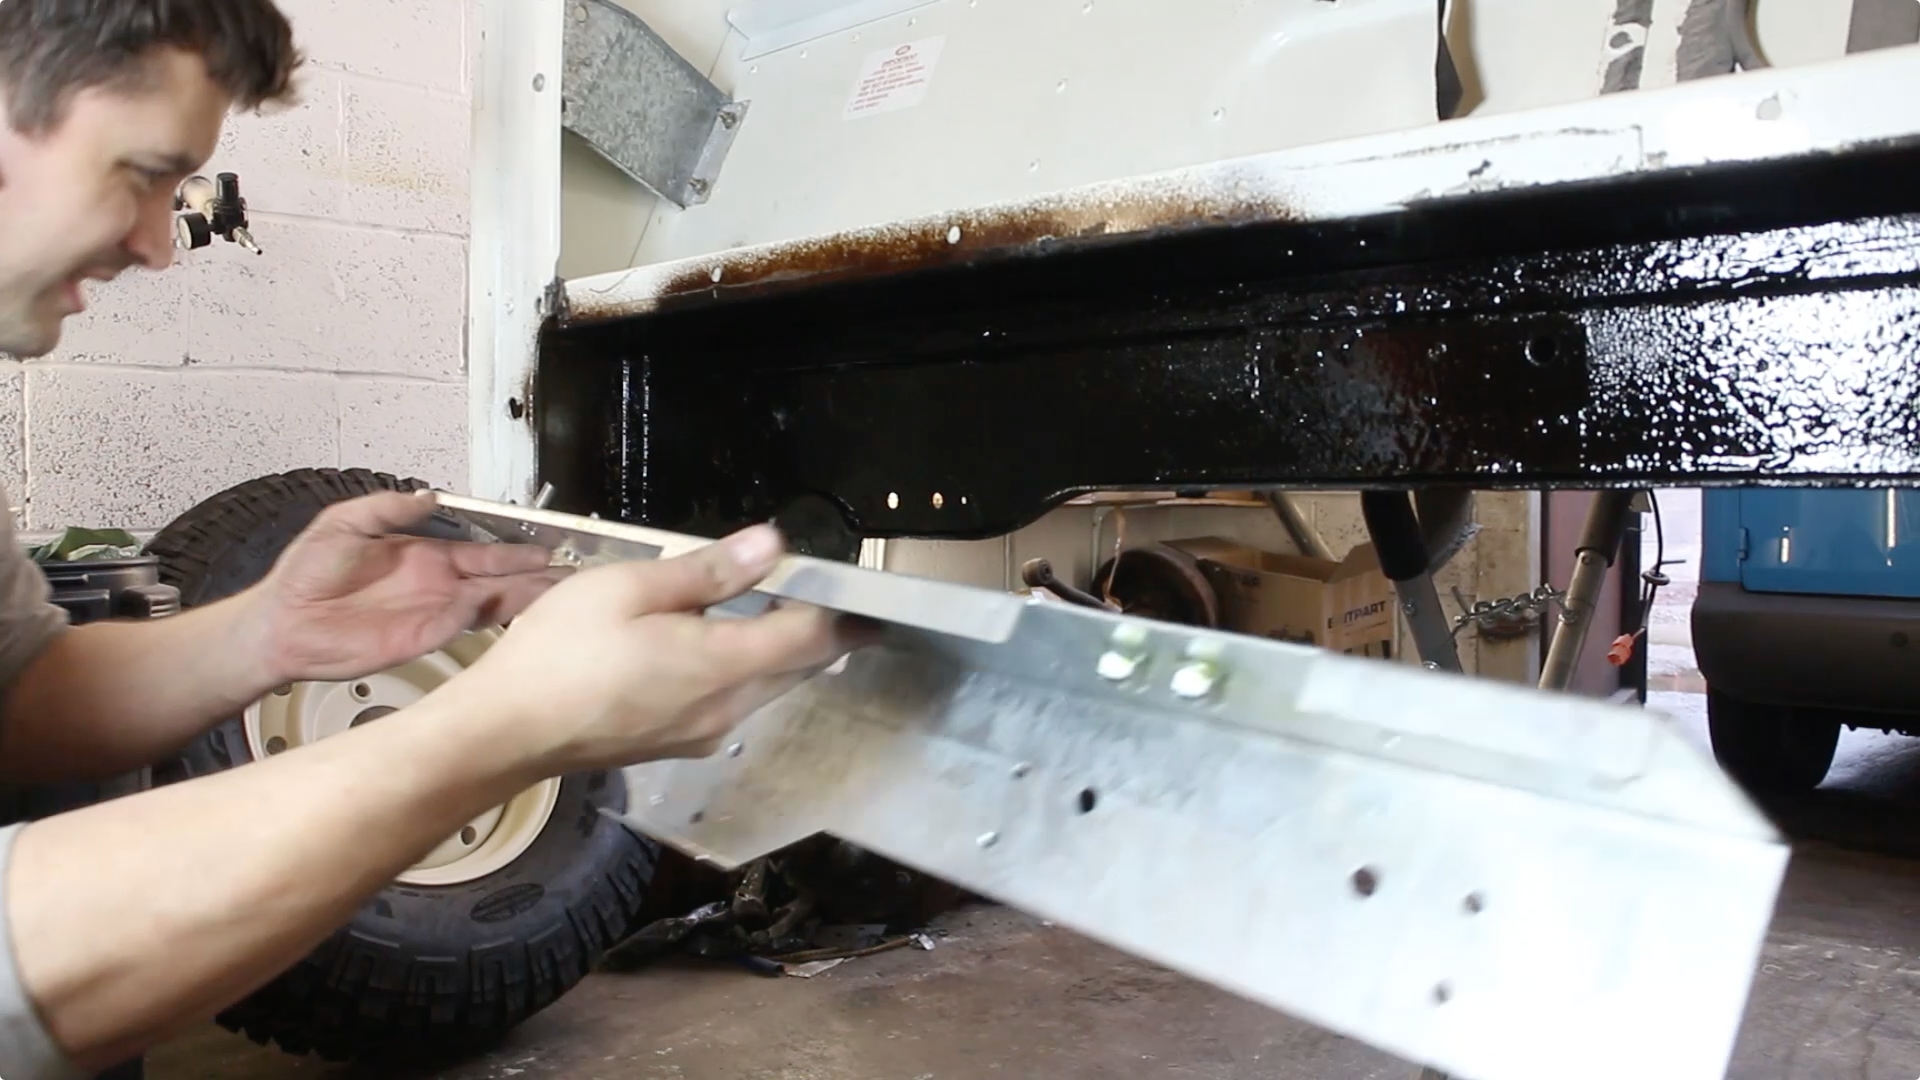
We applied Dinitrol cavity wax to the tub, before offering up the repair section.

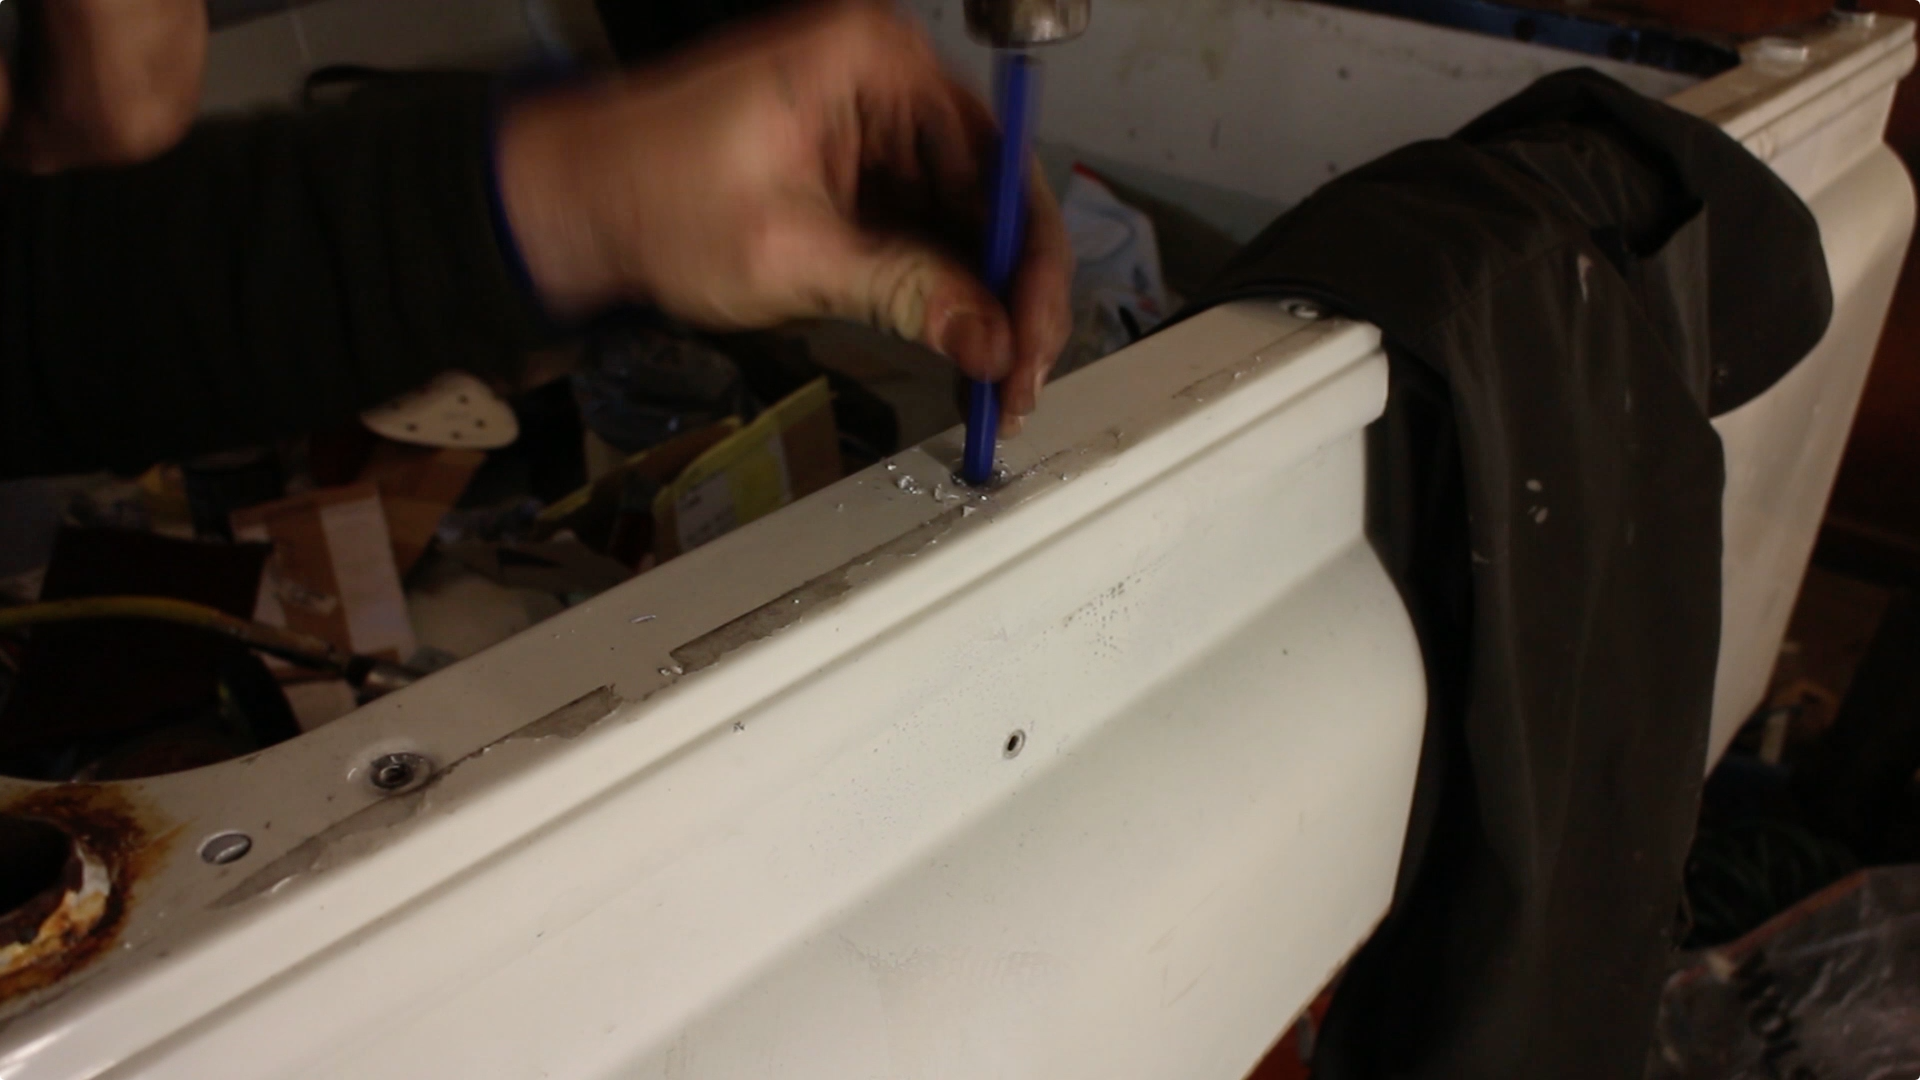
It's supplied in 2 pieces (otherwise it wouldn't fit), there are a few holes that have captive nuts so bolts were installed to hold the panel in place, along with a G clamp.
Before drilling the holes for each fixing.
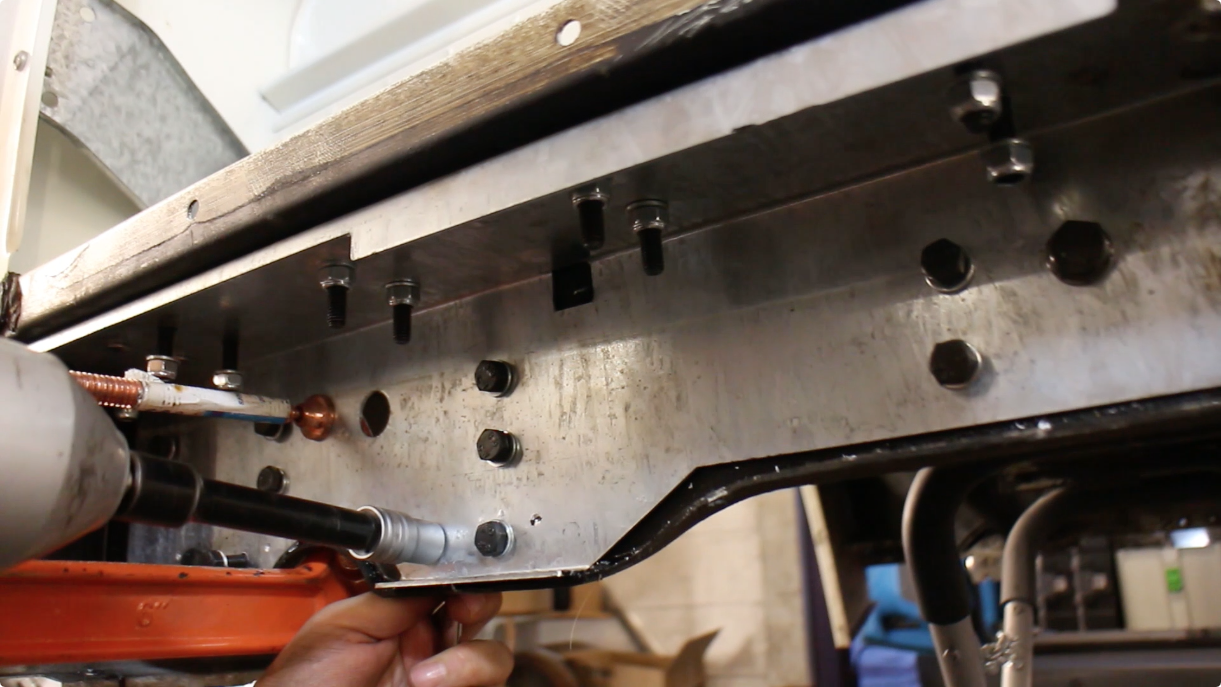
There are a total of 48 M8 bolts required. Once secured, these panels are very strong! There's zero movement and the whole lot will be overcoated with stone chip for further protection.
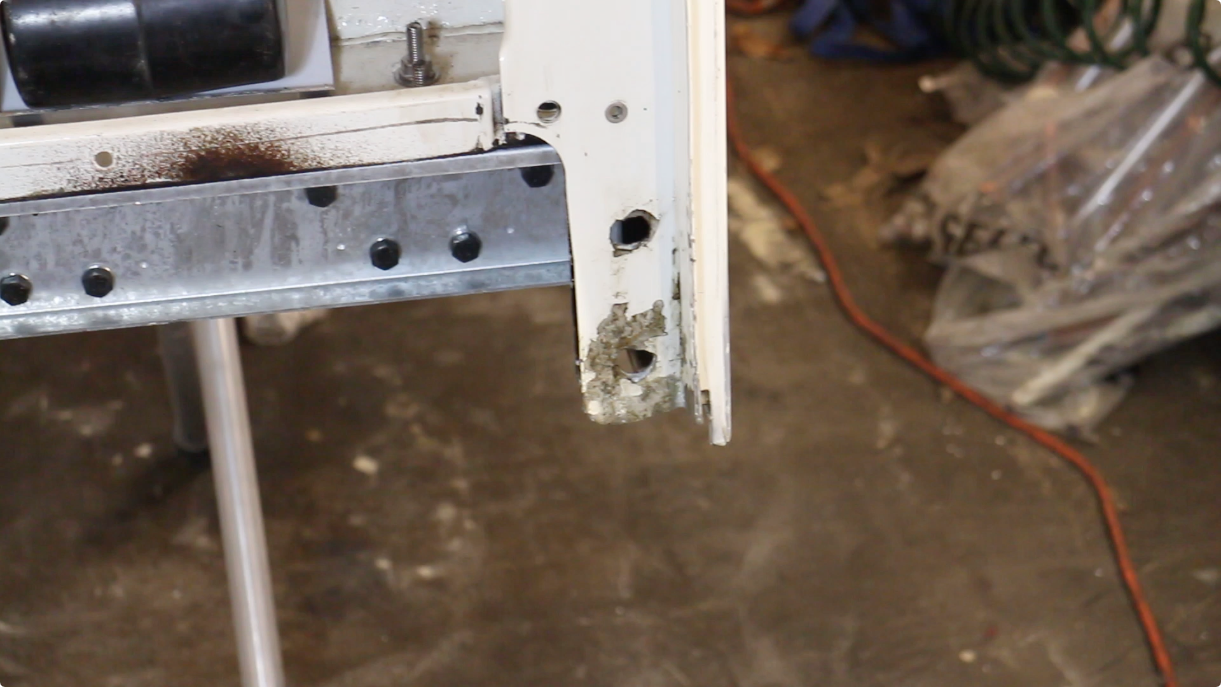
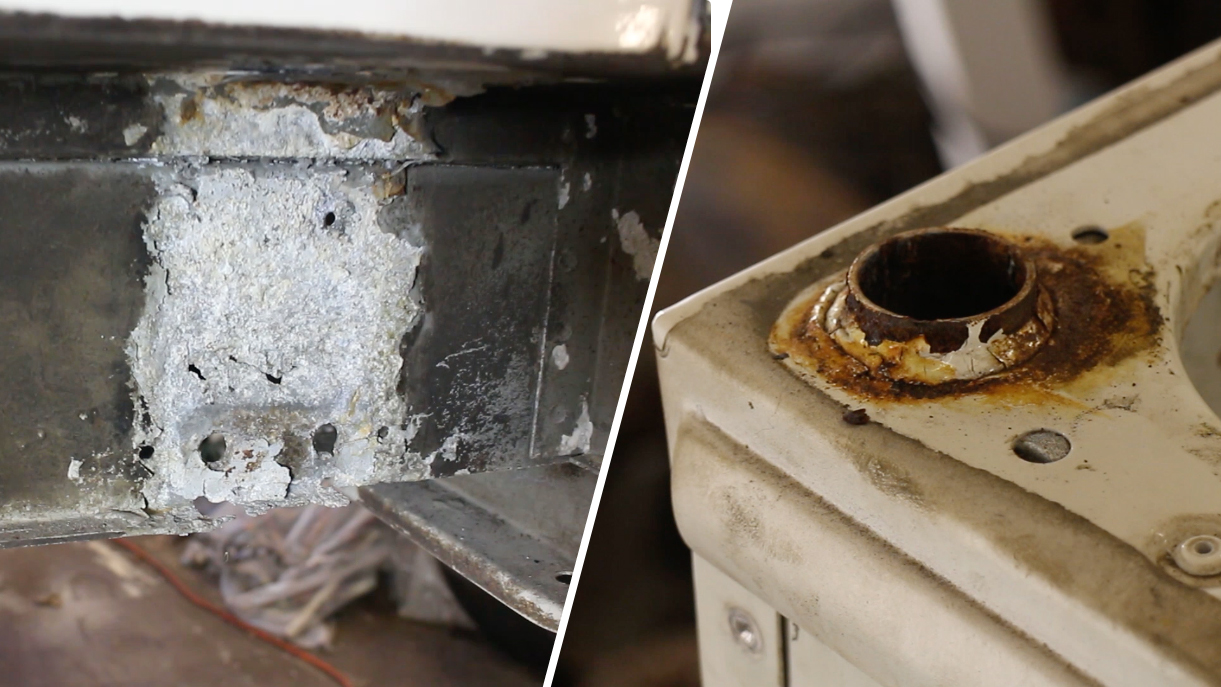
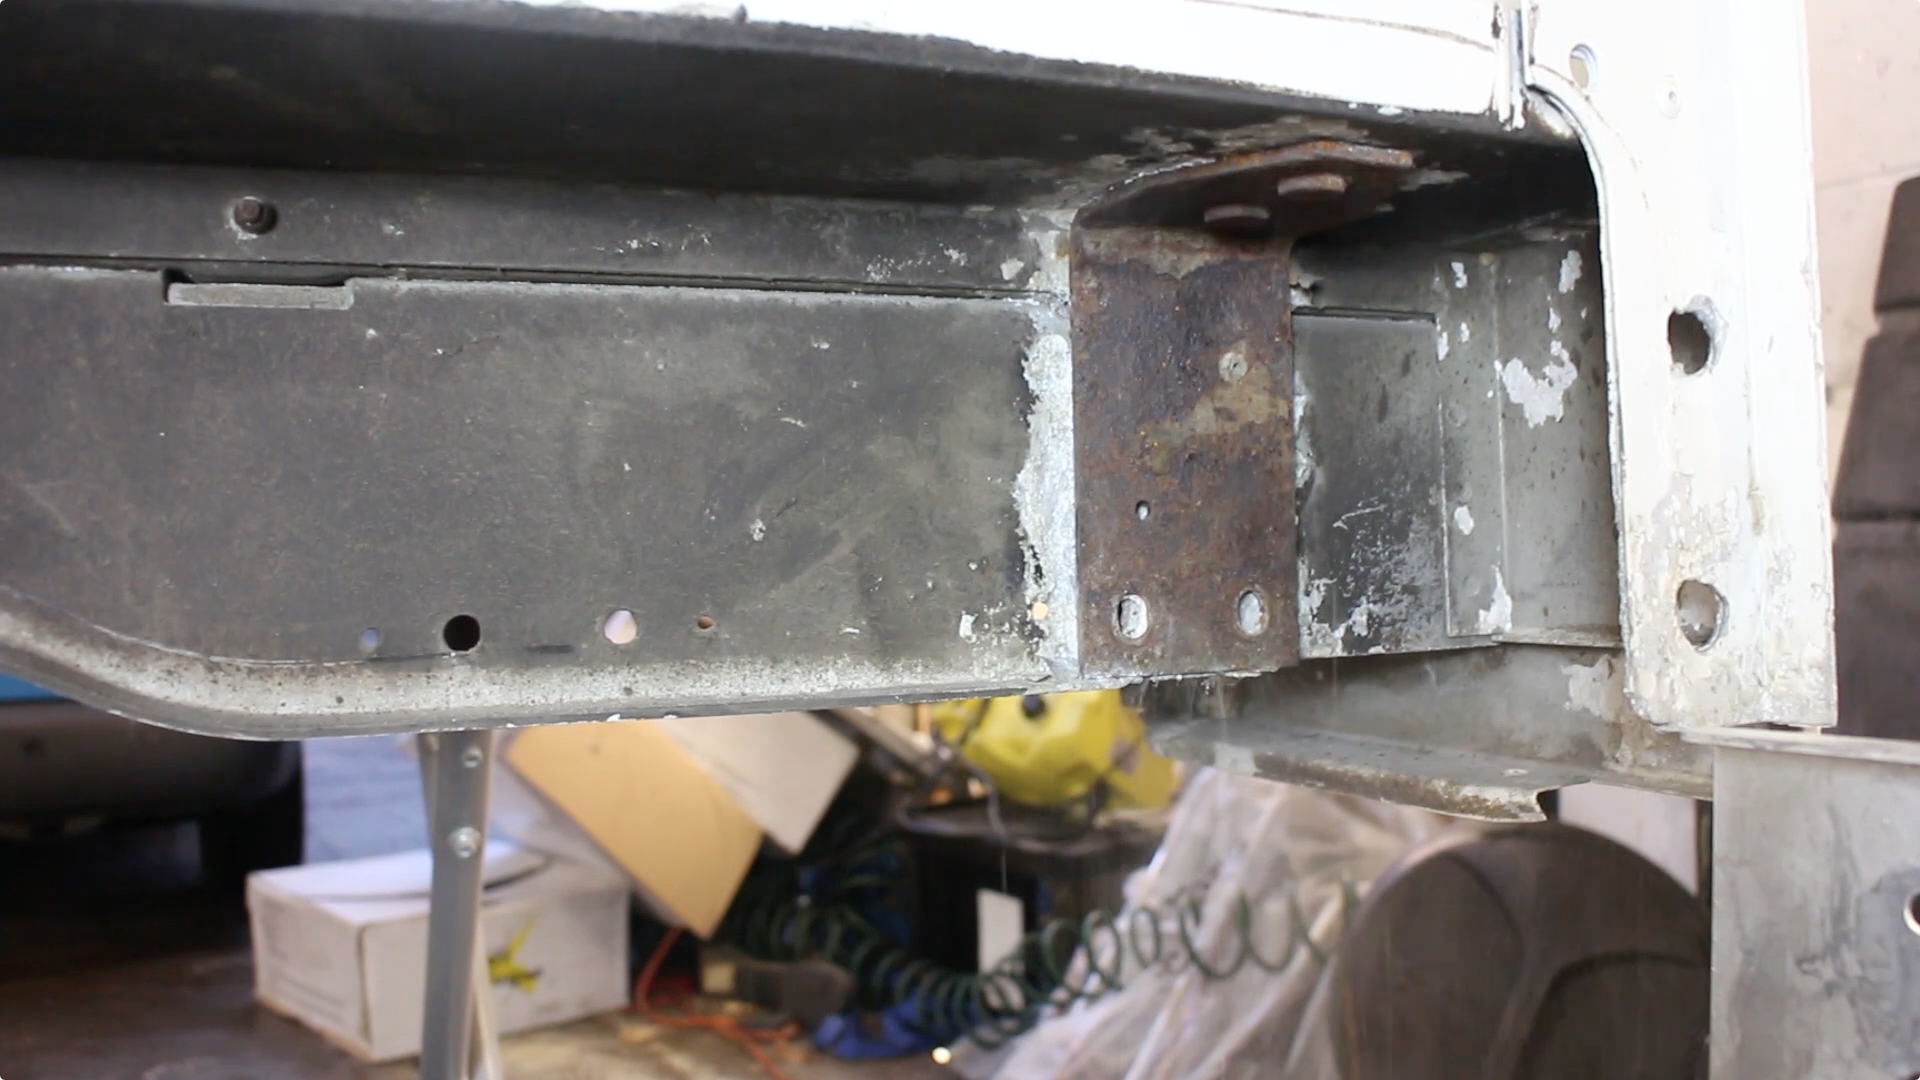
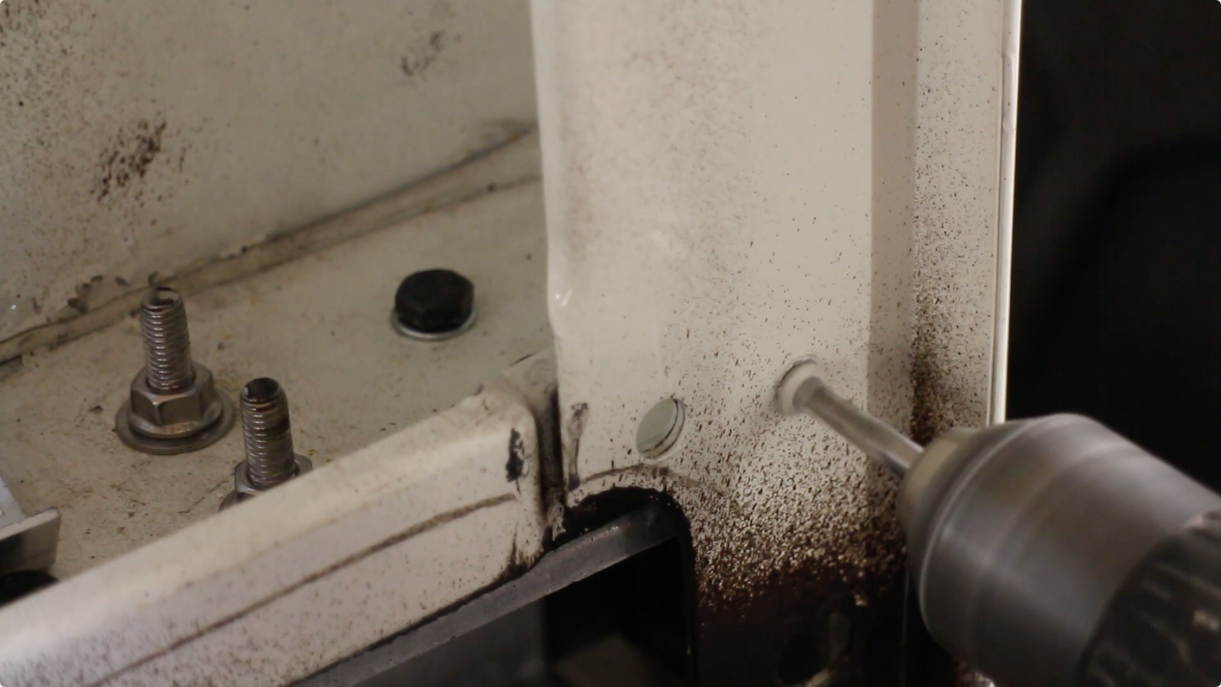
Moving onto the strike plate, this often corrodes where the tub fits to the sill rail, due to bimetallic reaction. The aluminium turns to a powder and is completely unusable.
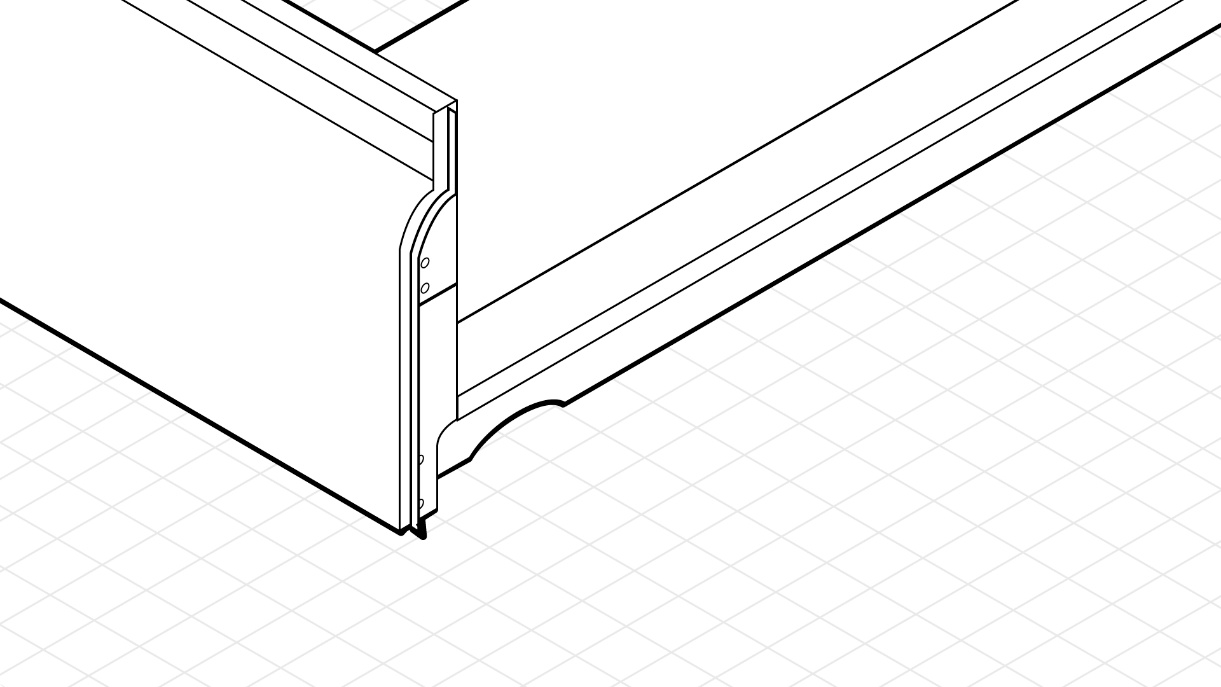
So to repair we'll fit new strike plate sections from YRM too. These are pretty simple to fit, and once prepared and painted, it should be as good as new.
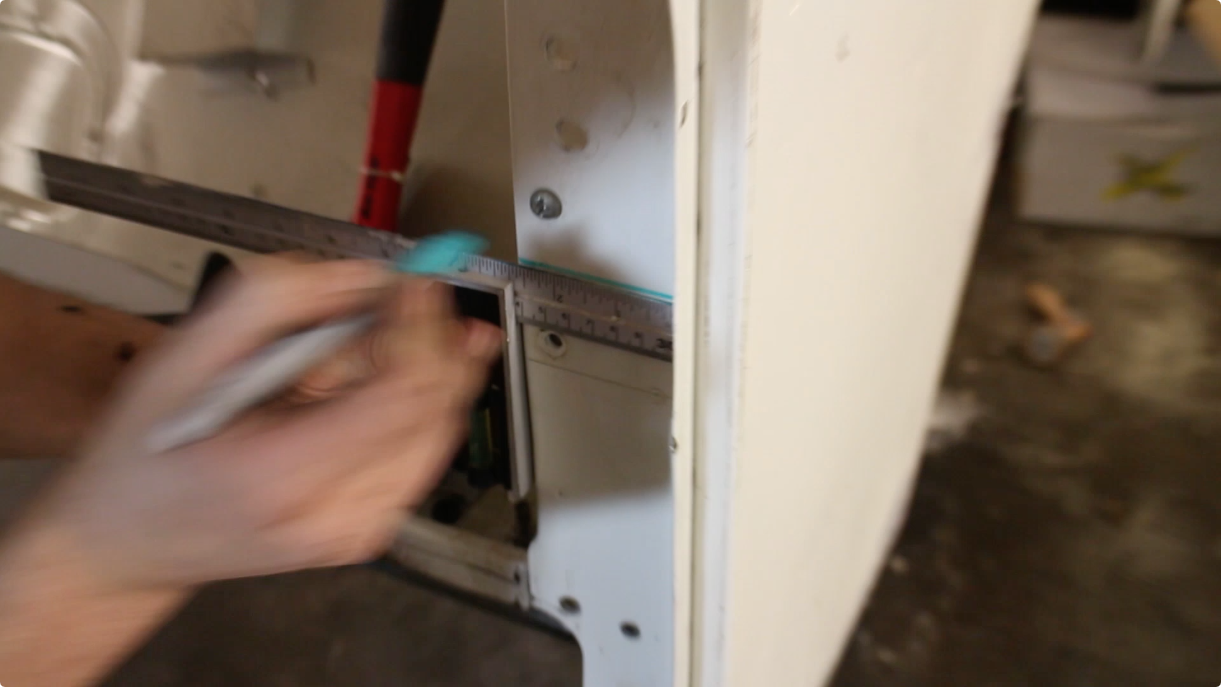
We're starting by marking off where we'd like to cut off the strike plate.
And using a spot weld drill to remove the spot welds and rivets below the line, including on the seal retainer.

Then, using a bolster chisel and a scraper, we can begin to prise the 2 skins apart

Finally, we scored a mark with a Dremel multi tool along the line. Then we were able to fracture the corroded part off, with a clean break formed along our score.

I'll be fitting the new sections in another video, shown here is the exposed rear skin.

The floor too has suffered with some corrosion and needs replacing. The dome rivets need to be ground down, others will need to be drilled and others still, cut with a grinder.
The floor has adhesives applied in key areas, so it can take some time with a breaker bar & hammer to separate the floor from the supports.

After all rivets have been drilled out, the floor will lift out

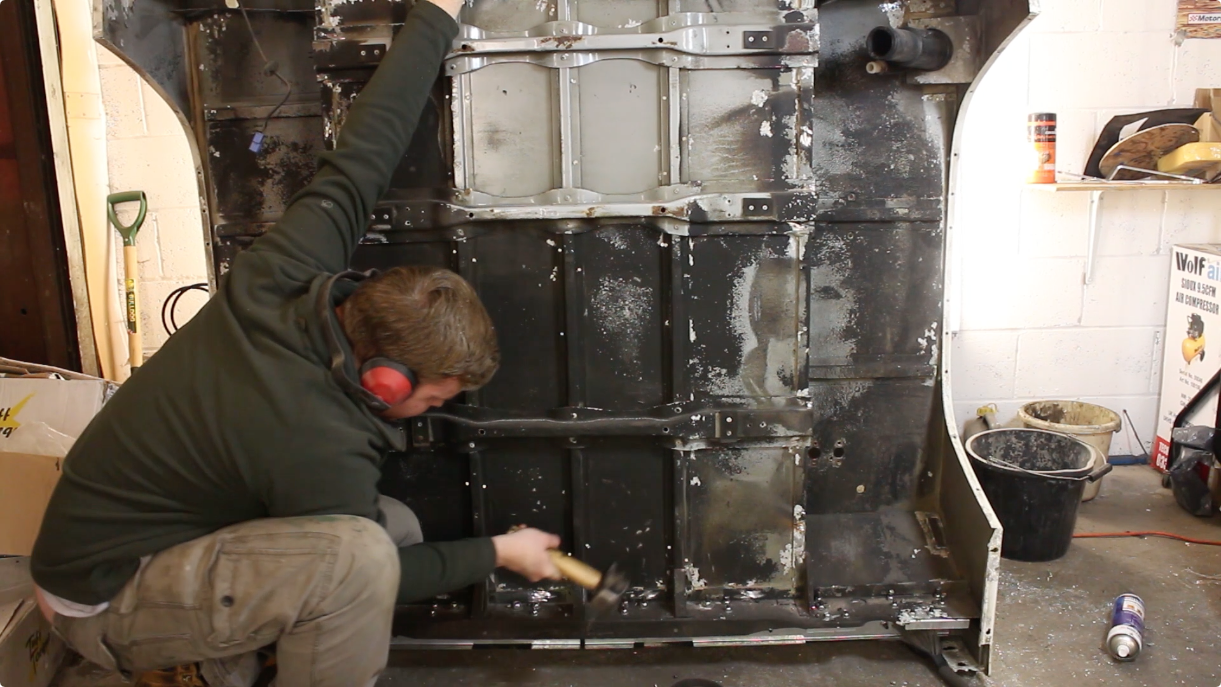
Now's a good time to assess the condition of the tub supports. We can also throughly rust proof these whilst they're exposed.
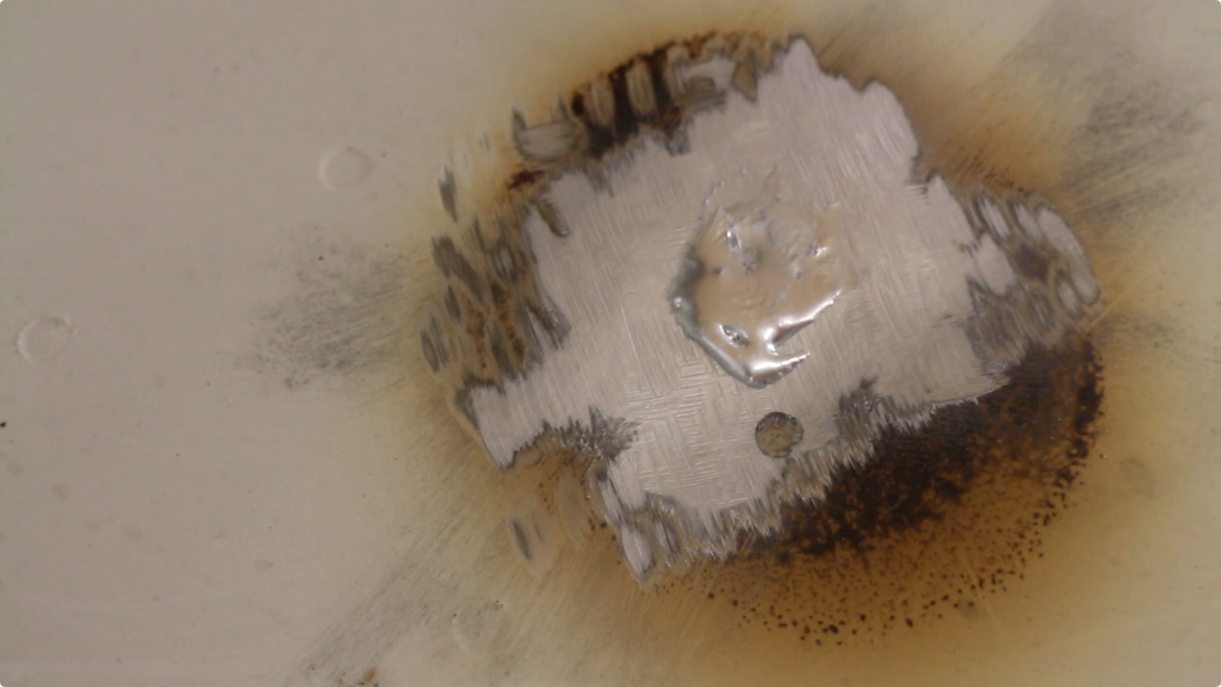
Finally, my plumber wife kindly began brazing some of the redundant holes in my tub, using the excellent Lumiweld from Frost.co.uk. You can check out the results at the end of the video, it's impressive stuff! And is formulated to work on Birmabright!
Related items for sale on eBay
| Ebay has returned a malformed xml response. This could be due to testing or a bug in the RSS2 Generator. Please check the support forums to see if there are any posts regarding recent RSS2 Generator bugs. CURL error code = 6. (Could not resolve host: rest.ebay.com) |
About Us
FunRover is a place for Land Rover enthusiasts to gather as a community and discuss the best 4x4 vehicles ever produced. We're building a library of high quality resources & articles to help owners along in their Land Rover ownership.
Popular Posts
8 Almost Useless Land Rover Mods
11th June 2014
Updated: What Makes a Defender Iconic?
29th November 2011
How to Plastidip your Land Rover Defender
19th August 2014