Ben Gribbin
October 30, 2015
Search
Popular Articles
8 Almost Useless Land Rover Mods
11th June 2014
Updated: What Makes a Defender Iconic?
29th November 2011
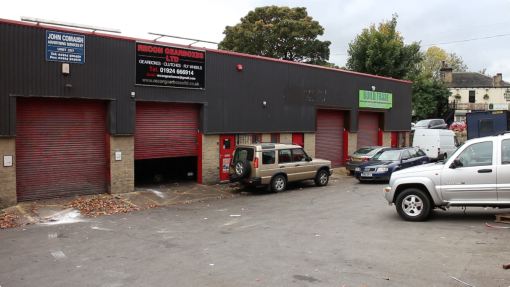
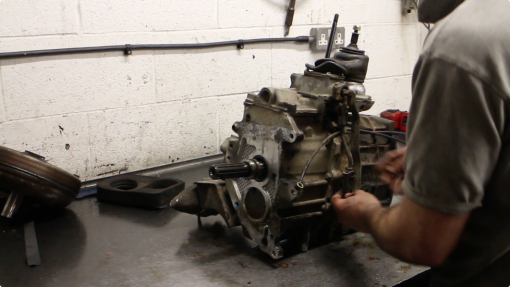
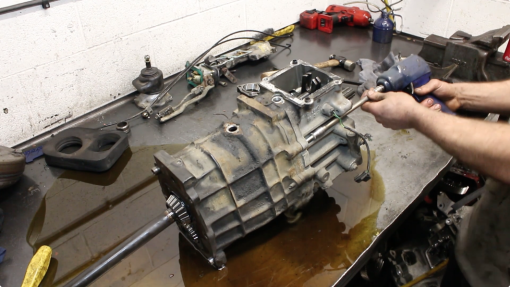
This week, we headed over to a local gearbox specialist to get our R380 stripped down and inspected.
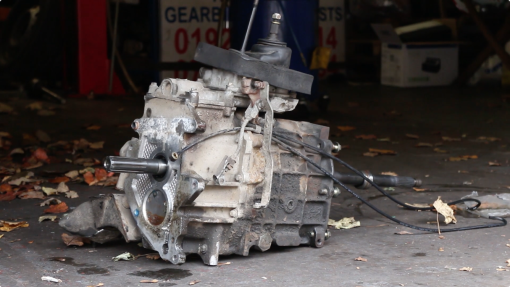
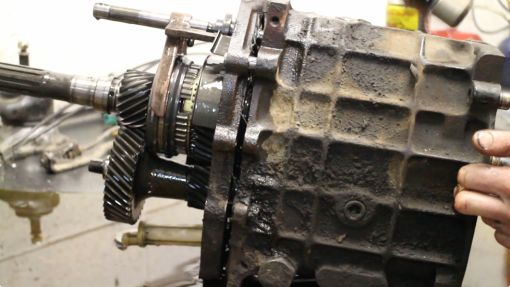
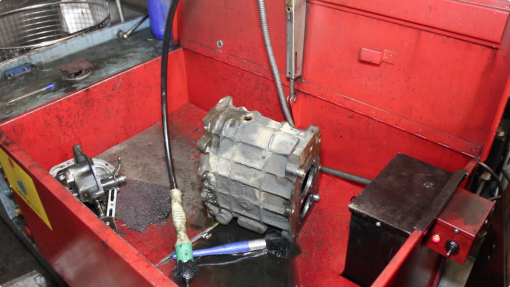
Here it is after we dropped it off, looking a little sad. The plan is to have it inspected, have all bearings & seals replaced then the outer cases will be fully cleaned and painted before reassembly.
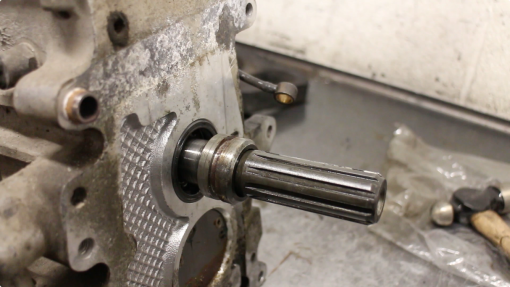
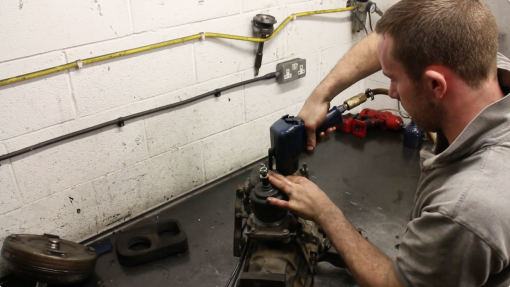
If you look in the R380 manual, it lists the tools need to remove this oil selector collar:
LRT-37-009 and LRT-37-010
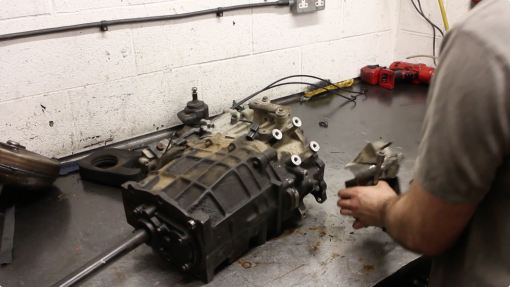
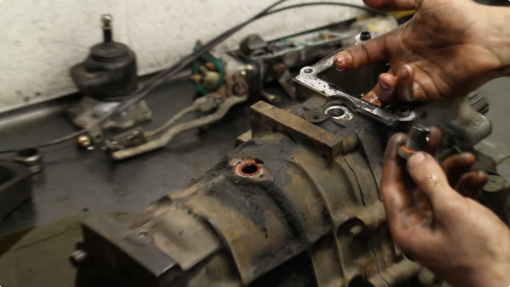
Glenn then removed the foam insulation that sits in the tunnel over the gear selector housing and gear knobs. He then went on to remove the extension housing upper bolts, the ones that go through the remote and gear change housing.
The high low and centre diff lock linkages were also removed as were the breather pipes that were still bundled with the gearbox.
Next Glenn removed the 4 bolts left on the remaining gearbox mounting bracket.
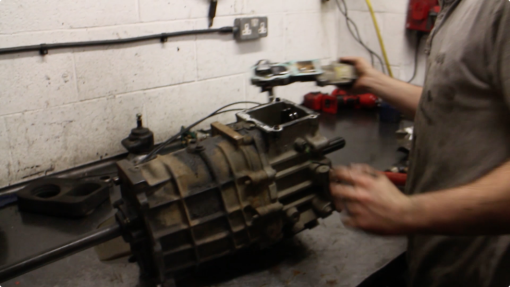
The remote housing was then free to remove.
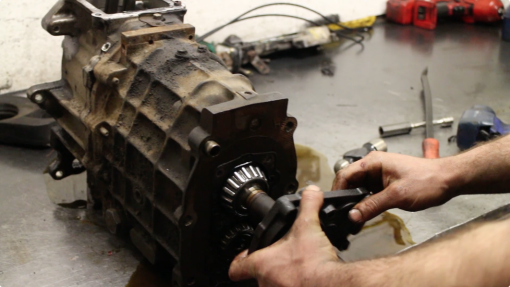
The front cover is held on with 6 bolts. This can be tapped loose using a soft faced hammer.
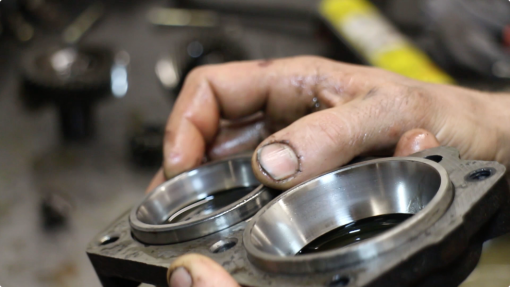
The input shaft front taper bearing is in good condition
The bearing races themselves though have a little scoring, only light - but then this gearbox has covered 75 thousand miles.
The spool retainers also need removing, there's one in the gearcase and one in the extension housing.
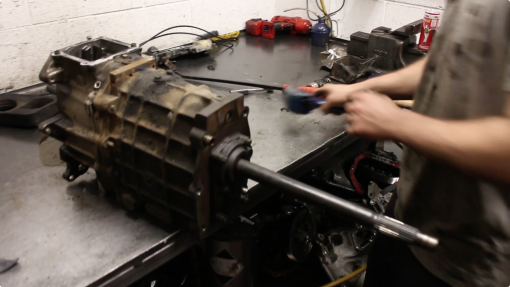
Next out comes the inhibitor camshaft, then Glenn removed the bolts holding the extension housing to the centre plate and gearcase.
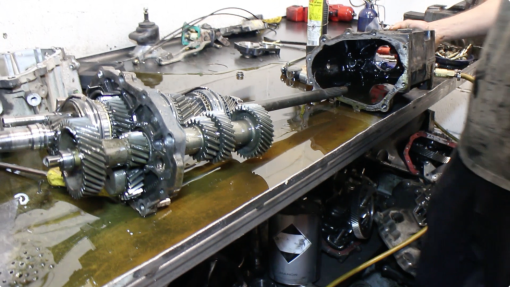
The outer Detent ball and spring need removing, these have a torx screw holding them in on this box. After a liberal spray of penetrating fluid and heating with a propane torch, this came out much easier. The detent ball and spring can be retrieved with a magnet. The gearcase and extension housing are then separated, before removing the selector quadrant and completely splitting the outer cases.
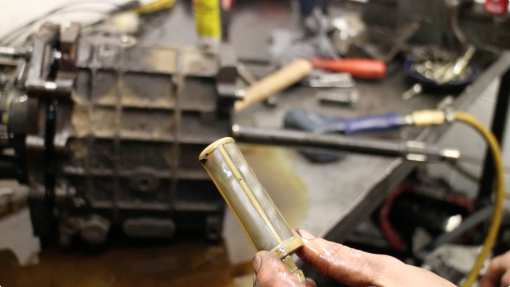
The oil filter was retrieved and appeared to be in good condition
And that's the internals removed.
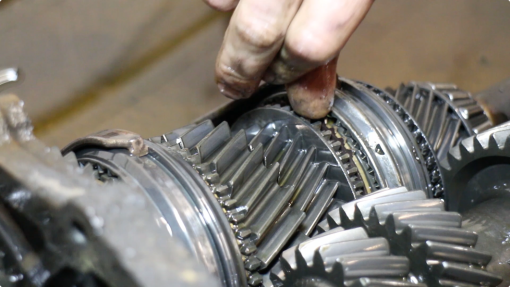
The bank / synchro rings are also in decent condition, they haven't worn sharp.
The housings are then put into the parts washer and a hot wash tank for a thorough degrease before painting.
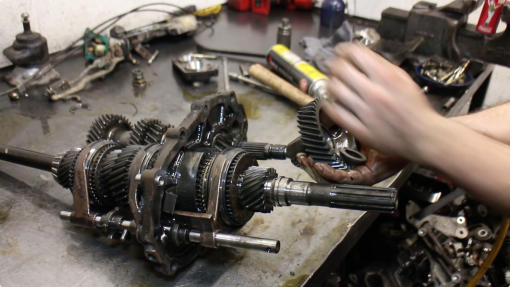
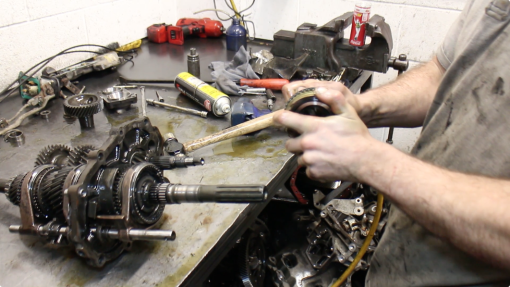
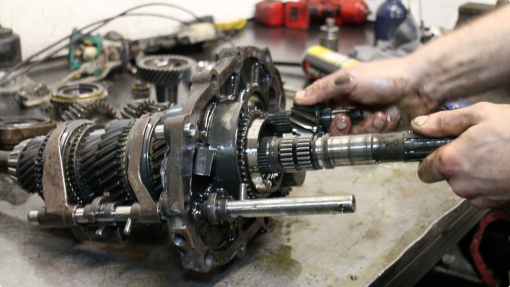
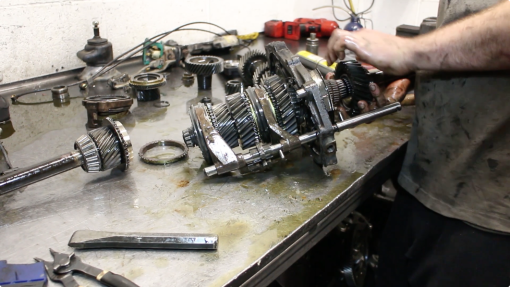
On the gearbox internals, glenn first removes the 5th gear nut - then the layshaft 5th gear
Before moving onto the mainshaft and removing the mainshaft 5th. The syncro here was in excellent condition. After removing the 5th gear, you need to remove the circlip that holds the Reverse/5th gear synchro hub and sleeve in place, then the hub itself.
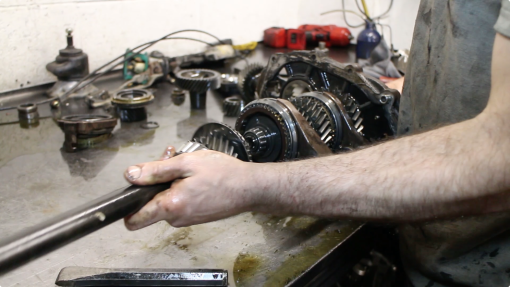
Reverse gear comes off next.
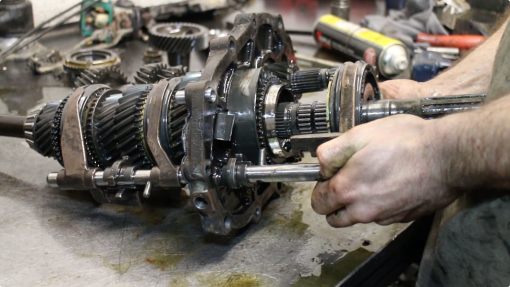
The input shaft slides off now along with the 4th gear syncro ring.
Then reverse comes off.
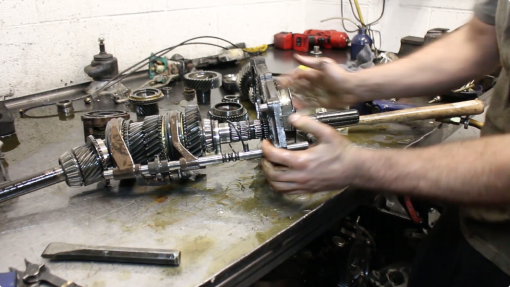
When taking the center plate off, watch out for the lower detent spring and ball. The Selector fork and shaft can be removed next and that’s the gearbox done. It’ll then be cleaned, any worn parts replaced and painted - we should be able to pick that up in the next episode!
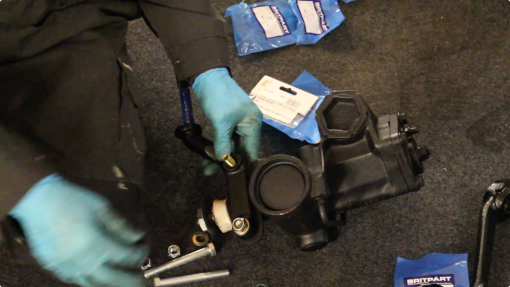
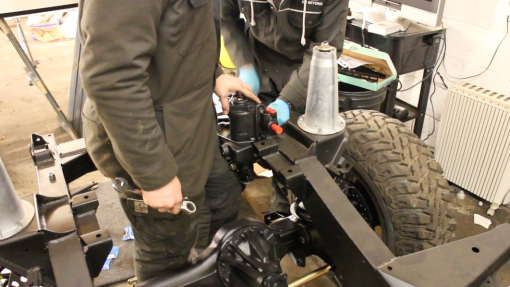
Back at FunRover HQ - we’re working on the steering box. We purchased a recon steering box as the old one would make quite a grumble as it was turned from lock to lock. This was supplied by LrParts.net. Once this is fitted, we can send the old one back, it’s a neat way of saving cash and recycling Land Rover parts. Empty as much steering fluid out the system as you can. Will need to be centred and bled and the torque will be rechecked after our shake down drive.
Adding the tie bar
This can be lifted into place and bolted up, it's much easier if there are 2 of you.
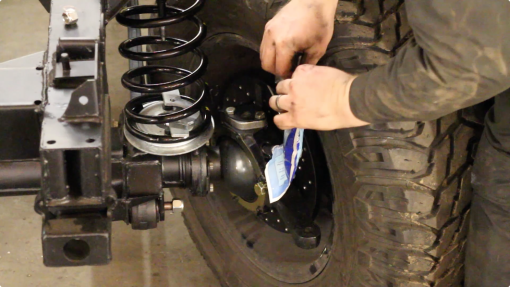
One shot grease was added to the swivel housings. It was necessary to remove the steering stop locks to turn the housing past the end of the swivel ball. This allows you to insert the grease bag filling tube right into the housing and get the grease in the right place, rather than it spewing back out all over.
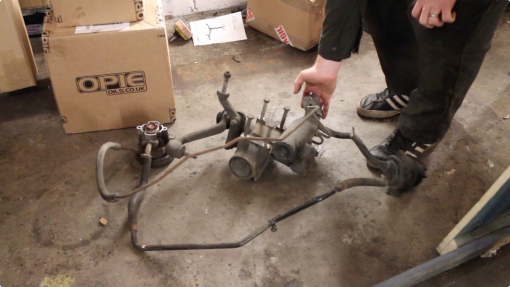
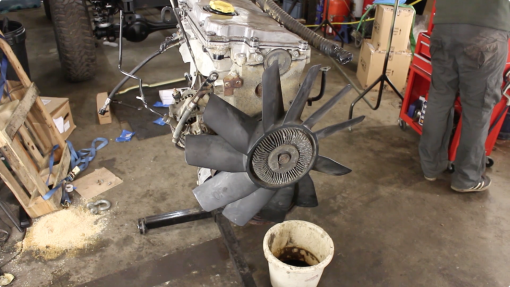
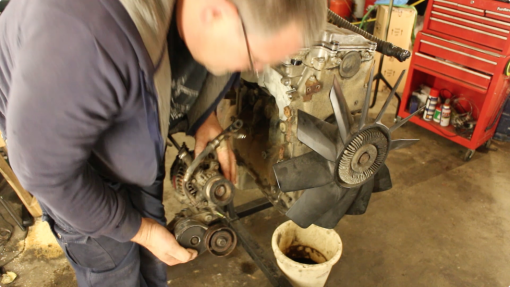
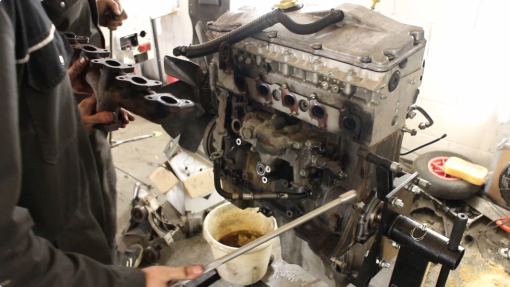
Next, we moved onto the TD5 lump. This needs cleaning up, as we're going to paint and polish it. Unnecessary? Perhaps, but it would look out of place in the build if we had a dirty old engine.
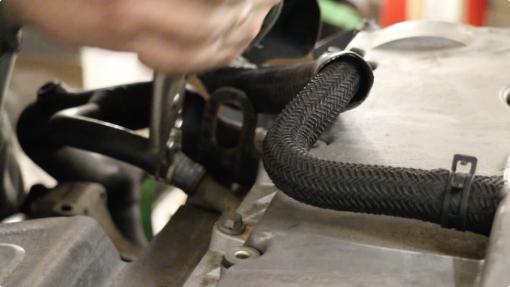
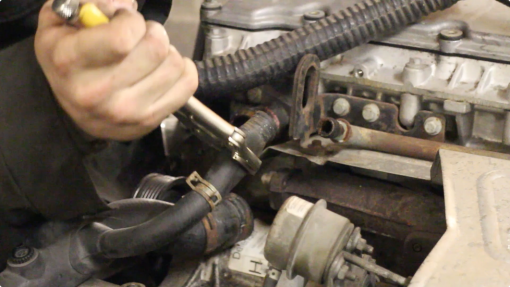
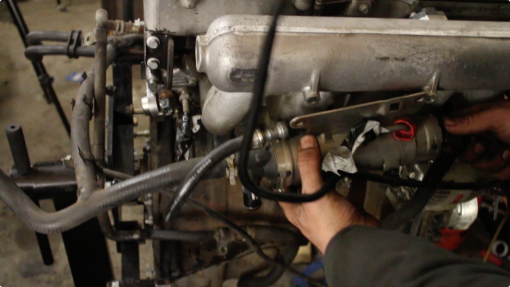
First off, I started by removing all hoses.
Some of the pipes had quite an amount of corrosion in them.
Next, the fuel cooler was removed. It's helpful to put bolts back in their respective holes so you can remember where they came from later.
The Alternator and associated belt pulleys were next.
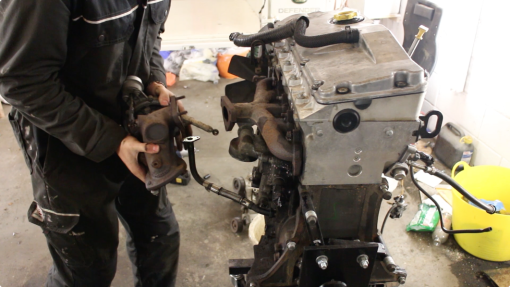
The turbo came off afterwards, revealing the all too common snapped exhaust manifold stud problem. Not one stud had snapped but two!
The answer is to get the manifold machined flat (as it has warped due to the exhaust gas temperatures) then have some of the casting removed to help it flex little. We'll also fit longer, more heavy duty studs with spacers and this should stop it ever happening again.
Related items for sale on eBay
| Ebay has returned a malformed xml response. This could be due to testing or a bug in the RSS2 Generator. Please check the support forums to see if there are any posts regarding recent RSS2 Generator bugs. CURL error code = 6. (Could not resolve host: rest.ebay.com) |
About Us
FunRover is a place for Land Rover enthusiasts to gather as a community and discuss the best 4x4 vehicles ever produced. We're building a library of high quality resources & articles to help owners along in their Land Rover ownership.
Popular Posts
8 Almost Useless Land Rover Mods
11th June 2014
Updated: What Makes a Defender Iconic?
29th November 2011
How to Plastidip your Land Rover Defender
19th August 2014


