
Ben Gribbin
October 23, 2015
Share post:


-

12K Subscribers
Subscribe
Search
Popular Articles
8 Almost Useless Land Rover Mods
11th June 2014
Updated: What Makes a Defender Iconic?
29th November 2011

What have we been up to this week with our Tribute build?
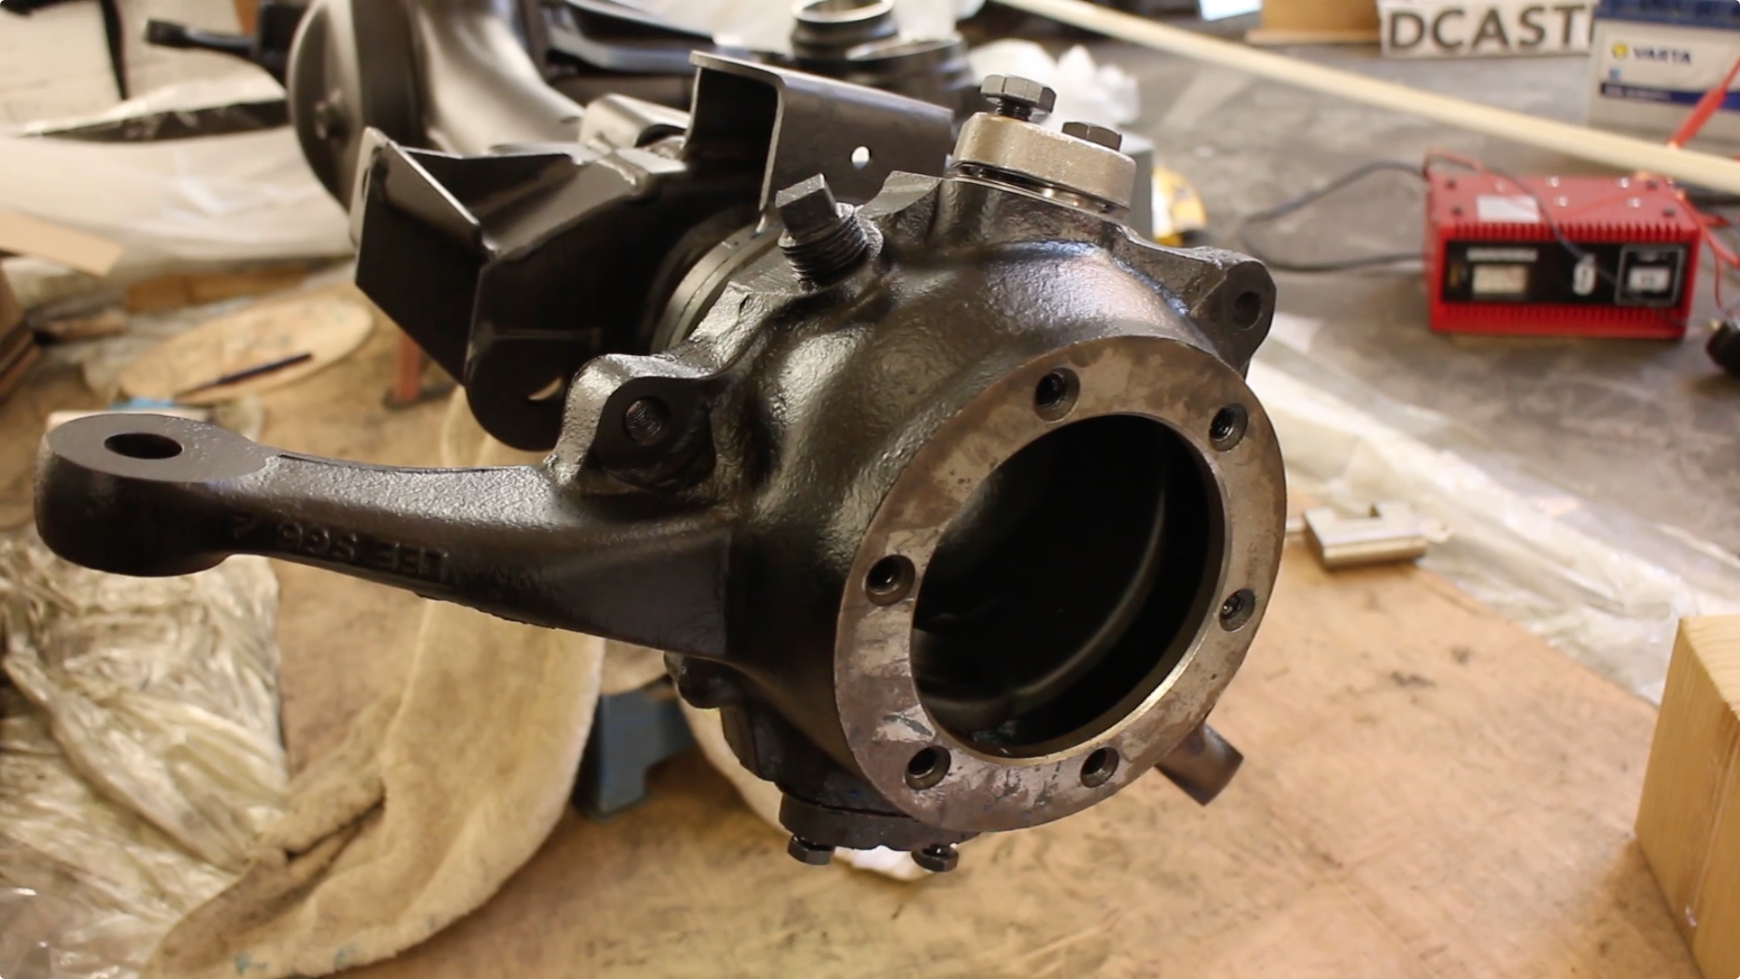
First up, we set about finishing the swivels from last time. The pre-load had to be set using shims on the upper pin - a time consuming process to say the least.
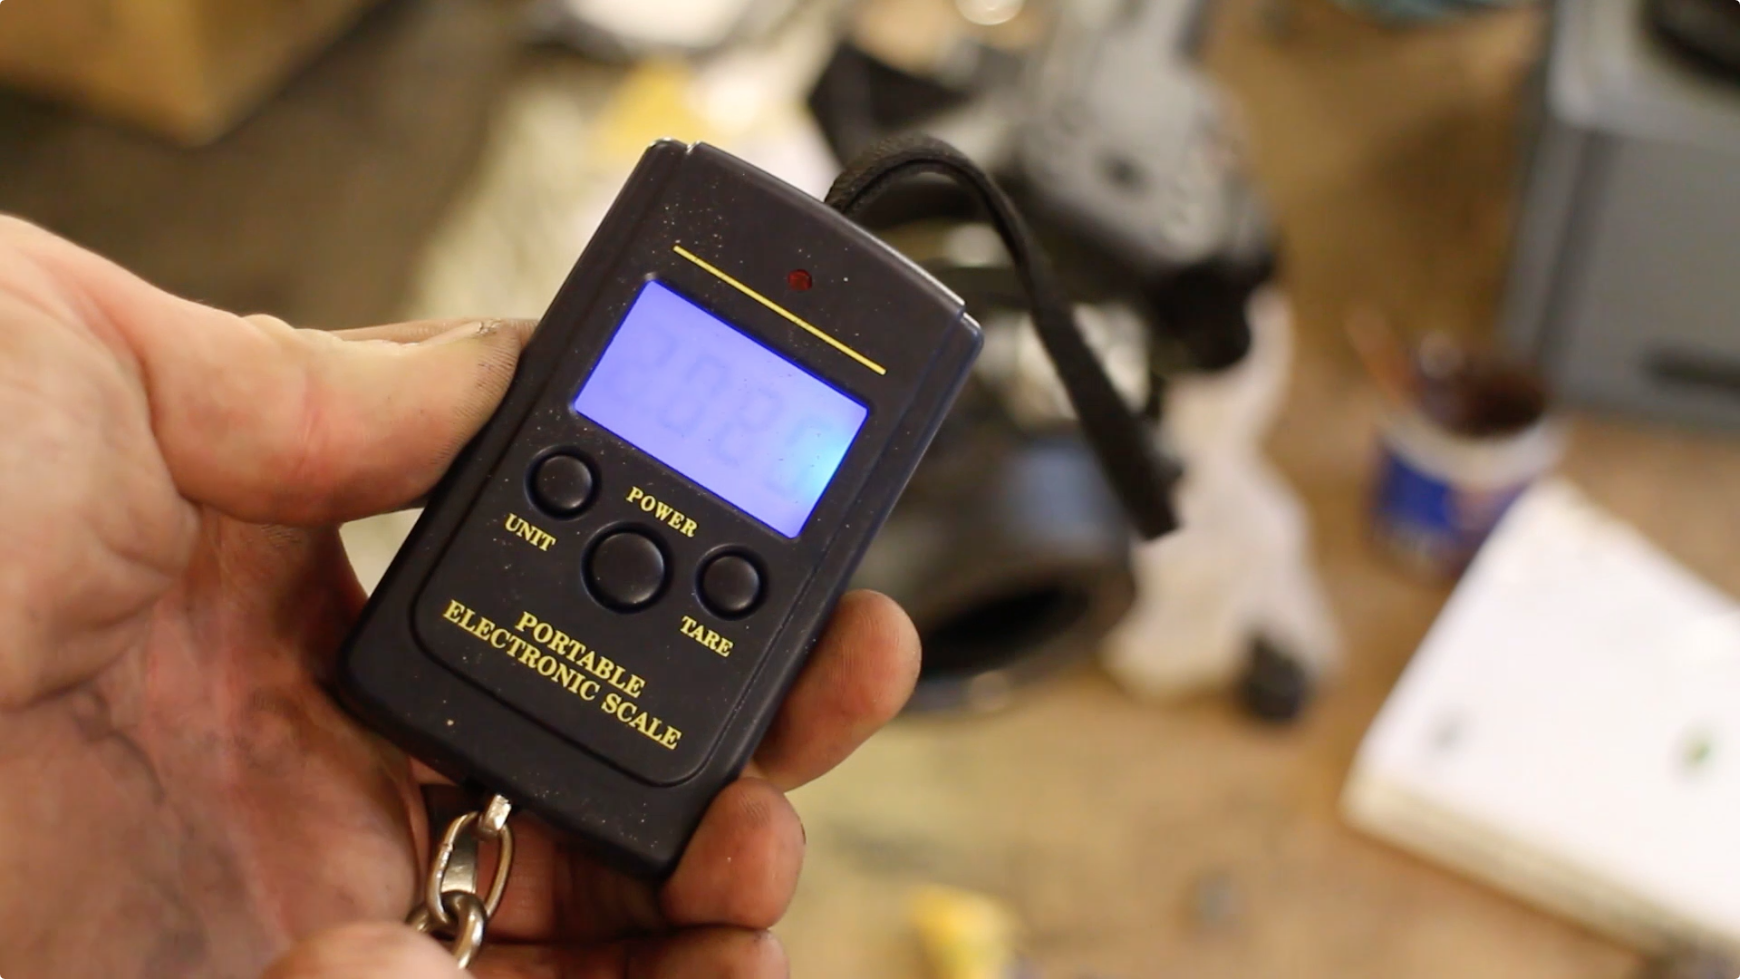
You'll need a spring balance, which can be found cheaply online or at a fishing supplies shop.
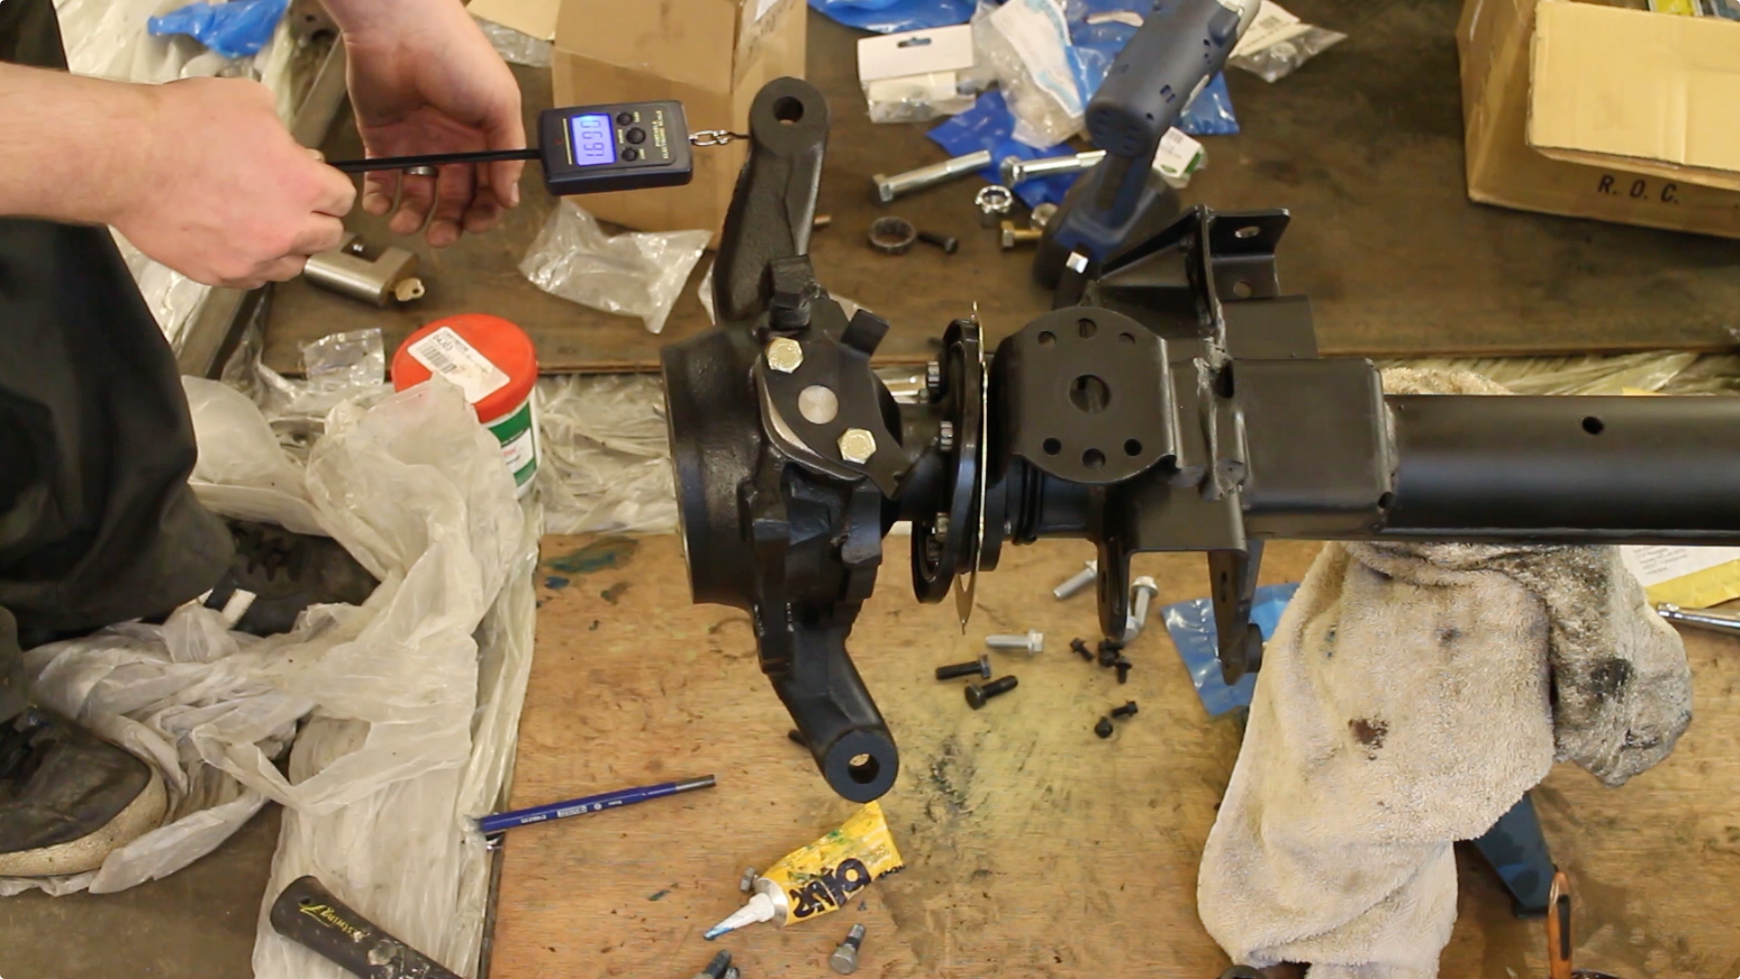
We're looking for a constant pull between 1.2kg and 1.4kg. If you're reading over the number, you need more shims, if you're below, you need to remove some. Be careful not to crank it down with such a high pre-load that you buckle the bearing race.
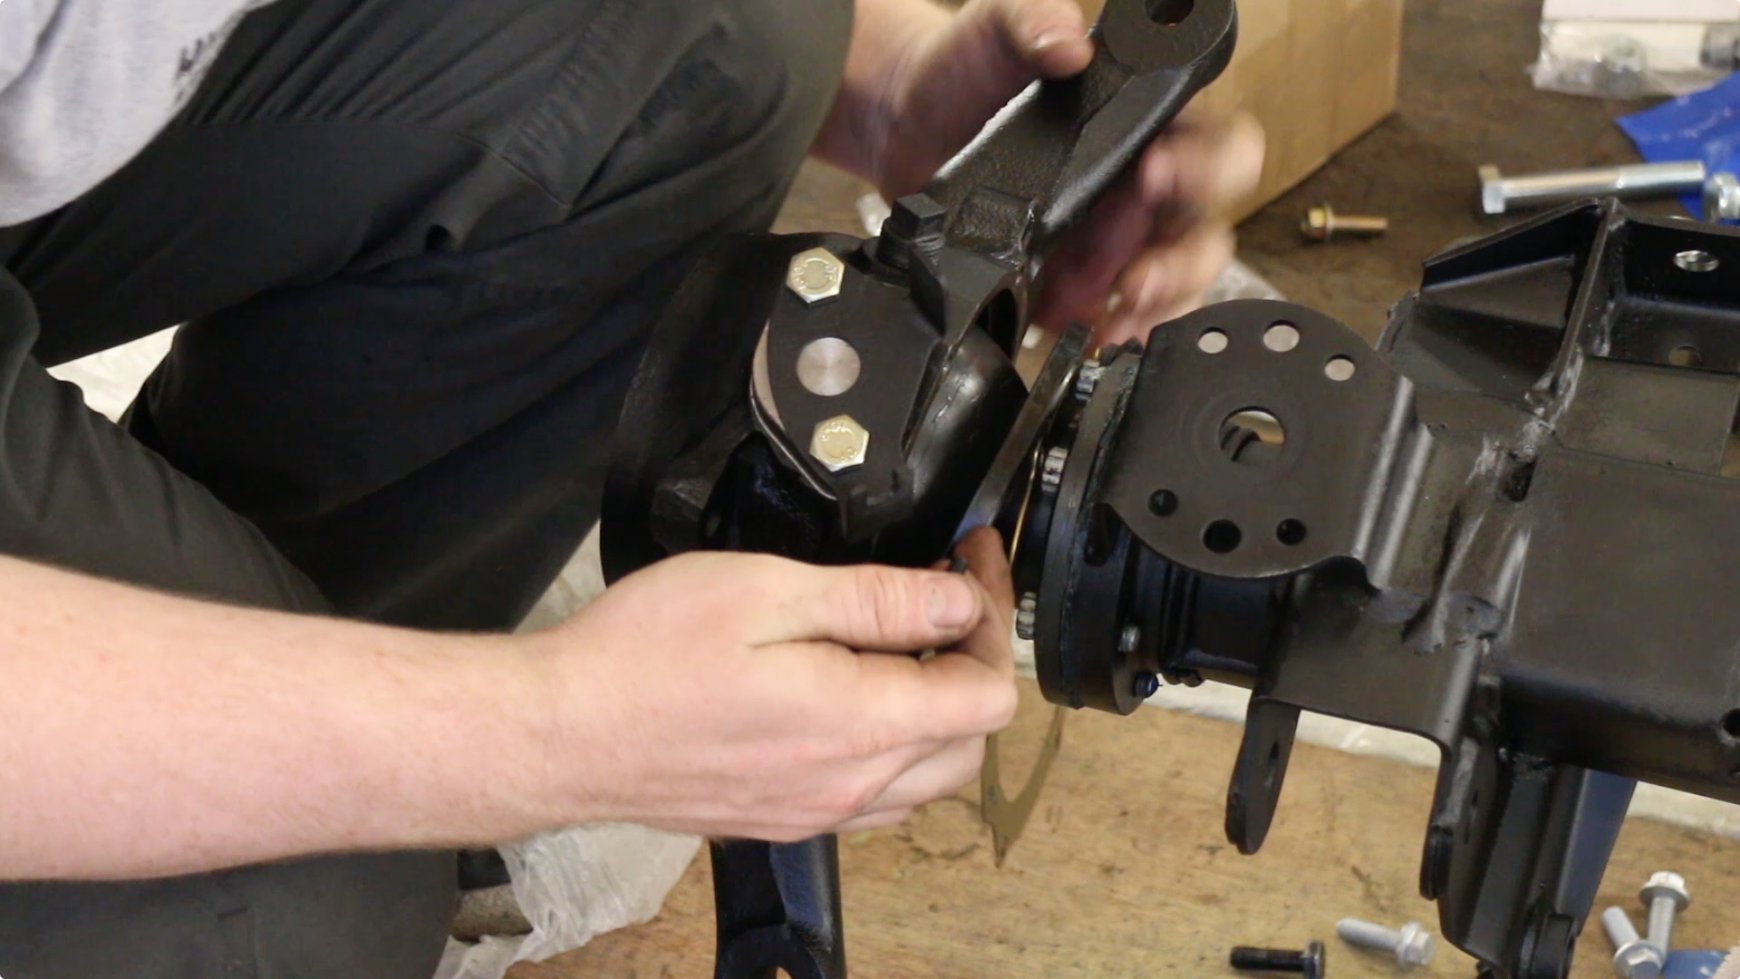
Then the oil seal and retainer plate need fitting. These lock down with small bolts and are torqued to 11nm.
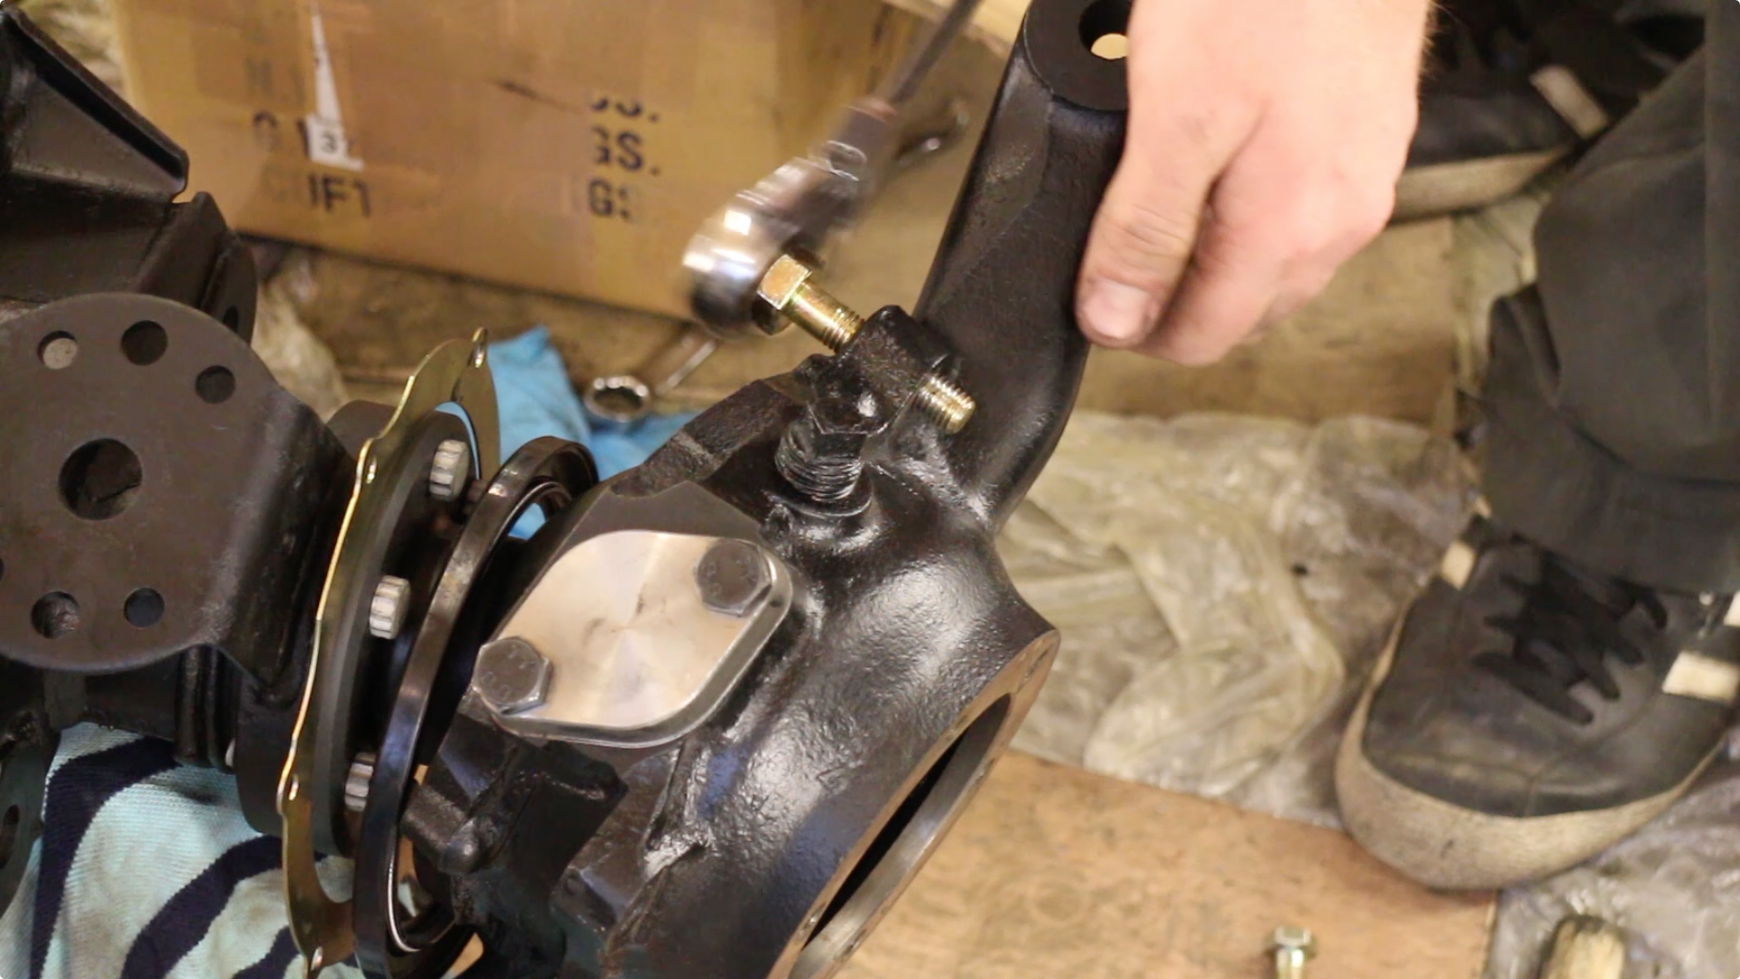
The steering stop lock bolt was added at both sides too, this will need adjusting later.
Once the swivels we're correctly pre-loaded, we slid the cv and half shaft into place, feeling for the splines on the final drive unit to match with the half shaft end before gently pushing it home.
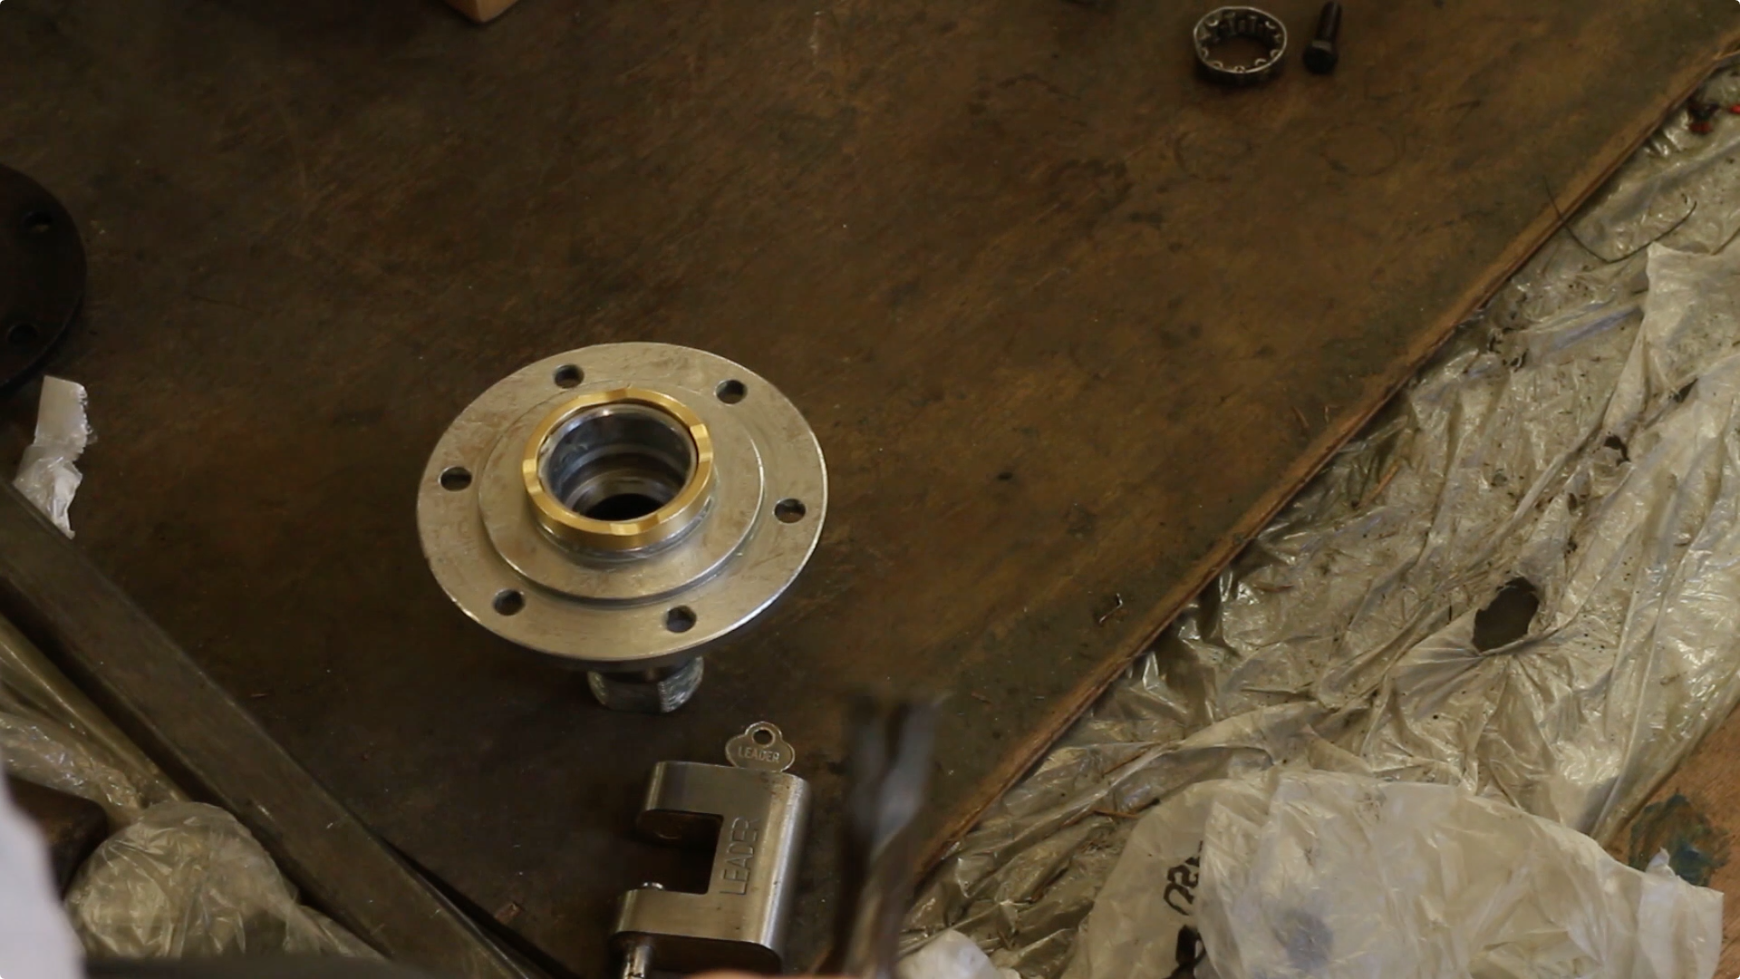
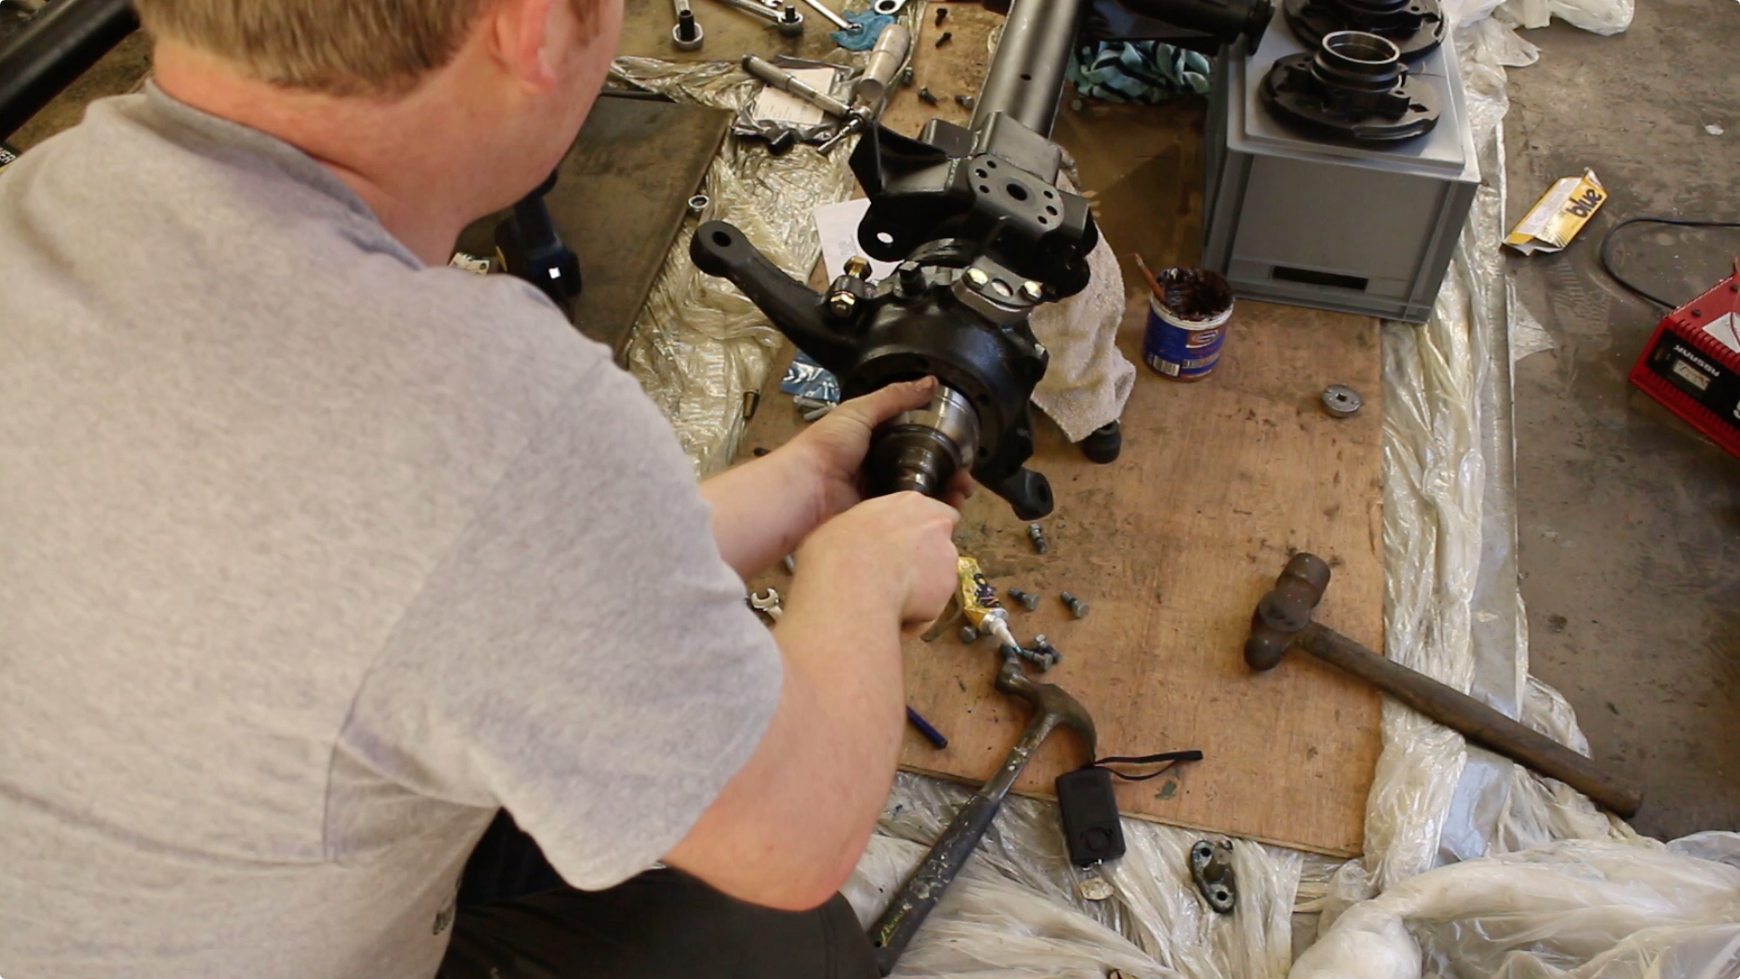
Using a piece of plywood to prevent damage, the brass bushing on the back of the stub axle can be tapped into place. To fit the roller bearing, we used an old cv joint as a bearing setter. Worked very well!
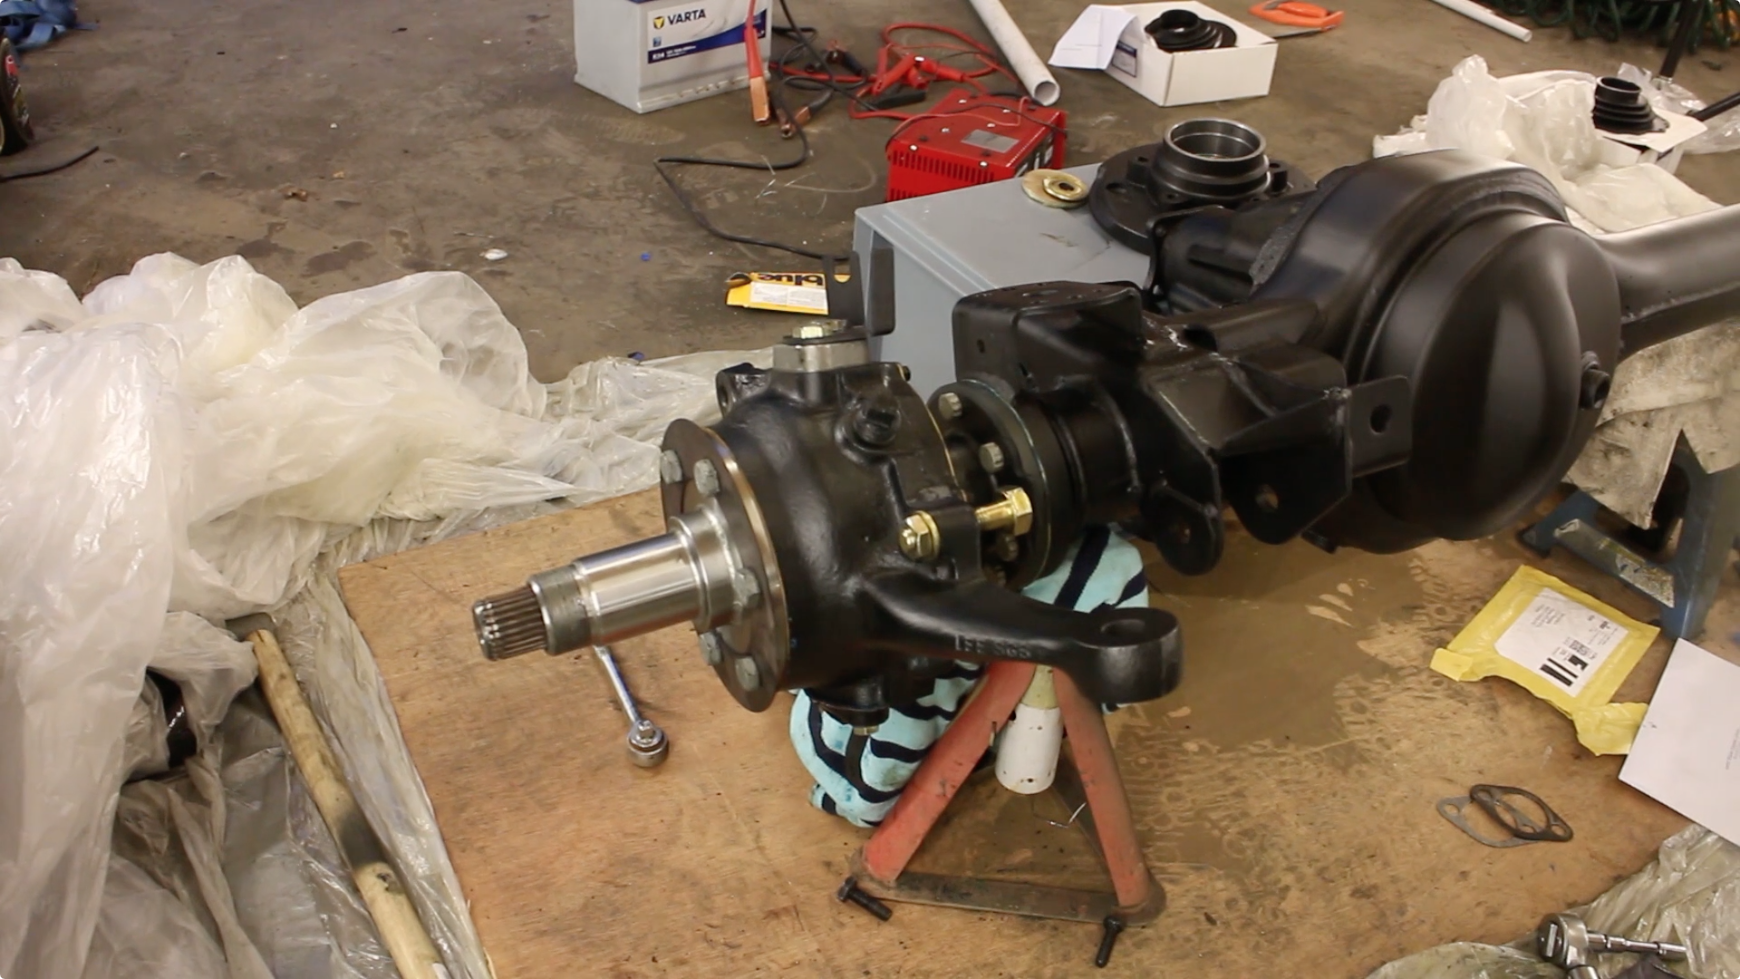
The stub axles can then be bolted on using the correct tensile strength stub axle bolts, with thread lock.
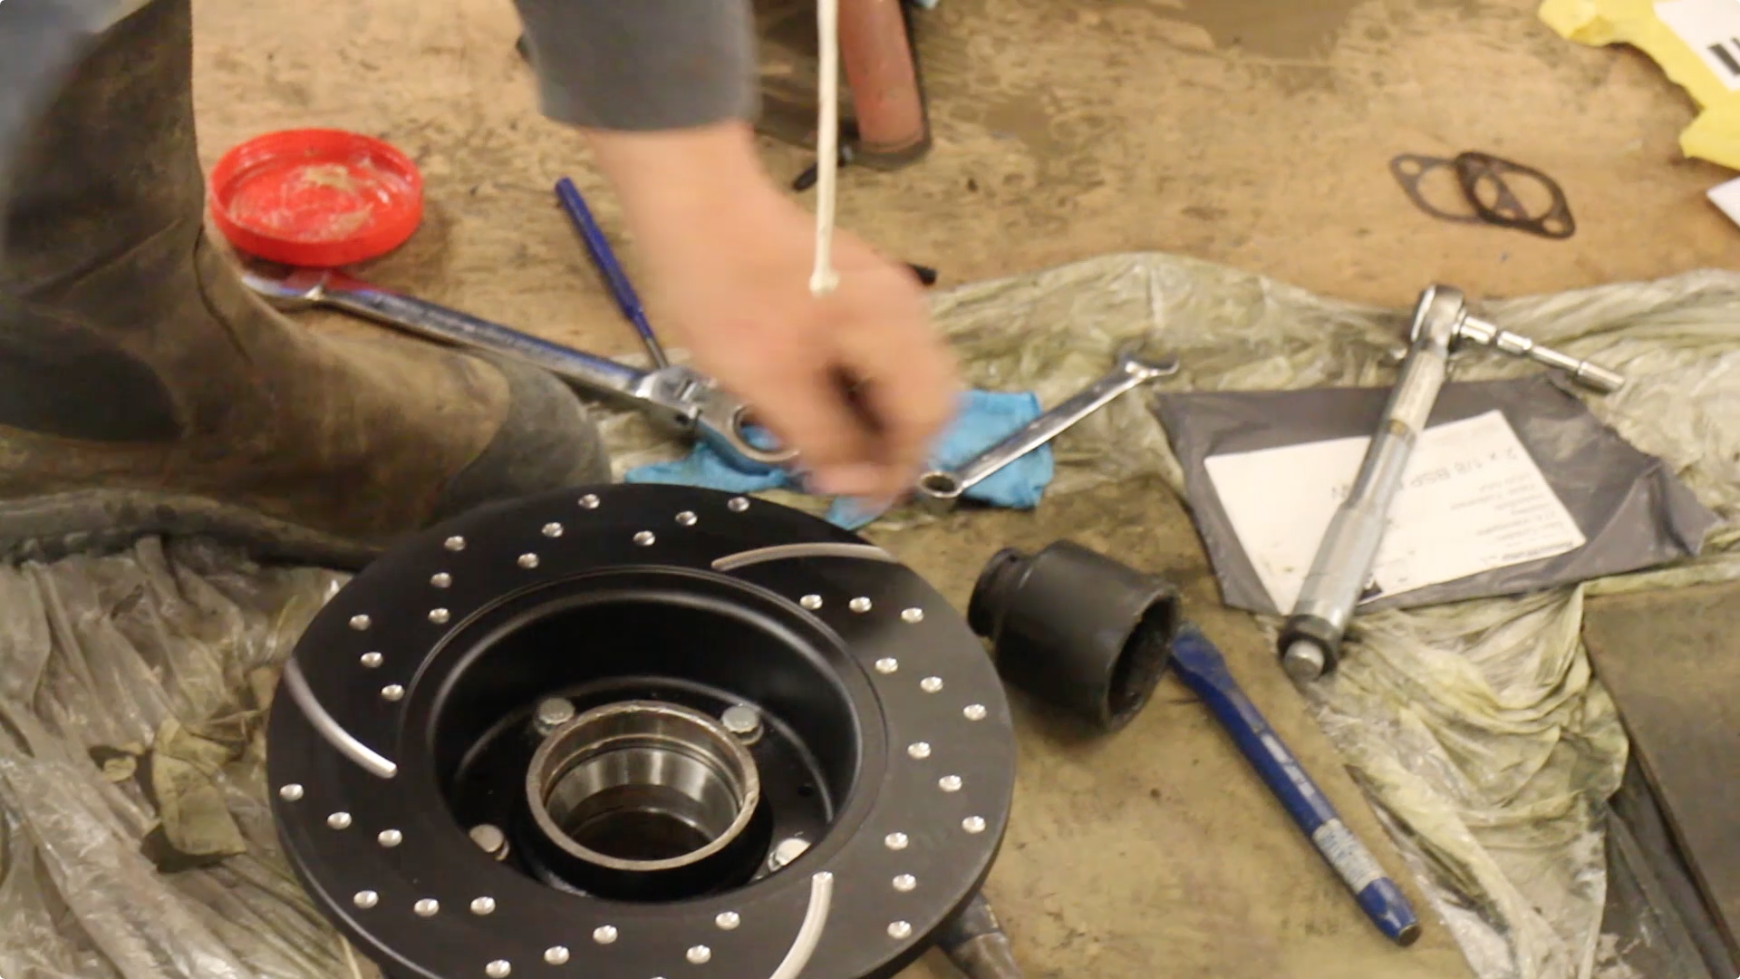
The new discs are from EBC and look awesome! Hopefully they'll provide superior braking capability thanks to the drilled and slotted brake surface.
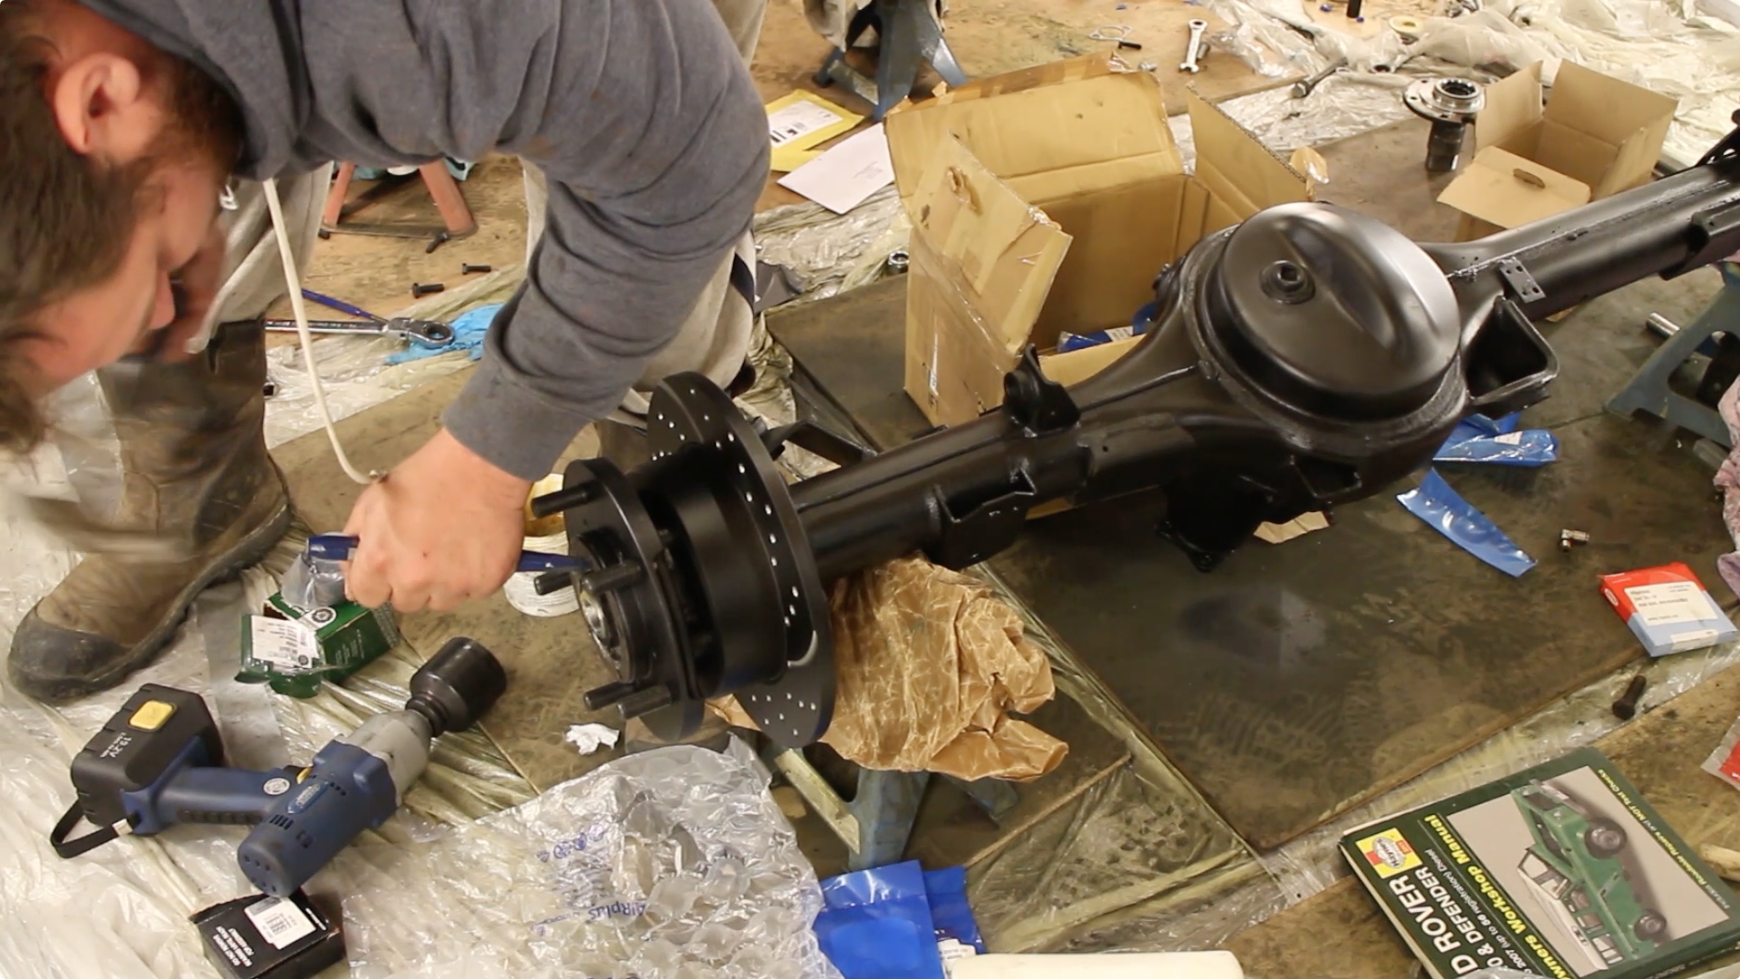
The hub bearings were then fitted as well as the oil seal and adjusted correctly, before flatting the lock washer around the two hub nuts.
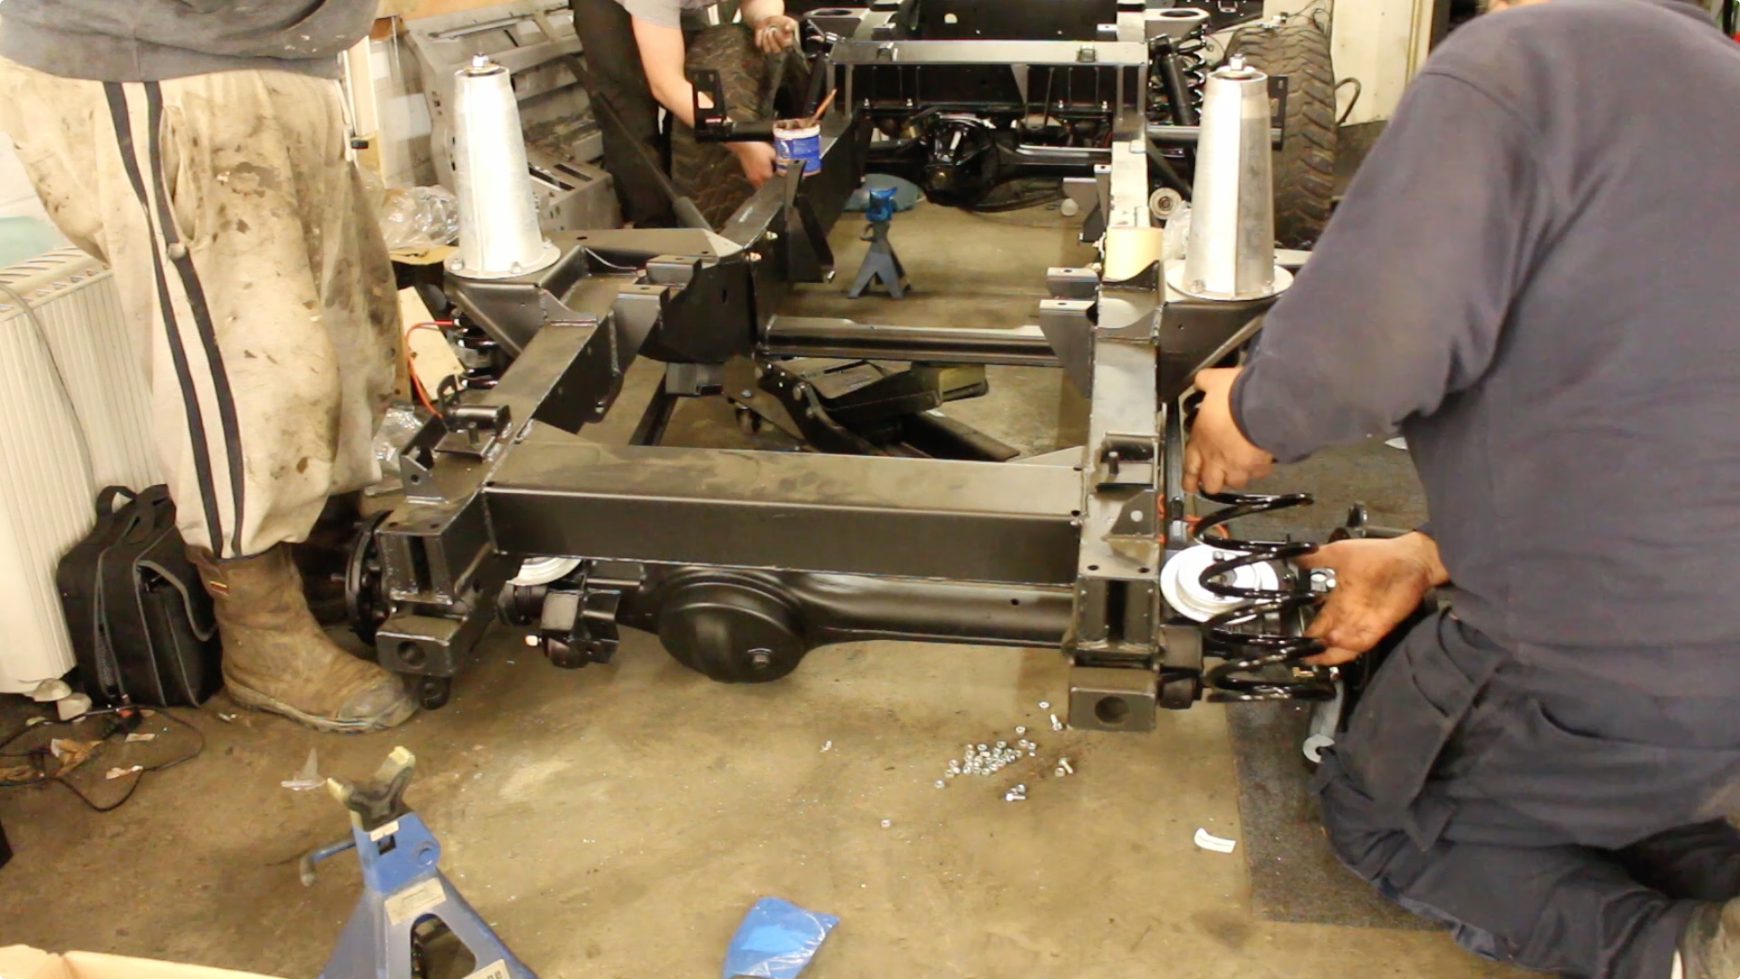
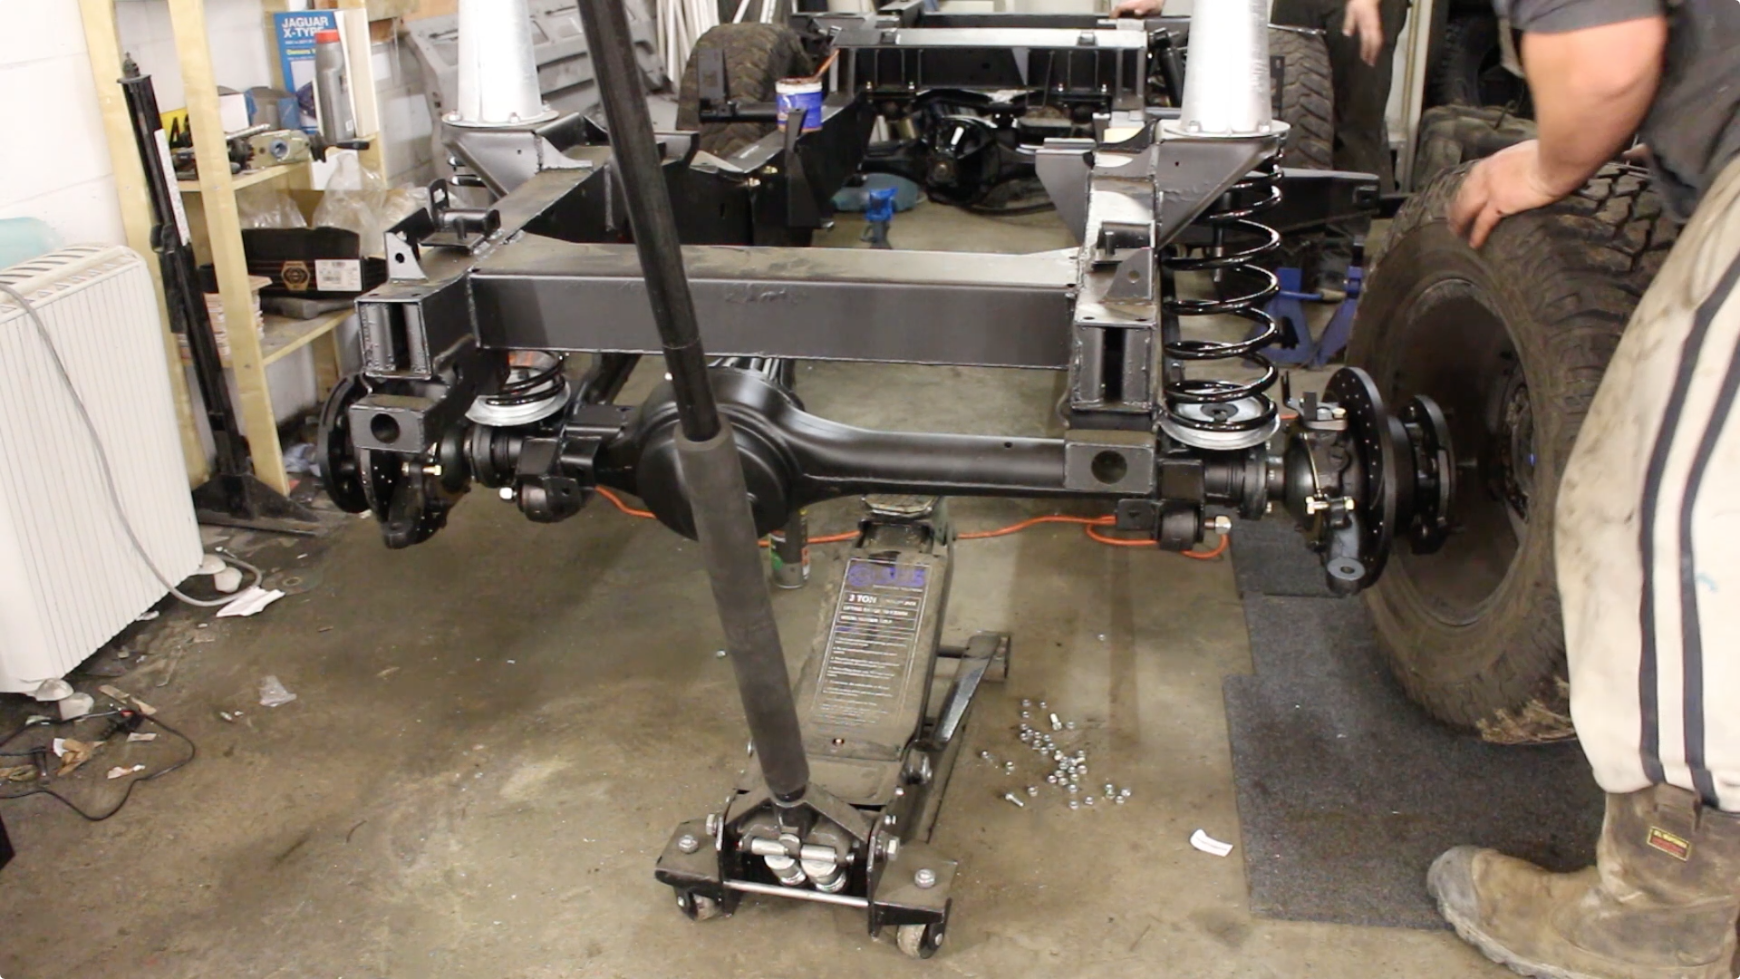
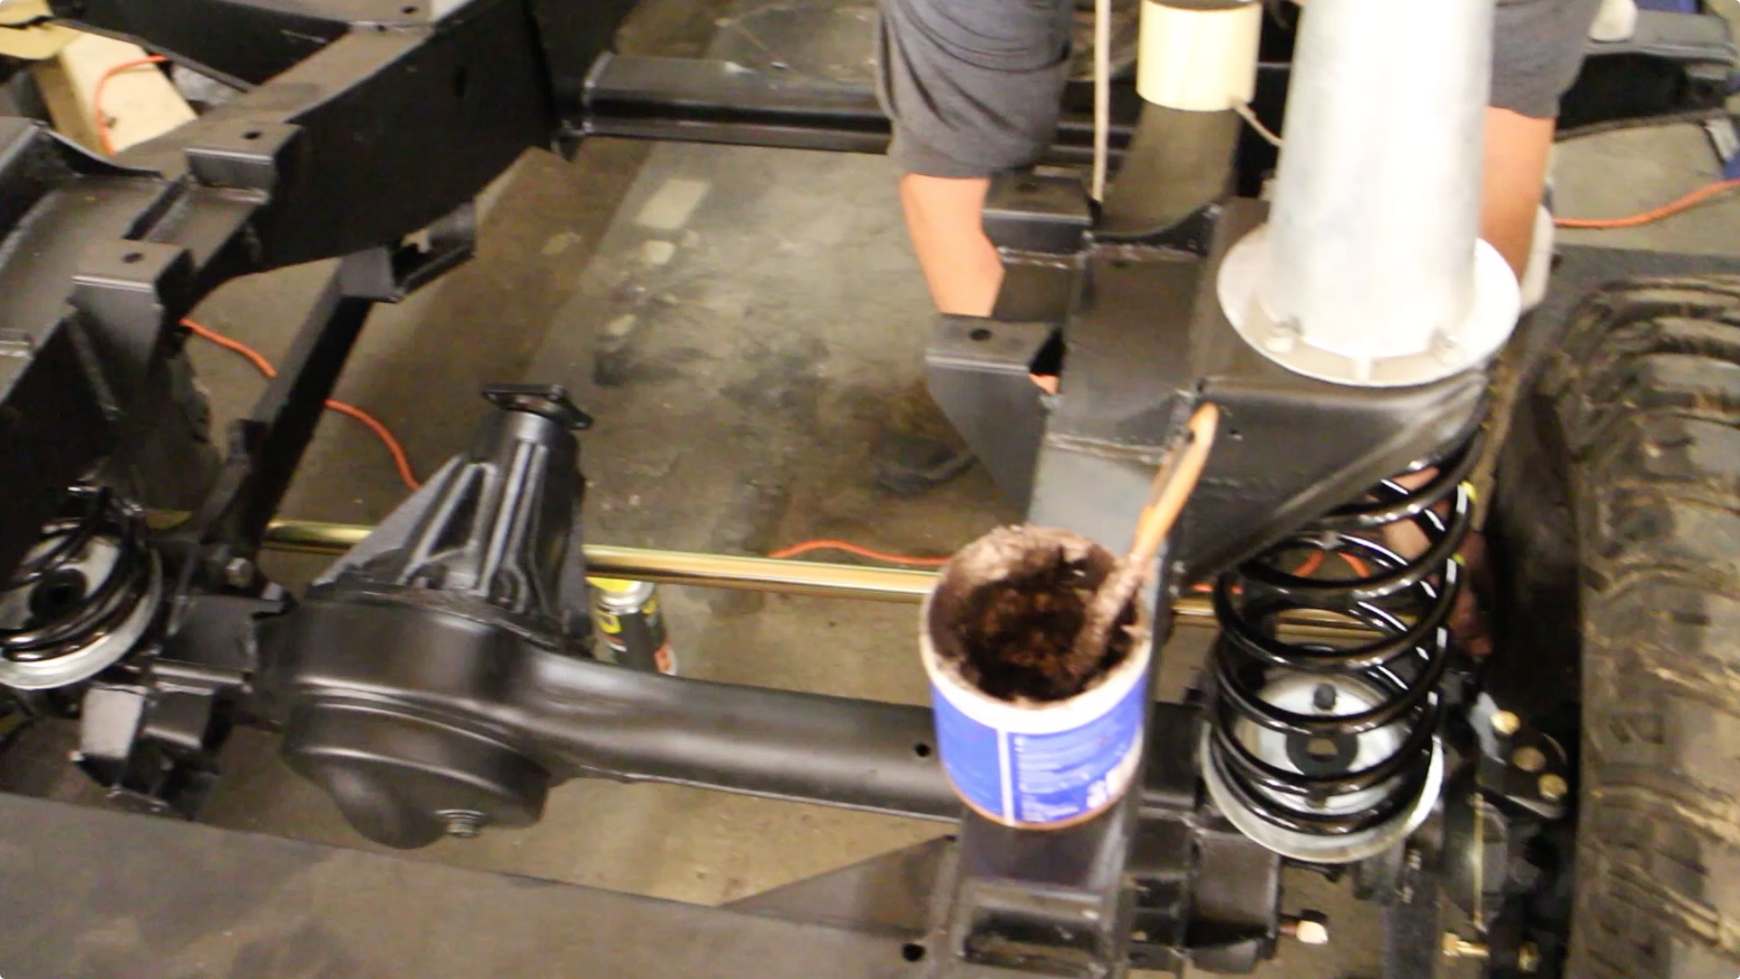
Then we positioned the axle under the rear of the chassis and connected it to the trailing arms, as well as dropping in the a frame ball joint.

The a frame castellated nut needs tightening and then the split pin pushing through
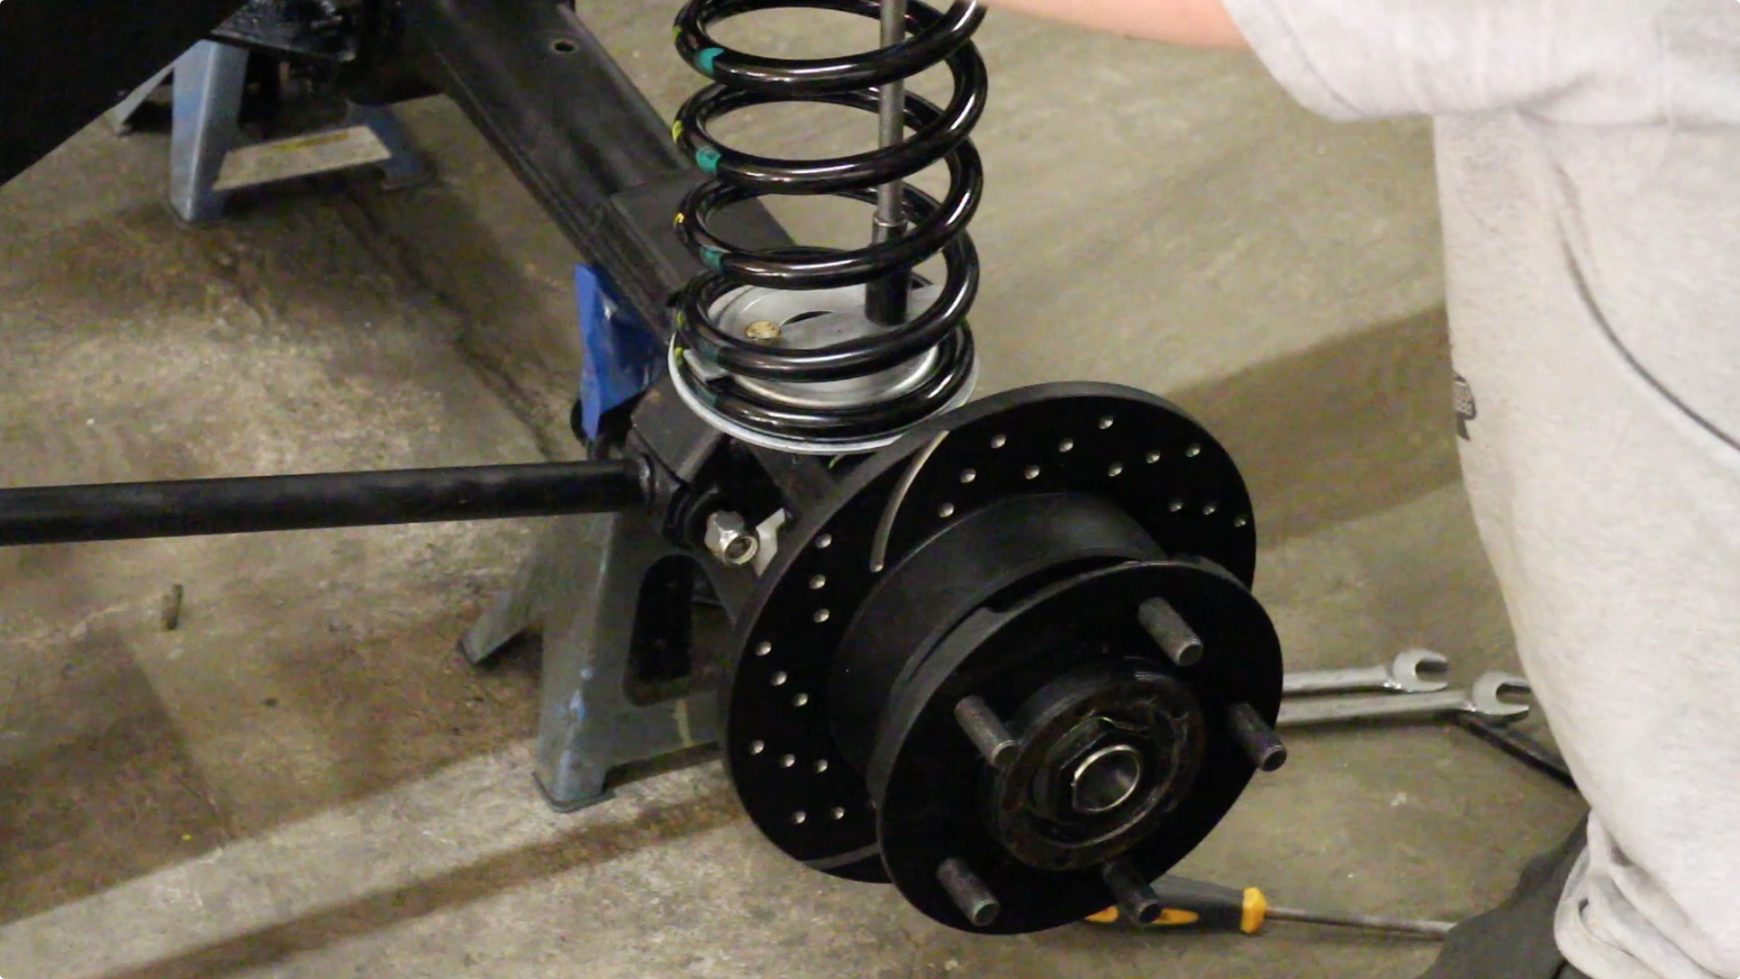
The springs and dampers could then be fitted, along with some nice galvanised seats and retainer plates.
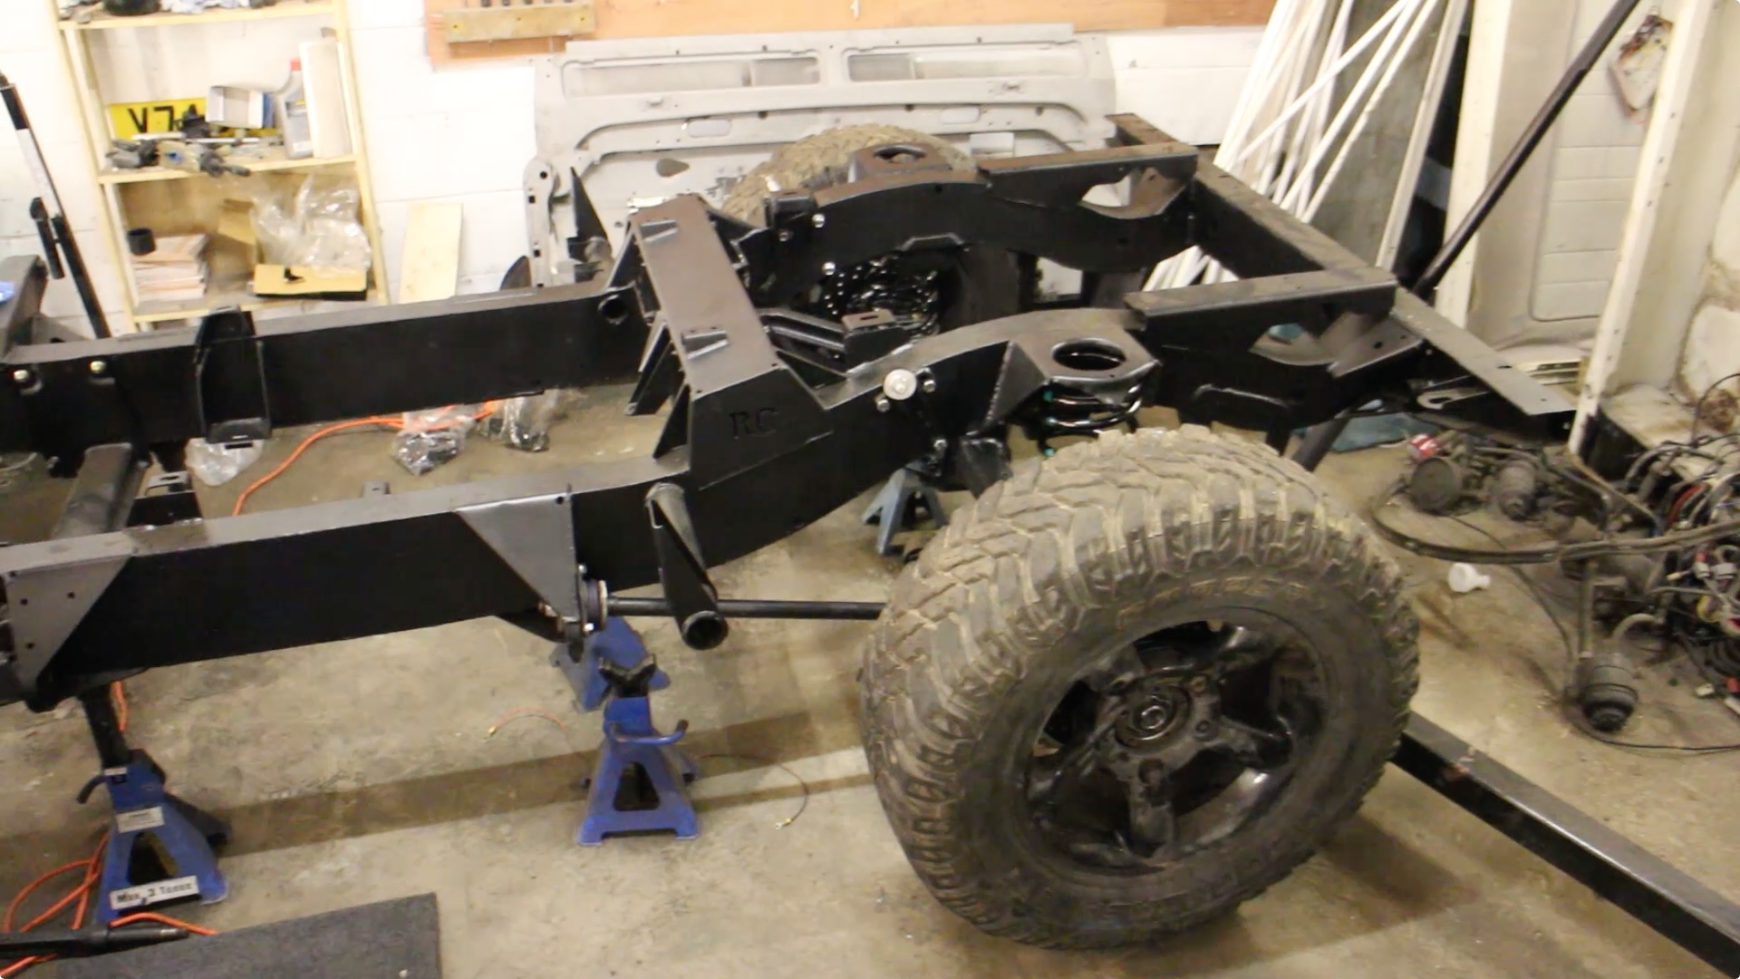
The wheels were then temporarily bolted on. These are not the final wheels we'll be using - those haven't been painted yet. These are just to allow us to shunt the chassis around the workshop.
Then the springs and shocks were offered up - working with standard, non-gas filled shocks is a bit of a treat as they don't want to rapidly expand!
Then the front boots can be chucked on. These will be up for sale once the build is finished as they are surplus to requirements.
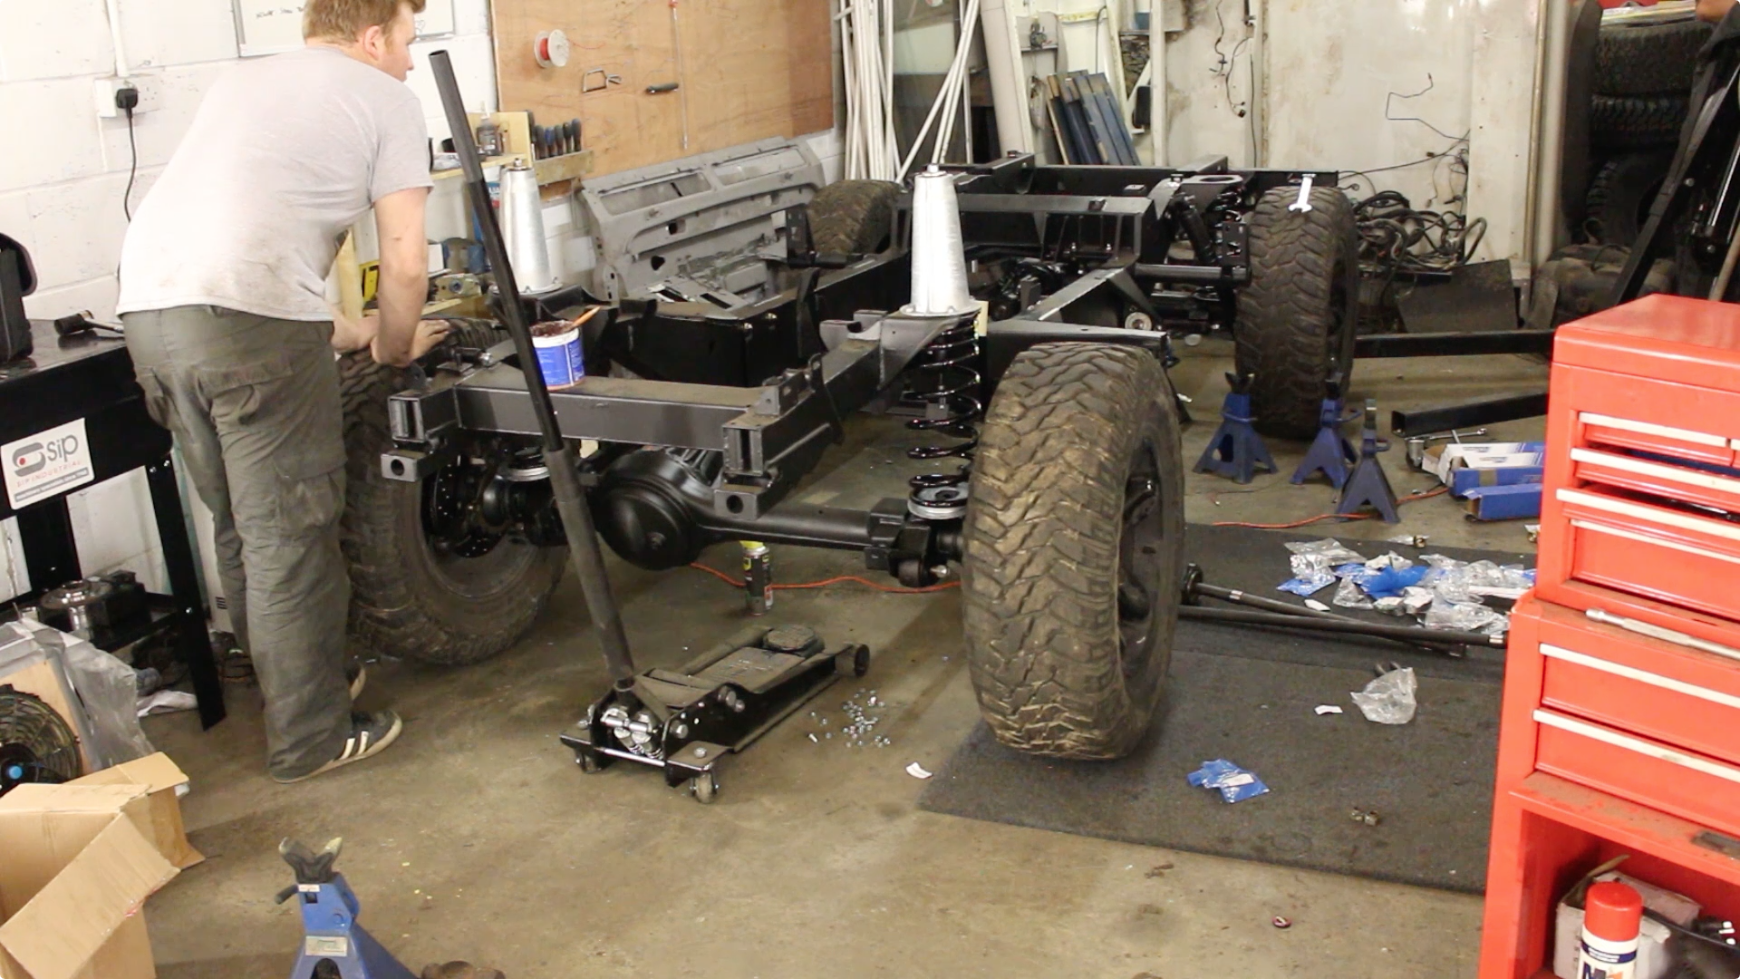
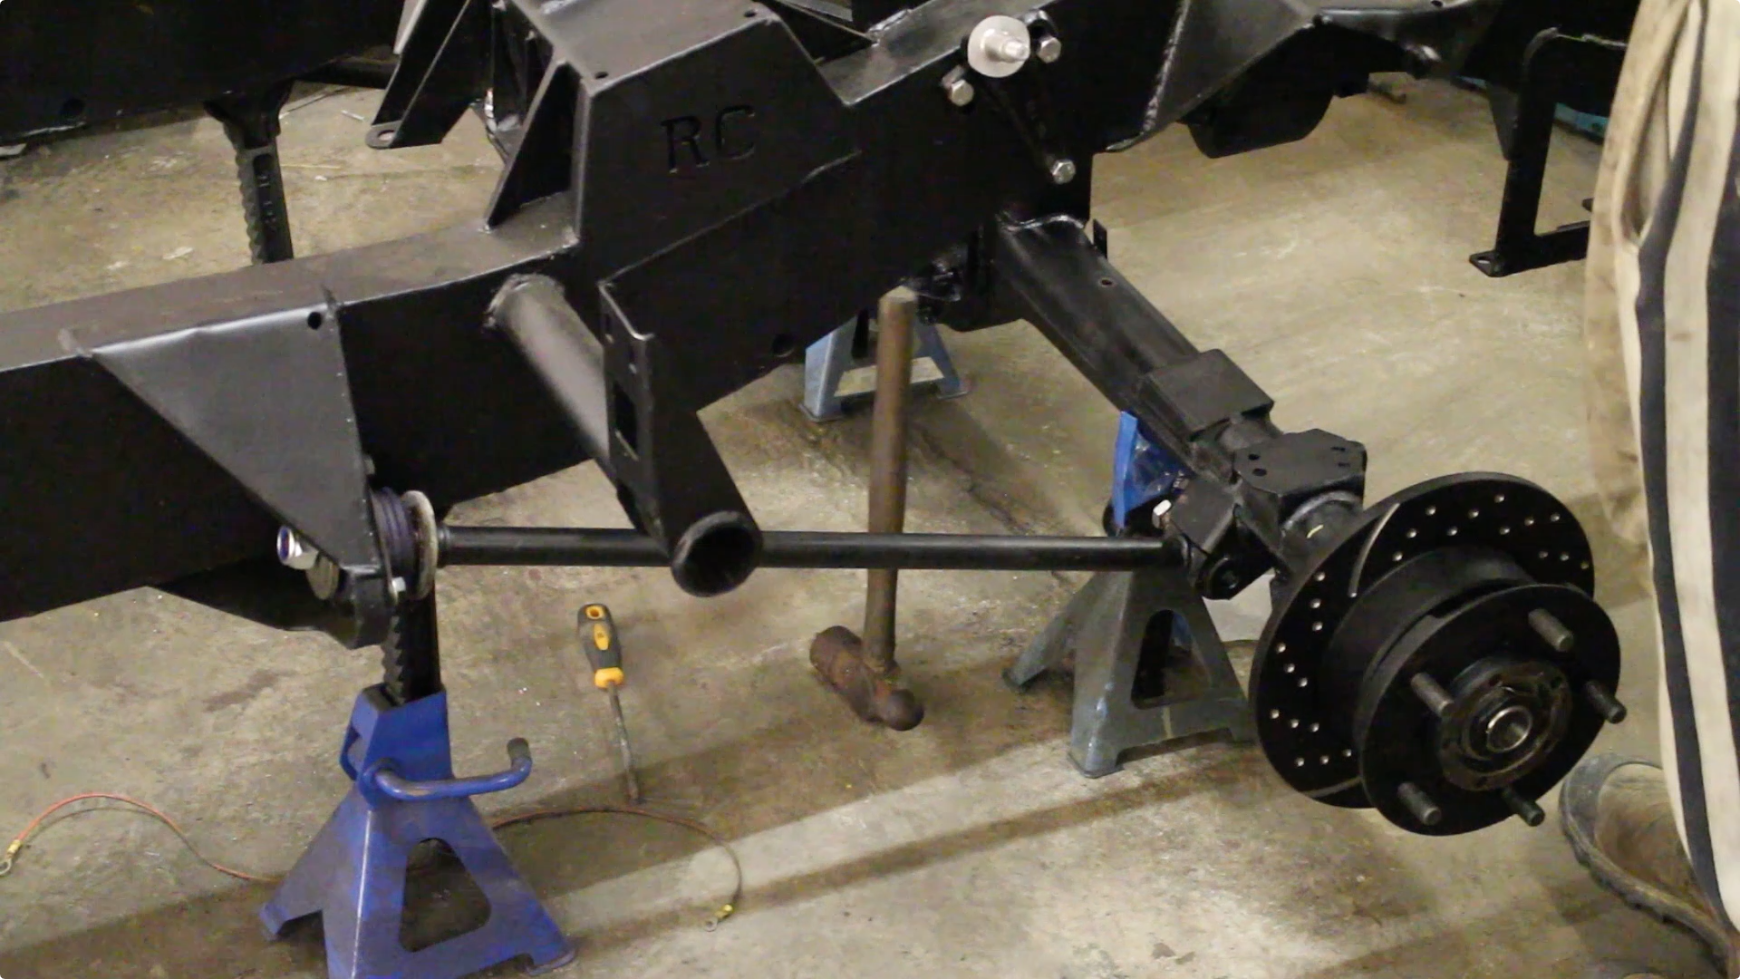
It is now a rolling chassis! Here's proof as I move it further into the centre of the shop for more room!
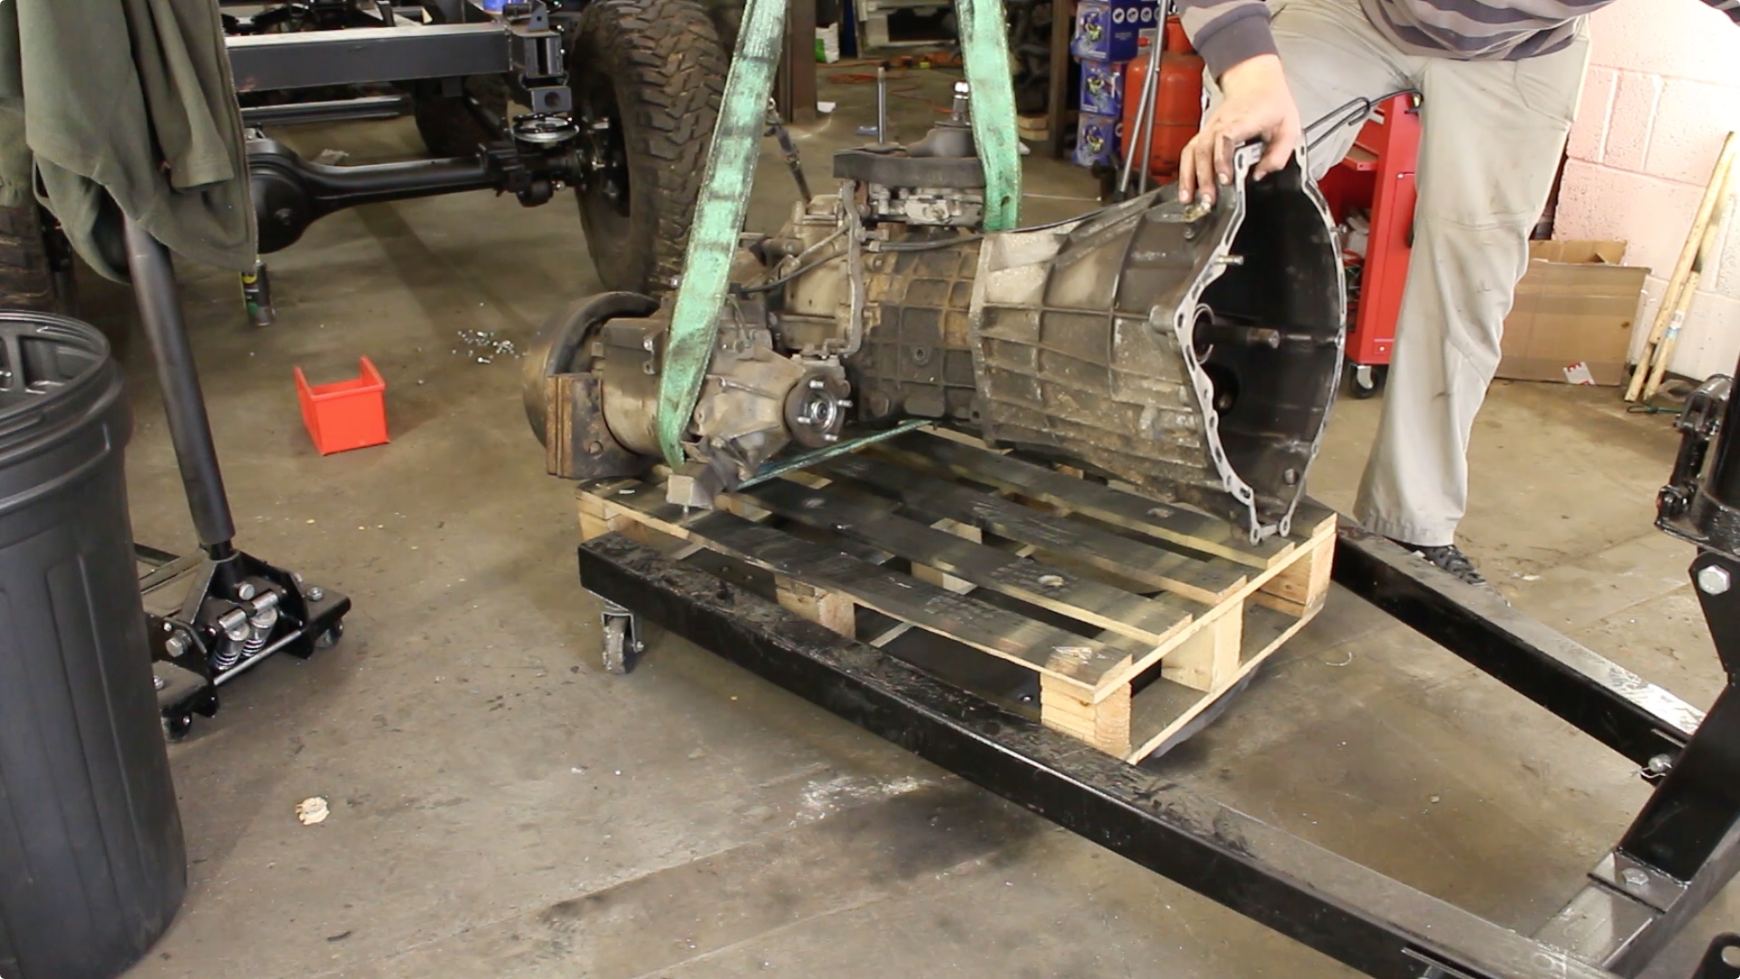
The R380 gearbox was chucked on a palette and taken to a gearbox specialist for a recon and inspection. This one had done around 75k and was getting a little tired, however it's always been well looked after so that's good.
We added the steering arm to make moving the rolling chassis around a bit easier.
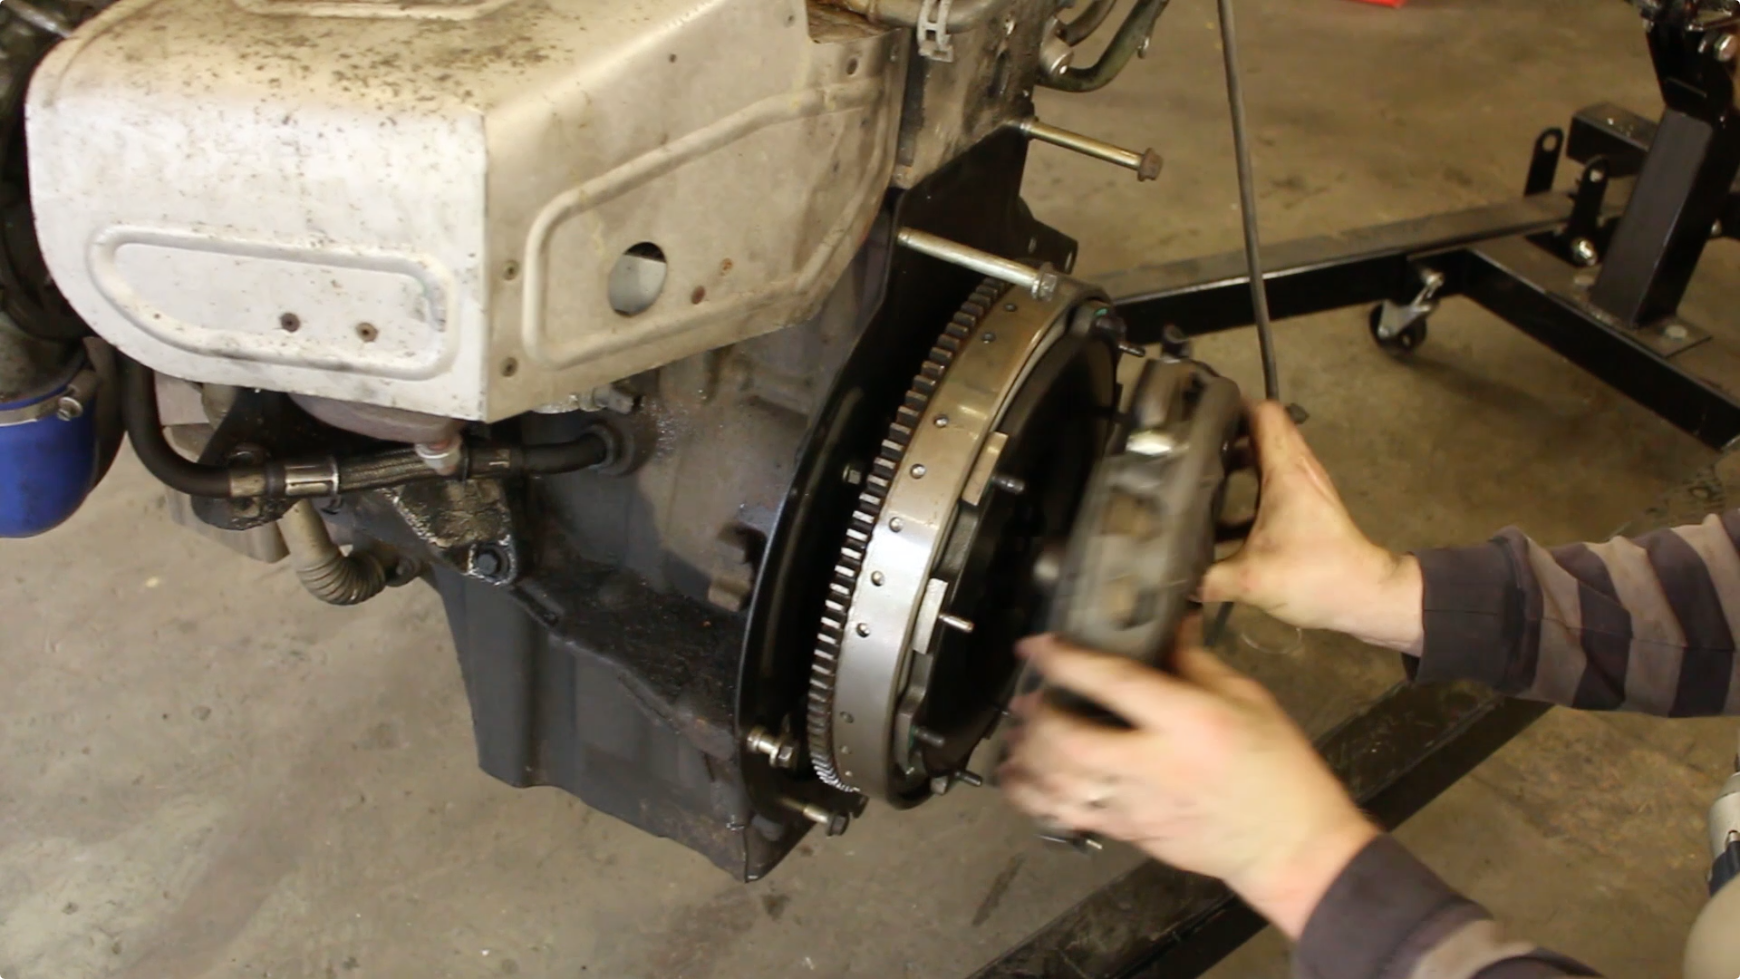
The clutch and Dual Mass Flywheel assembly was stripped from the engine, so we could fit it on an engine stand, this one is from SGS Engineering. It's a good value stand, but from my past experience with other SGS products, the are as good if not better than their competitors.
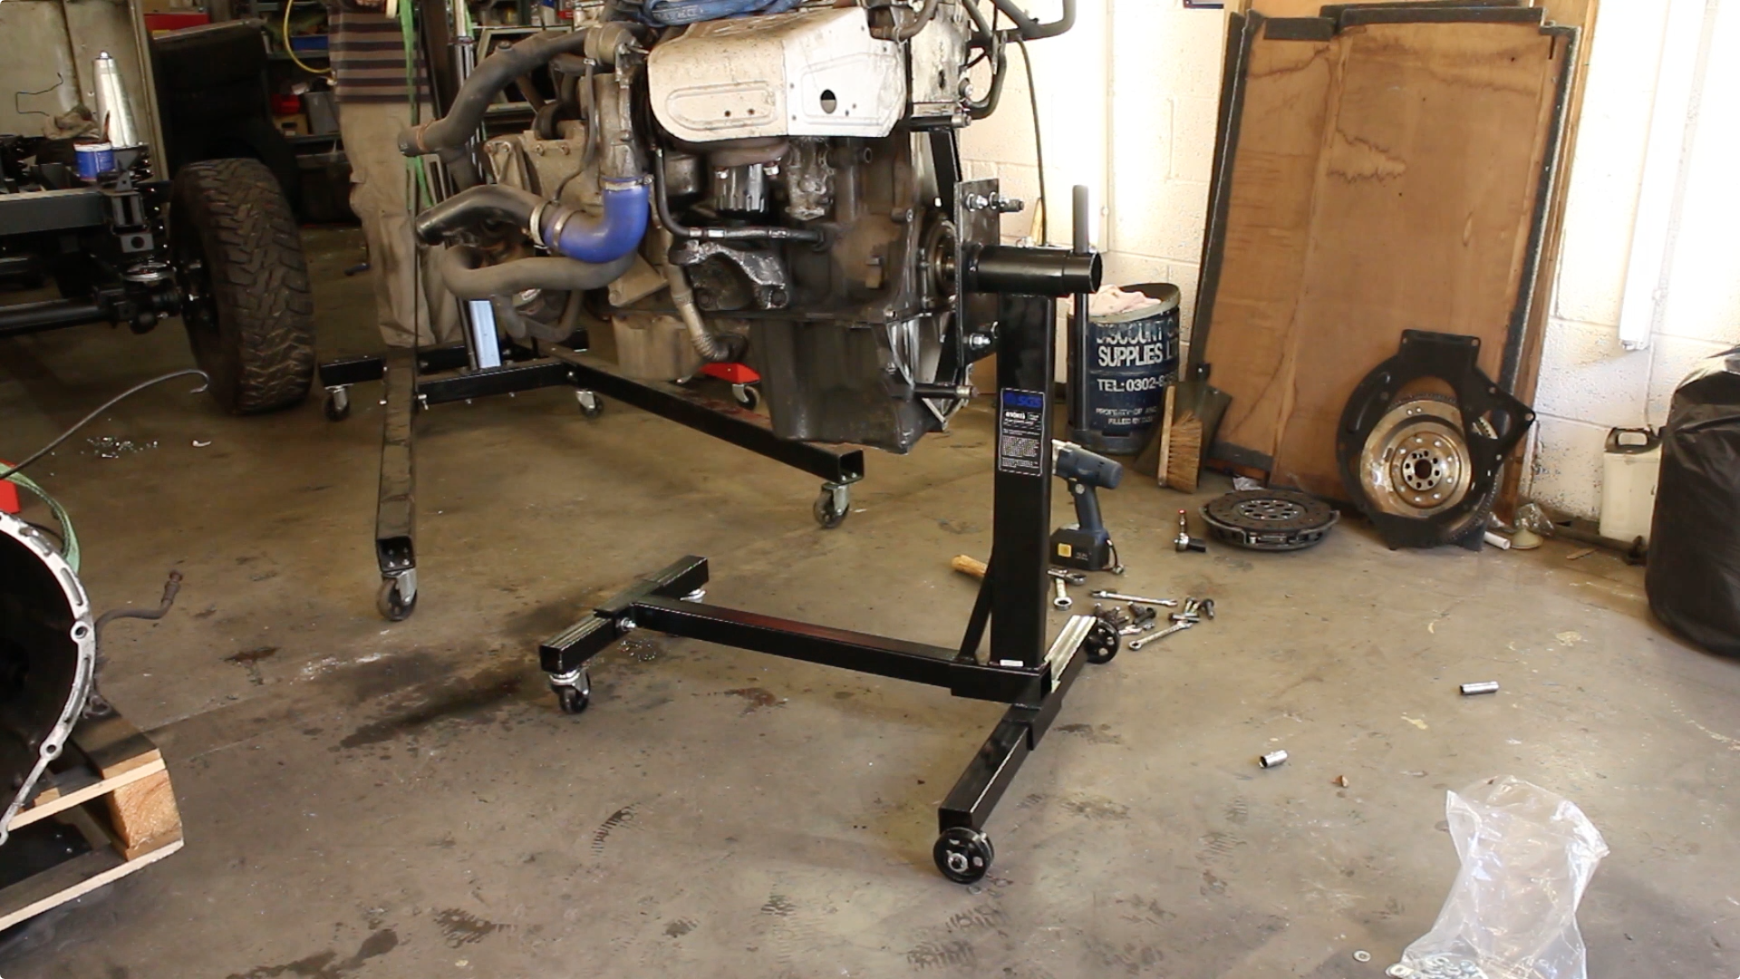
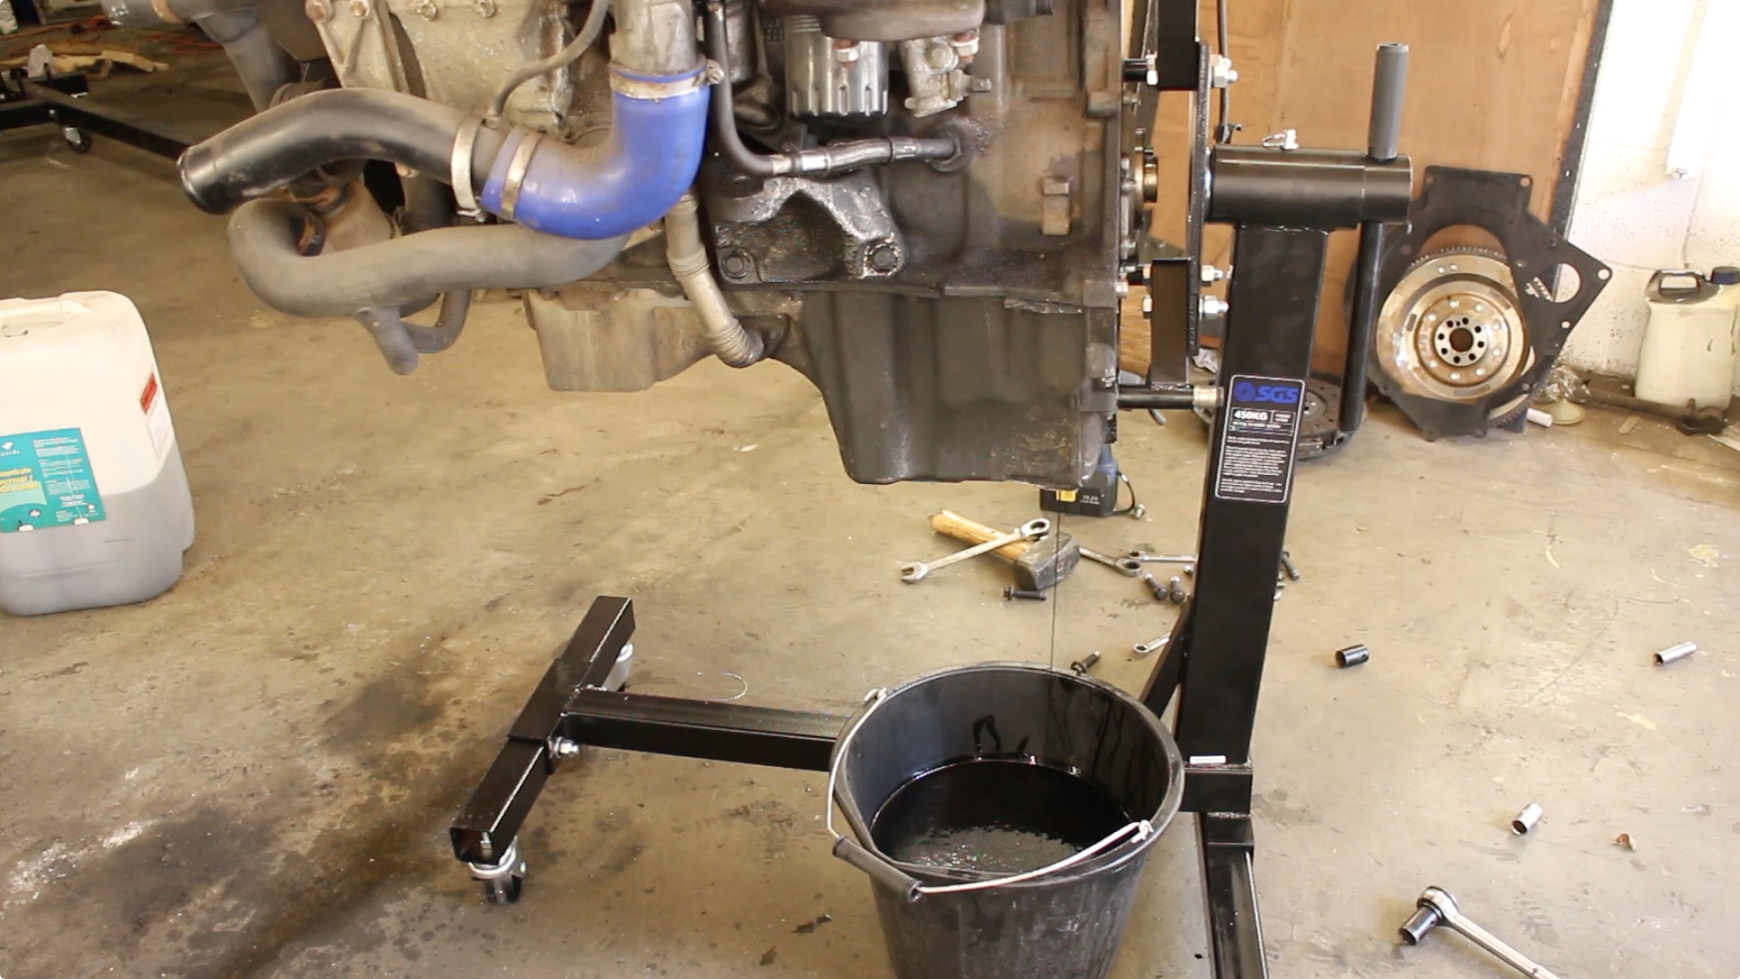
I drained the oil from the engine, before refitting the sump plug and setting about scrubbing it with gunk to get it clean.
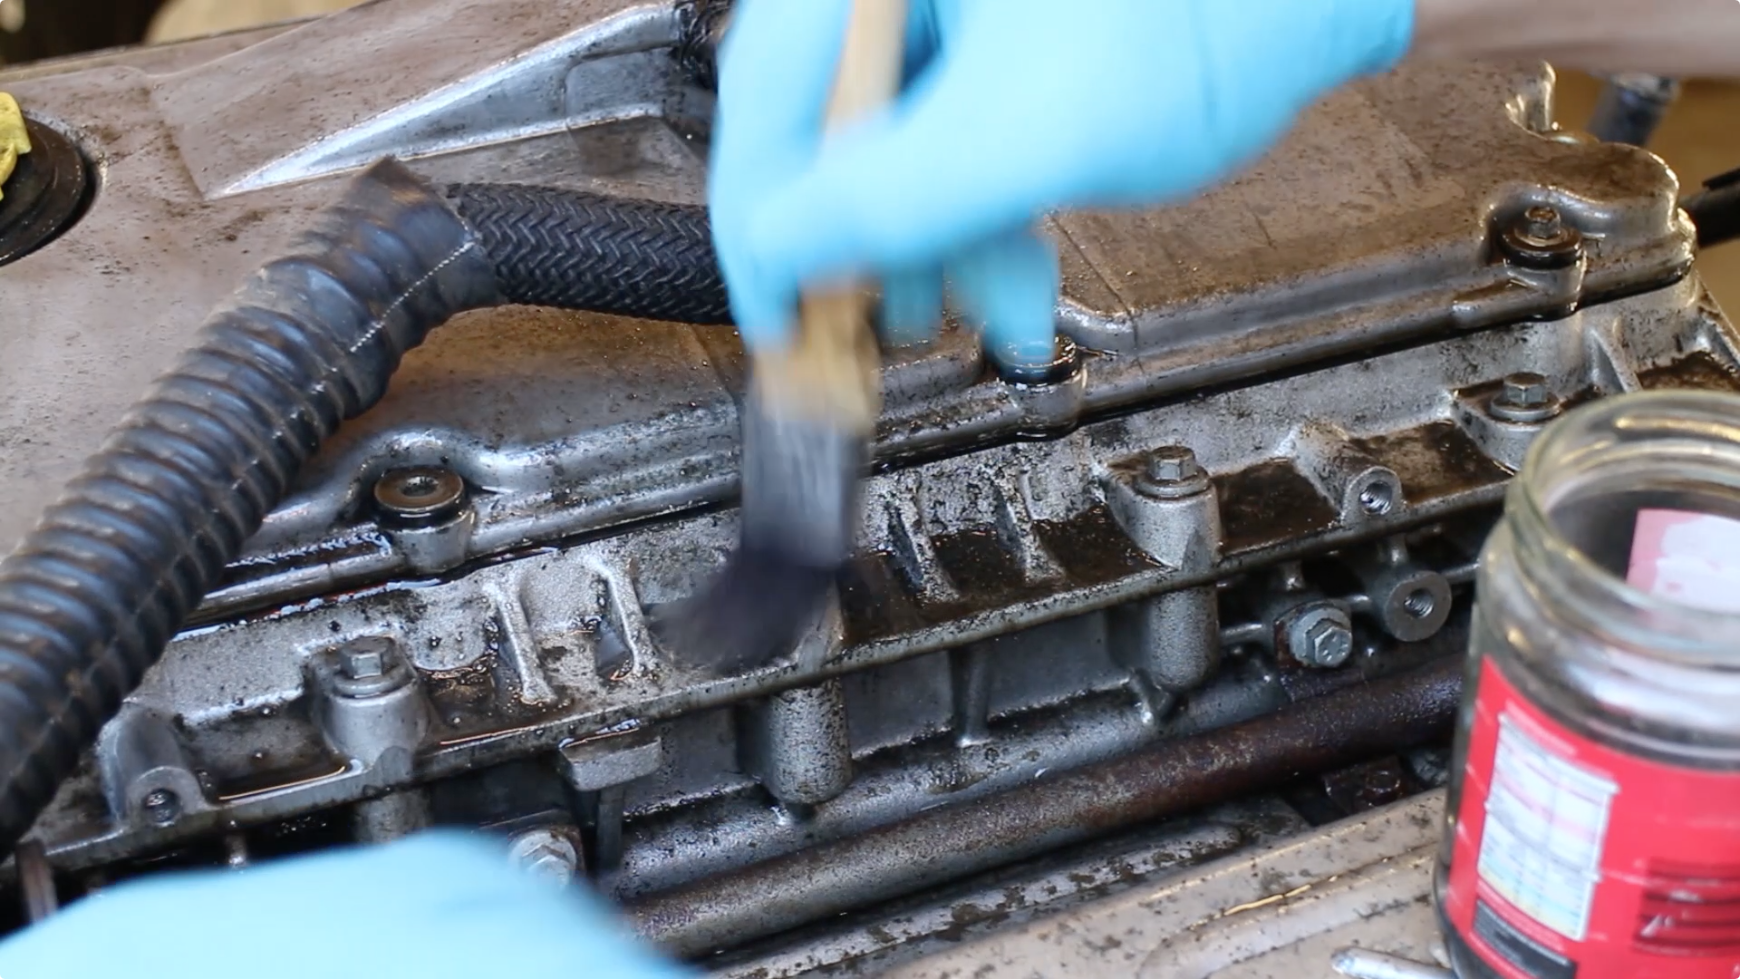
Working in the 'Gunk' degreasing solution to shift those really stubborn stains.
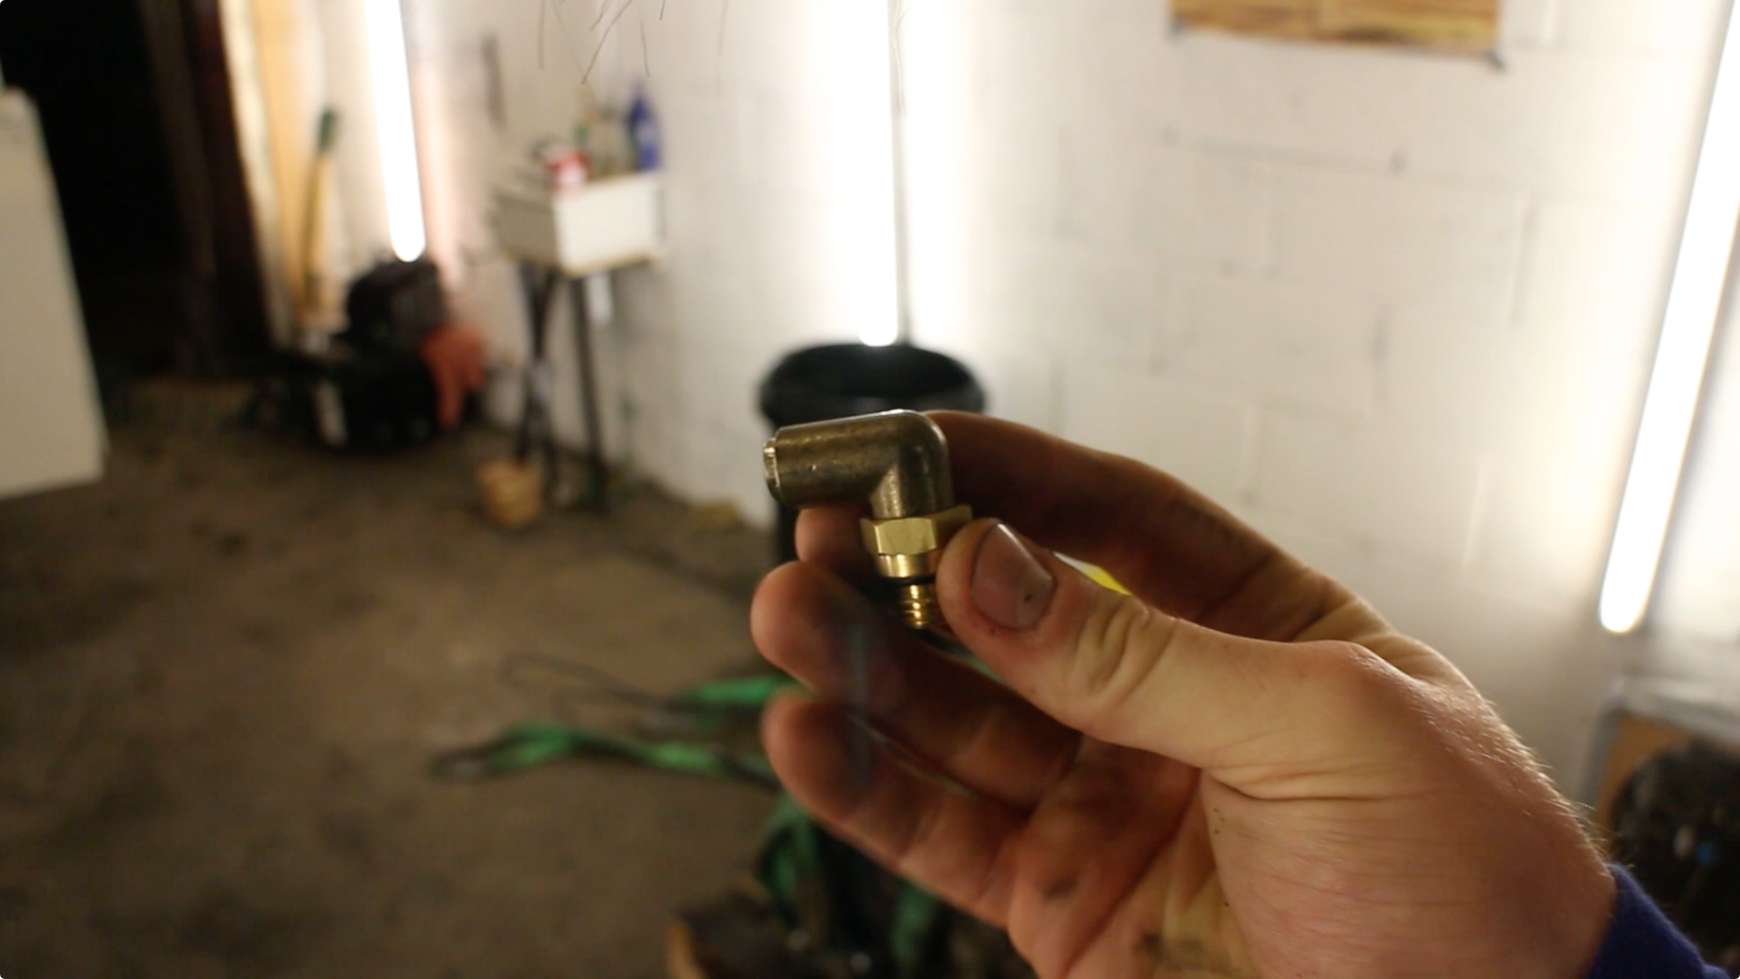
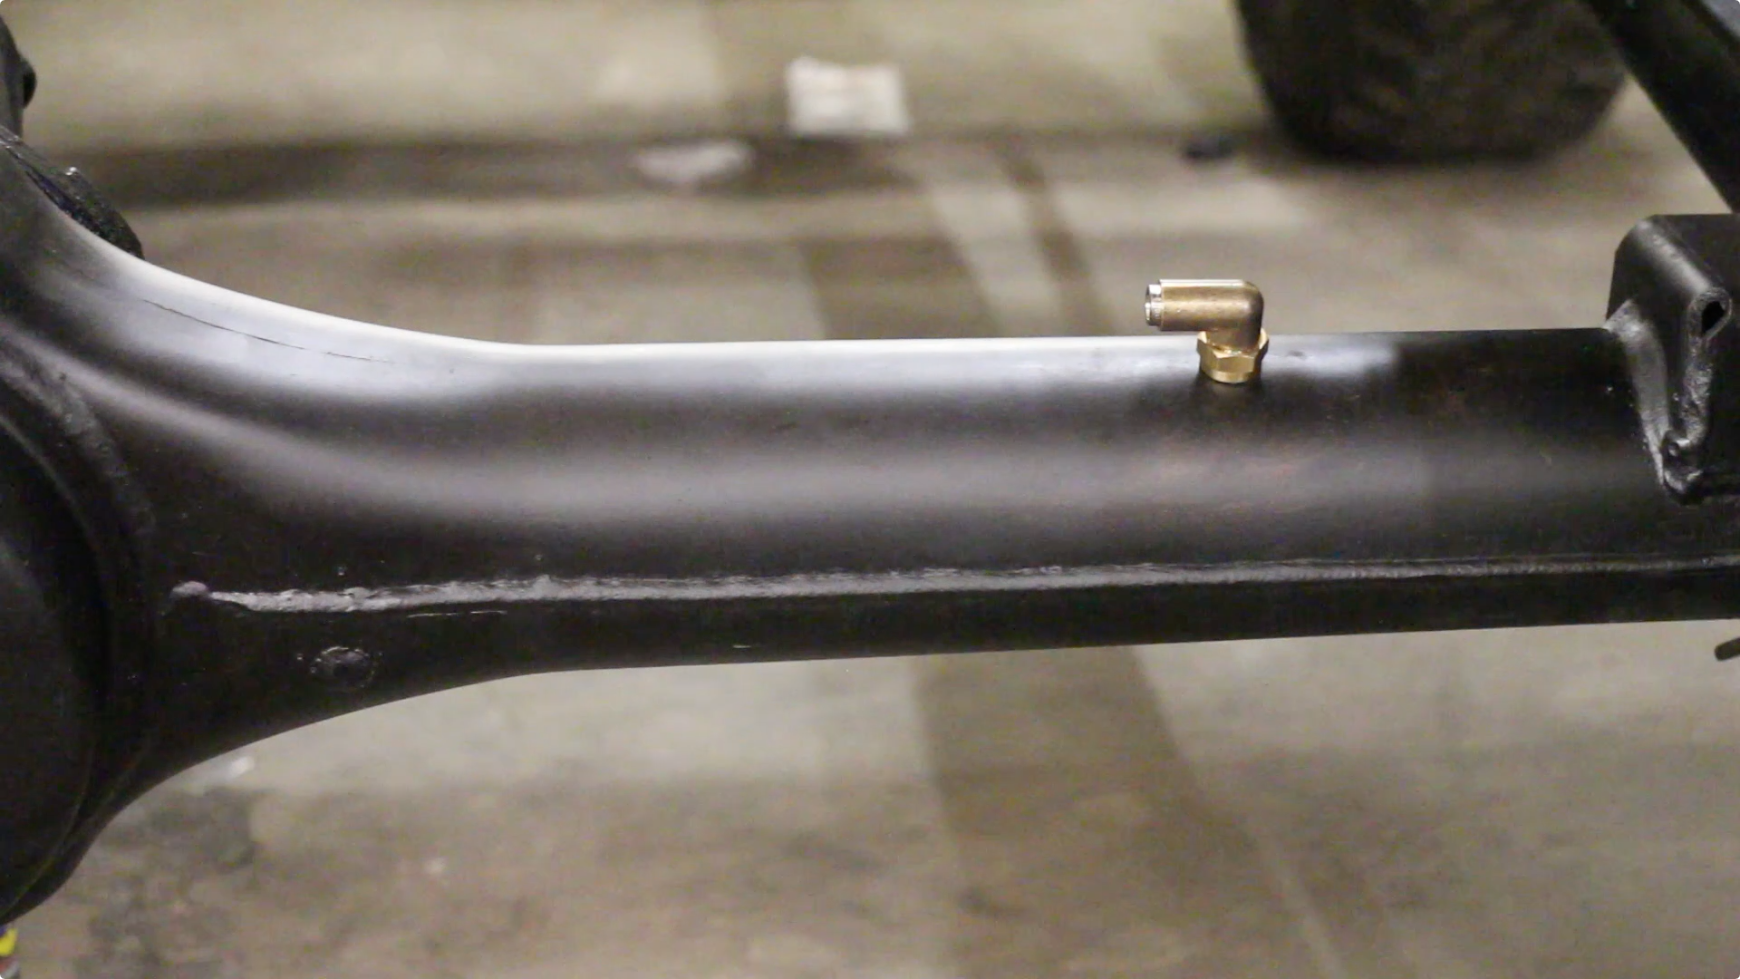
Then fitted some new axle breathers to the axles. We picked up these M12 to 6mm pneumatic elbows from Gwynn Lewis 4x4 - I'm impressed with their service, they ship products very quickly! In the kit, you also get a tap. Then it's a case of removing the old brass bushing to reveal the 12mm hole and tapping that. The tap should be dipped into some grease to stop swarf entering the diff oil.
These ones are for TD5 / Puma axles. If you have 300tdi and older, you'll have a 1/8 hole, in which case you can pick up a 1/8 BSPT (British Standard Pipe Thread) fitting to 6mm pipe on eBay for next to nothing. You'll need a 1/8" tap too. The only difference is the elbow is smaller.
Related items for sale on eBay
| Ebay has returned a malformed xml response. This could be due to testing or a bug in the RSS2 Generator. Please check the support forums to see if there are any posts regarding recent RSS2 Generator bugs. CURL error code = 6. (Could not resolve host: rest.ebay.com) |
About Us
FunRover is a place for Land Rover enthusiasts to gather as a community and discuss the best 4x4 vehicles ever produced. We're building a library of high quality resources & articles to help owners along in their Land Rover ownership.
Popular Posts
8 Almost Useless Land Rover Mods
11th June 2014
Updated: What Makes a Defender Iconic?
29th November 2011
How to Plastidip your Land Rover Defender
19th August 2014