
Ben Gribbin
October 22, 2015
Share post:


-

12K Subscribers
Subscribe
Search
Popular Articles
8 Almost Useless Land Rover Mods
11th June 2014
Updated: What Makes a Defender Iconic?
29th November 2011

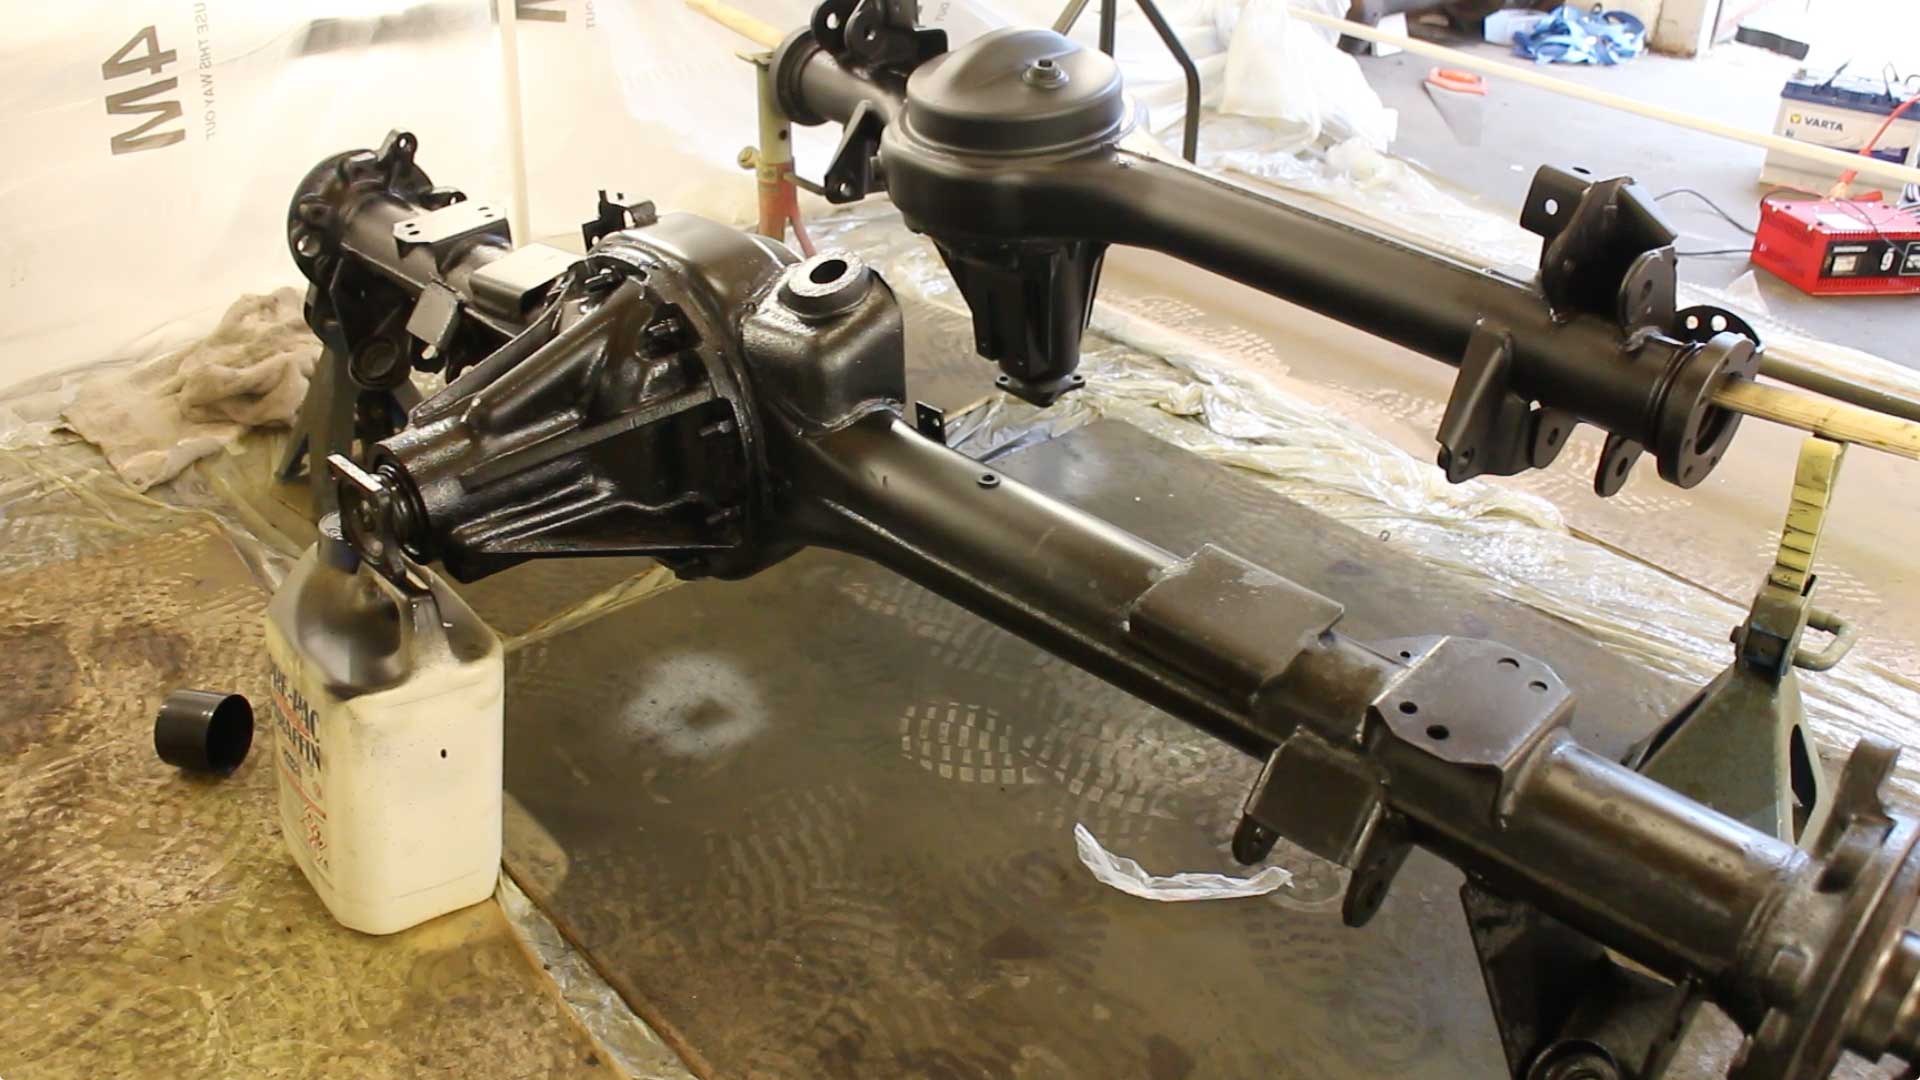
The axles are painted! And looking superb! Love the Frost Chassis paint, it's almost spot on for a Land Rover OEM look.
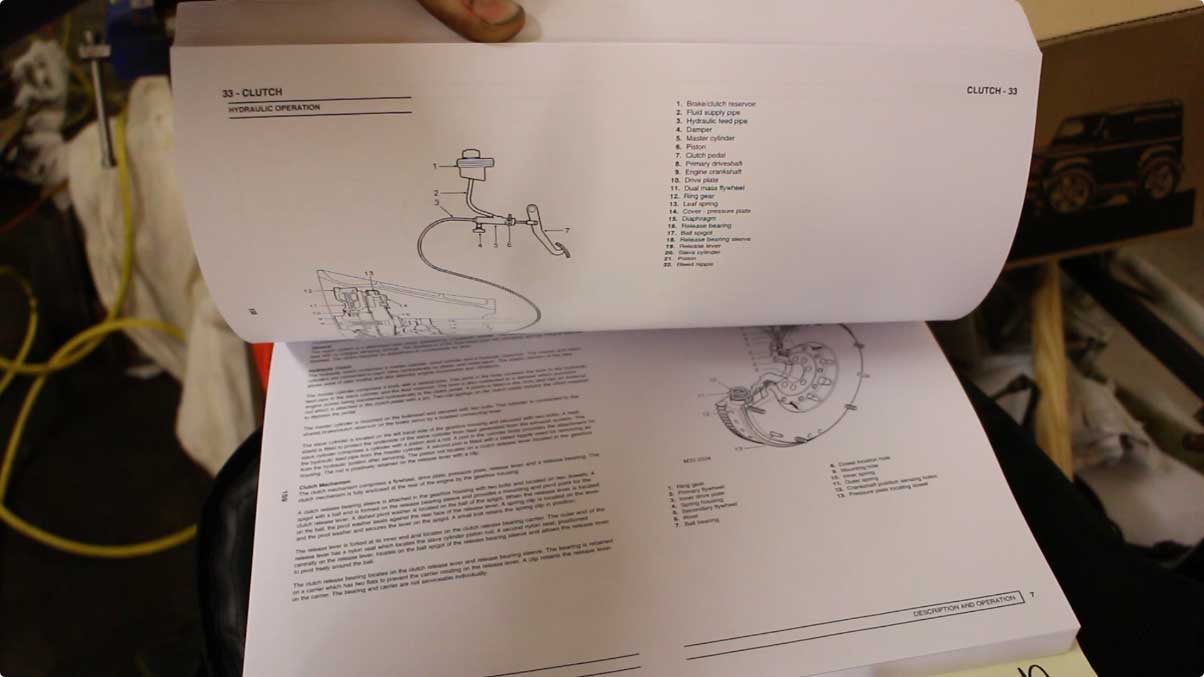
Also, purchased a printed TD5 Defender manual with the 300TDi and Electrical supplements, pricey but worth it for a job like this.
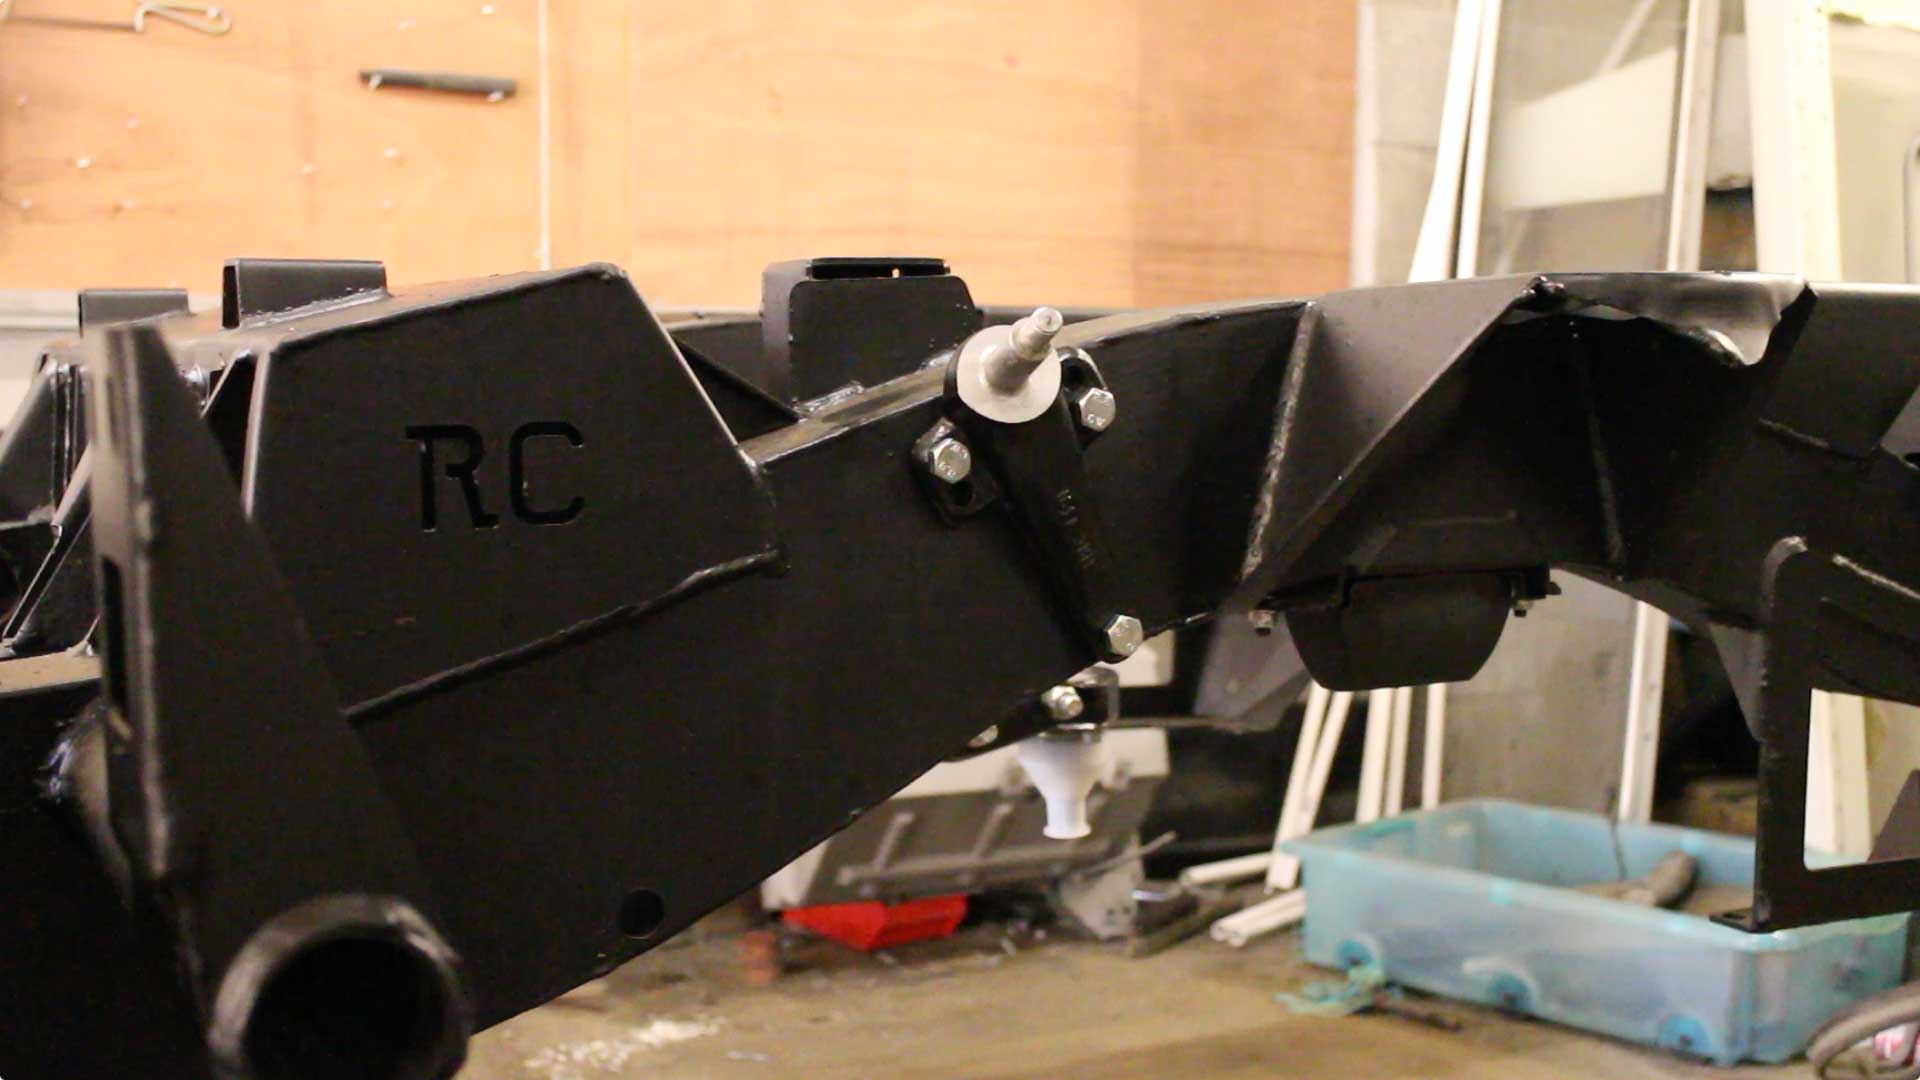
Picked up a new A frame Fulcrum bracket with the ball joint pressed in, saves me the hassle as I don't have a press and these aren't too pricey to buy pre-done.

That was all bolted together, using genuine bolts just to be safe.
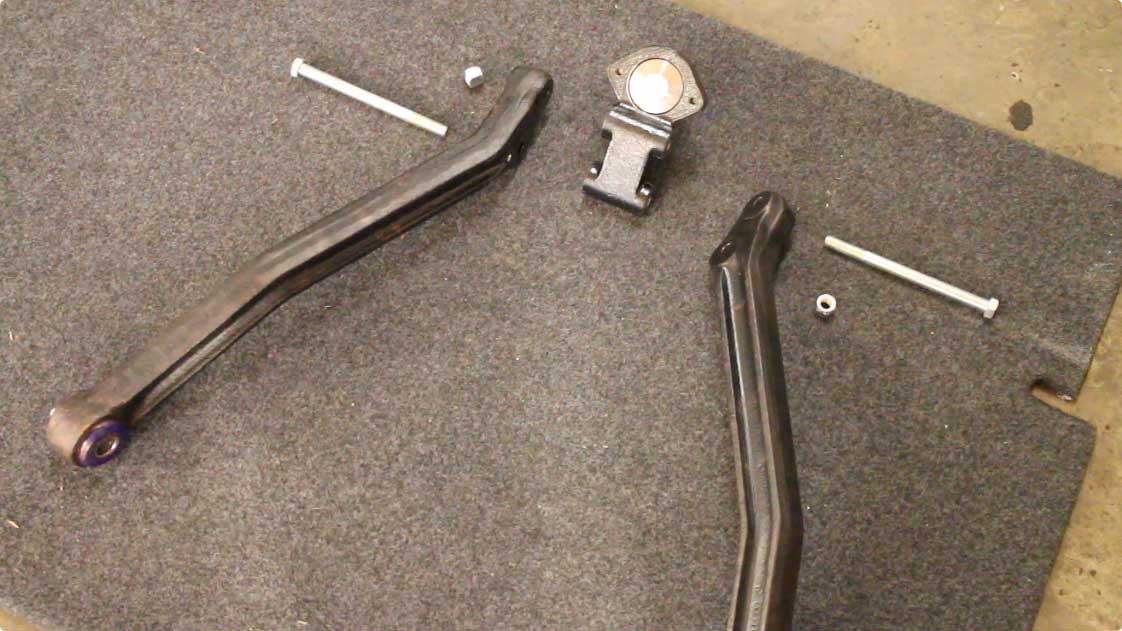
I applied copper slip liberally - I don't want any trouble if whenever I need to disassemble these parts.

I then bolted the brackets into place, the manual says to not torque everything down till it's in place

The A Frame was then lifted into place and nipped up, but not fully, I'll do that when the axle is in place.
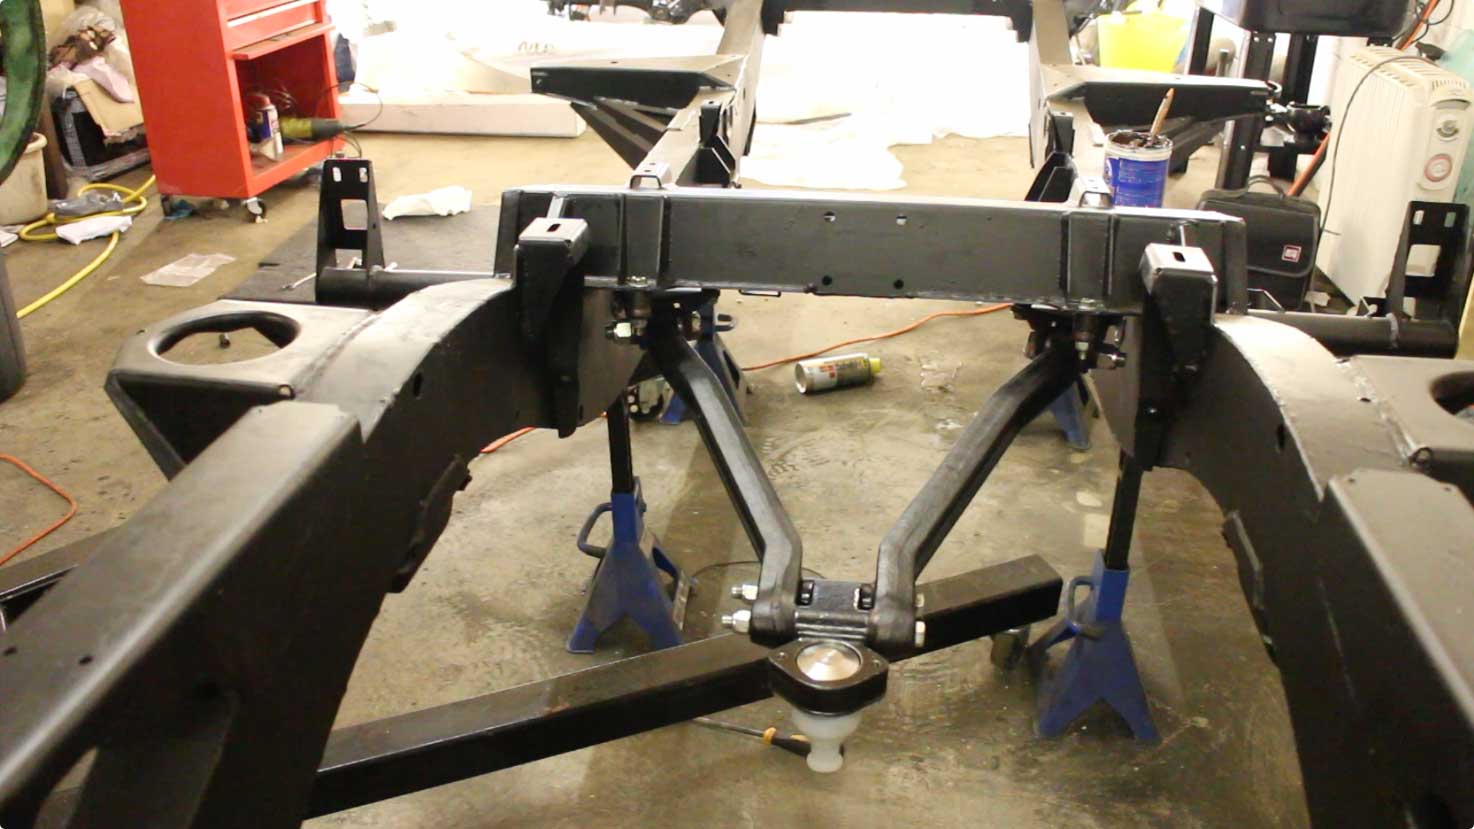
Also bolted on the damper brackets, these ones are not handed, but the manual appears to show them as though they are.
I took the chance this week to set-up the shot blasting cabinet. This one came from Frost.co.uk, they are a good company to work with and have a lot of stuff that's of interest to vehicle restorers. I'm running the cabinet with recycled (crushed) glass - it's cheap at around £5 per 25kg bag.
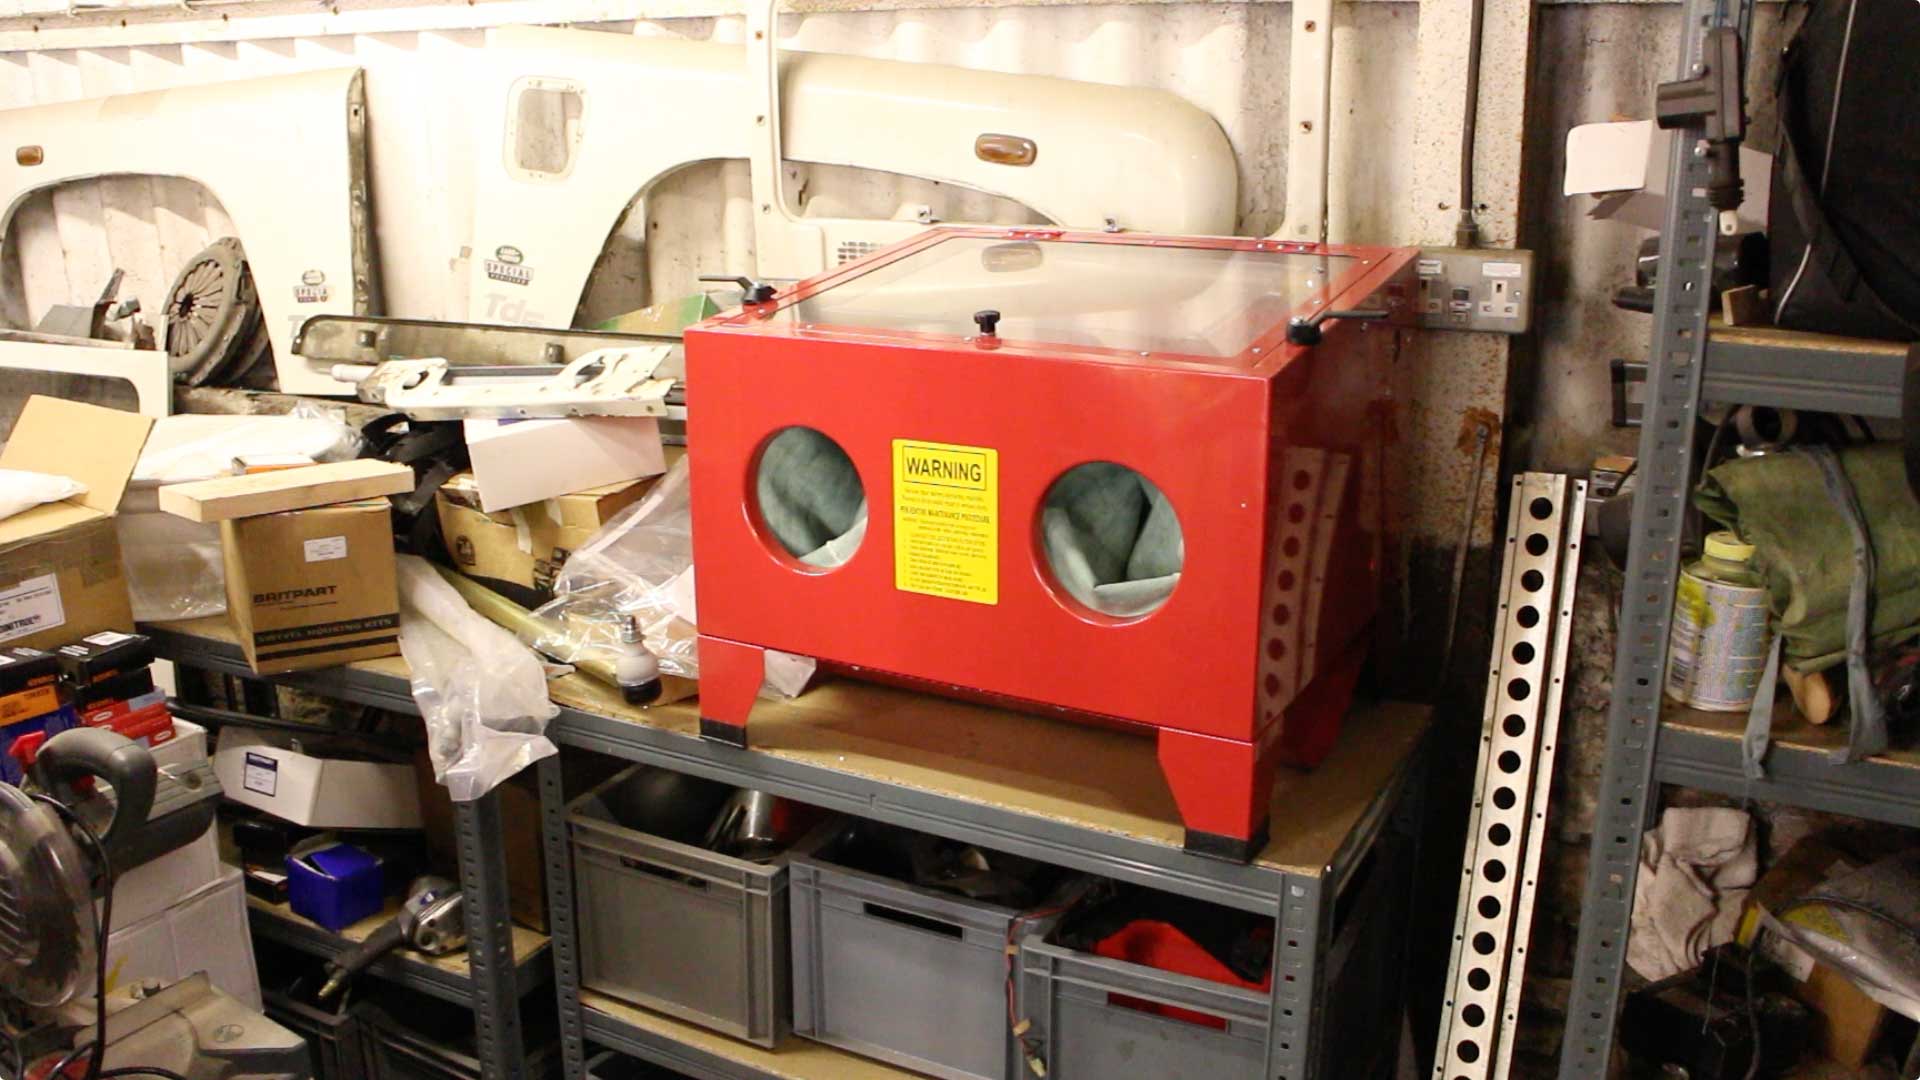
The cabinet has been completely indispensable. Rather than having to replace all those little brackets that quickly add-up the costs - I've been able to blast them, restoring them to 'as new' condition. It's brilliant. I'm going to refurb the callipers using this cabinet.
Here's a before and after (needs a little more blasting, but this was about 1 minutes work)

Related items for sale on eBay
| Ebay has returned a malformed xml response. This could be due to testing or a bug in the RSS2 Generator. Please check the support forums to see if there are any posts regarding recent RSS2 Generator bugs. CURL error code = 6. (Could not resolve host: rest.ebay.com) |
1 Comment
Leave a Reply
About Us
FunRover is a place for Land Rover enthusiasts to gather as a community and discuss the best 4x4 vehicles ever produced. We're building a library of high quality resources & articles to help owners along in their Land Rover ownership.
Popular Posts
8 Almost Useless Land Rover Mods
11th June 2014
Updated: What Makes a Defender Iconic?
29th November 2011
How to Plastidip your Land Rover Defender
19th August 2014
Earlier damper top mounts were handed having only two bolt holes for the chassis bolts, these are usually the ones with washer and split pin bush retaining arrangement. The later ones with the threaded stub (metric i.e. post ’86) for the top bush mount have four chassis bolt holes staggered, this means you can use them on either side.